


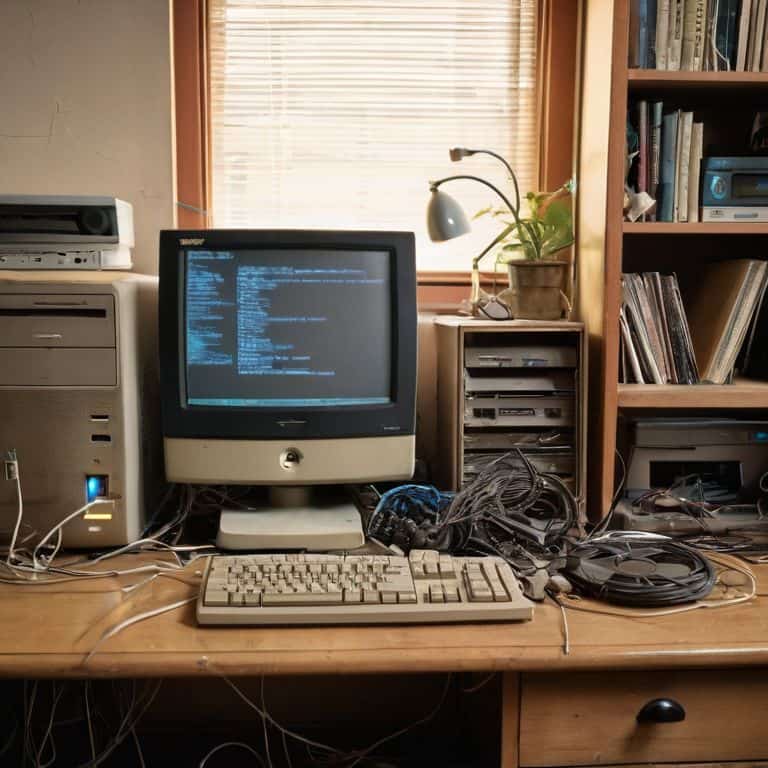
I still remember the day I decided to breathe new life into my old PC by turning it into a home server. It was collecting dust in the corner, a relic of a bygone era, but I knew it still had some fight left in it. That’s when I discovered the secret to how to use an old pc as a home server – it’s not just about optimizing digital storage, but about giving new purpose to something that would otherwise end up in a landfill. I’ve seen people pay top dollar for brand new servers, only to realize they could’ve achieved the same results with a little creativity and some spare parts.
In this article, I’ll walk you through the step-by-step process of transforming your old PC into a powerful home server. You’ll learn how to assess your hardware, choose the right operating system, and configure your server for optimal performance. I’ll share my personal tips and tricks for overcoming common obstacles, and by the end of it, you’ll be able to unleash the full potential of your old PC. Whether you’re a tech enthusiast or just looking to reduce electronic waste, this guide will show you that how to use an old pc as a home server is easier than you think, and the benefits are well worth the effort.
Table of Contents
Guide Overview: What You'll Need
Total Time: 2 hours 30 minutes
Estimated Cost: $0 – $50
Difficulty Level: Intermediate
Tools Required
- Screwdriver (for opening the PC case)
- Network cable (for connecting to the router)
- Power cord (for powering the PC)
- HDD or SSD (for storing data)
- Operating System installation media (e.g., USB drive or CD/DVD)
Supplies & Materials
- Old PC (with a working motherboard, CPU, and RAM)
- Cooling system (e.g., fans, heatsink)
- Power supply (capable of powering all components)
- Networking hardware (e.g., Ethernet card, Wi-Fi adapter)
- Storage devices (e.g., hard drives, solid state drives)
Step-by-Step Instructions
- 1. First, let’s get started by preparing our old PC for its new life as a home server. This means we’ll need to wipe the slate clean and install a fresh operating system. I recommend using a lightweight Linux distribution like Ubuntu Server, which is perfect for low-power devices and can breathe new life into that old clunker.
- 2. Next, we need to choose the right software for our home server. This will depend on what we want to use it for – whether it’s storing files, streaming media, or even hosting our own website. For a basic file server, I recommend using Samba, which allows us to easily share files across our network and access them from any device.
- 3. Now it’s time to set up our network configuration. We’ll need to assign a static IP address to our home server, so it’s always accessible and easy to find on our network. This can usually be done through our router’s configuration page, where we can reserve an IP address for our server and make sure it’s always available.
- 4. With our network configuration in place, let’s move on to configuring our storage. If our old PC has multiple hard drives, we can set them up in a RAID configuration to provide redundancy and increase storage capacity. Alternatively, we can use an external hard drive or NAS device to add more storage to our server.
- 5. Next up, we need to set up user accounts and permissions. This will determine who can access our server and what they can do with it. We’ll need to create user accounts and assign them to different groups and permissions, so we can control who can read, write, or execute files on our server.
- 6. Now that our server is set up, let’s add some extra features to make it more useful. We can install additional software packages like Plex or Kodi to turn our server into a media streaming powerhouse, or use it to host our own website or blog. The possibilities are endless, and it’s up to us to decide how we want to use our new home server.
- 7. Finally, let’s test and troubleshoot our home server to make sure everything is working as it should. We’ll need to check that our network configuration is correct, our storage is mounted and accessible, and our user accounts and permissions are set up correctly. If we encounter any issues, we can use system logs and debugging tools to track down the problem and get our server up and running smoothly.
Revive Old Pc
When it comes to reviving old PCs, I always say, why let a good machine go to waste? With a few tweaks and some TLC, you can turn that clunker into a beast of a home server. One of the key things to consider is the operating system – you’ll want something lightweight and efficient, like a Linux distribution specifically designed for low-power devices.
As you’re working on your low power home server build, keep in mind that you don’t need a ton of processing power to store and stream your files. In fact, many old PCs can handle the task with ease, making them perfect for network attached storage solutions. Plus, you can always find plenty of free home server software online to get you started.
Now, I know some of you might be thinking, “But what about all the other old computer parts I’ve got lying around?” Well, my friends, this is where old computer upcycling projects come in. Consider repurposing those old hard drives, RAM sticks, or even graphics cards to create a unique and functional home server. With a little creativity, you can turn your old PC into a one-of-a-kind home server operating system that’s both powerful and eco-friendly.
Free Home Server Software Gems
Now that we’ve got our old PC revived and running smoothly, let’s talk about the software that’ll turn it into a home server powerhouse. I’m excited to share some of my favorite free home server software gems with you. From OpenMediaVault to Plex, these tools will help you manage and stream your media, backup your files, and even monitor your home network.
I’ve had great success with FreeNAS, which offers a user-friendly interface for managing your server’s storage, media, and more. Another gem is Emby, a media management system that lets you stream your favorite shows and movies to any device on your network. These software options are not only free but also incredibly powerful, making them perfect for our low-power home server builds.
Low Power Home Server Builds
When it comes to building a low power home server, I’m all about repurposing old hardware to get the job done. You can breathe new life into that old PC by swapping out the power-hungry components for some more energy-efficient alternatives. Consider swapping the traditional hard drive for a solid-state drive (SSD) – not only will it use less power, but it’ll also give your server a nice speed boost.
For an ultra-low power build, I recommend using a compact motherboard like the Raspberry Pi or an Intel NUC. These tiny powerhouses can handle all your server needs while sipping on a mere fraction of the power required by a full-sized PC. Plus, they’re super quiet and won’t take up too much space, making them perfect for a home server setup.
5 Essential Tips to Supercharge Your Old PC Home Server
- Use a lightweight operating system like Linux to minimize resource usage and maximize performance
- Install a reliable cooling system to prevent overheating and ensure continuous operation
- Configure your home server for remote access to enjoy seamless file sharing and streaming across devices
- Regularly update and patch your server’s software to protect against security vulnerabilities and maintain stability
- Consider adding a redundant storage system, such as a RAID setup, to safeguard your precious data against hardware failures
Key Takeaways for Breathing New Life into Your Old PC
By repurposing your old PC as a home server, you can significantly reduce electronic waste and create a functional storage and media streaming solution
Low-power home server builds and free home server software gems can help you create an efficient and cost-effective system that meets your specific needs
With the right mindset and a bit of tinkering, you can transform that old clunker into a powerful home server, unlocking new possibilities for data storage, media streaming, and more
Breathing Life into the Old
By repurposing an old PC as a home server, you’re not just saving money or reducing waste, you’re unlocking a world of possibilities where technology serves you, not the other way around.
Frankie Miller
Breathing New Life into Old Tech
We’ve covered a lot of ground in this journey to turn your old PC into a home server beast. From the initial steps of preparation to the low power home server builds and exploring the gems of free home server software, each step has been designed to empower you to take control of your technology. The process isn’t just about repurposing an old machine; it’s about understanding that with a little creativity and some hands-on effort, you can breathe new life into devices that would otherwise end up in a landfill. This project is a testament to the right to repair and modify your own tech, a principle that I believe in deeply.
As you finish this project and see your old PC humming along as a fully functional home server, remember that this is just the beginning. The world of DIY tech is vast and exciting, full of possibilities waiting to be explored. Don’t be afraid to void that warranty and dive into the internals of your devices. With each project, you’ll not only be reducing electronic waste but also empowering yourself with the knowledge and skills to take on even more complex builds. So, go ahead, get your hands dirty, and join the movement of makers and DIY enthusiasts who are changing the way we think about technology, one custom build at a time.
Frequently Asked Questions
What are the minimum system requirements for an old PC to function effectively as a home server?
For an old PC to shine as a home server, you’ll want at least a dual-core CPU, 4GB of RAM, and a 256GB hard drive. Don’t worry if it’s not a powerhouse, even older hardware can handle basic server tasks with the right software and tweaks.
How do I ensure my old PC home server is secure and protected from external threats?
Securing your old PC home server is a top priority. I recommend installing a reliable firewall, keeping your OS and software up-to-date, and using strong passwords. You can also enable remote access with tools like OpenVPN for secure connections. Let’s lock it down and keep those hackers at bay!
Can I use an old laptop as a home server, or are there specific reasons to prefer a desktop PC?
Absolutely, you can use an old laptop as a home server, but keep in mind that laptops often have limited upgrade options and may run hotter than desktops. That being said, if you’ve got an old laptop lying around, it can still make a great little server – just be sure to monitor its temperature and consider adding some extra cooling if needed.