


I still remember the first time I struggled with a guide to slicing software for 3d printing. I had just gotten my hands on a brand new 3D printer, and I was eager to start cranking out some custom parts. But as I dove into the world of slicing software, I quickly realized that it wasn’t as straightforward as I thought it would be. There are a lot of common myths out there about 3D printing, and one of the biggest ones is that you need to be a rocket scientist to get good results. But the truth is, with the right slicing software, you can achieve amazing prints, even if you’re a beginner.
In this article, I’ll be sharing my personal experience and tips on how to master a guide to slicing software for 3d printing. I’ll walk you through the process of tweaking and tuning your slicing settings to get the perfect print, every time. You’ll learn how to avoid common mistakes, and how to troubleshoot issues that may arise during the printing process. My goal is to empower you with the knowledge and confidence to take your 3D printing skills to the next level, and to show you that with the right approach, you can achieve professional-grade results without breaking the bank.
Table of Contents
- Guide Overview: What You'll Need
- Step-by-Step Instructions
- A Guide to Slicing Software for 3d Printing
- 5 Rebel Tips to Master 3D Printing Slicing Software
- Key Takeaways for Mastering 3D Printing Slicing Software
- Slicing Through the Noise
- Unlocking the Full Potential of 3D Printing
- Frequently Asked Questions
Guide Overview: What You'll Need
Total Time: 1 hour 15 minutes
Estimated Cost: $0 – $100
Difficulty Level: Intermediate
Tools Required
- Computer (with internet connection)
- 3D Modeling Software (e.g., Blender, Tinkercad)
- Slicing Software (e.g., Cura, Slic3r)
Supplies & Materials
- 3D Printer (for testing sliced models)
- Filament (for testing printed models)
- Reference Materials (e.g., tutorials, online forums)
Step-by-Step Instructions
- 1. First, let’s get familiar with the slicing software landscape – we’ve got a plethora of options to choose from, including Cura, Slic3r, and Simplify3D. I’ll be using Cura for this guide, but don’t worry, the principles apply across the board. Start by downloading and installing the software from the official website, and follow the prompts to get it up and running on your machine.
- 2. Next, we need to configure our printer settings – this is where the magic happens, and we tell the software how to communicate with our 3D printer. You’ll need to input your printer’s dimensions, nozzle size, and other specs, so make sure you have the manual handy or can find the info online. Take your time, and double-check your entries to avoid any mistakes down the line.
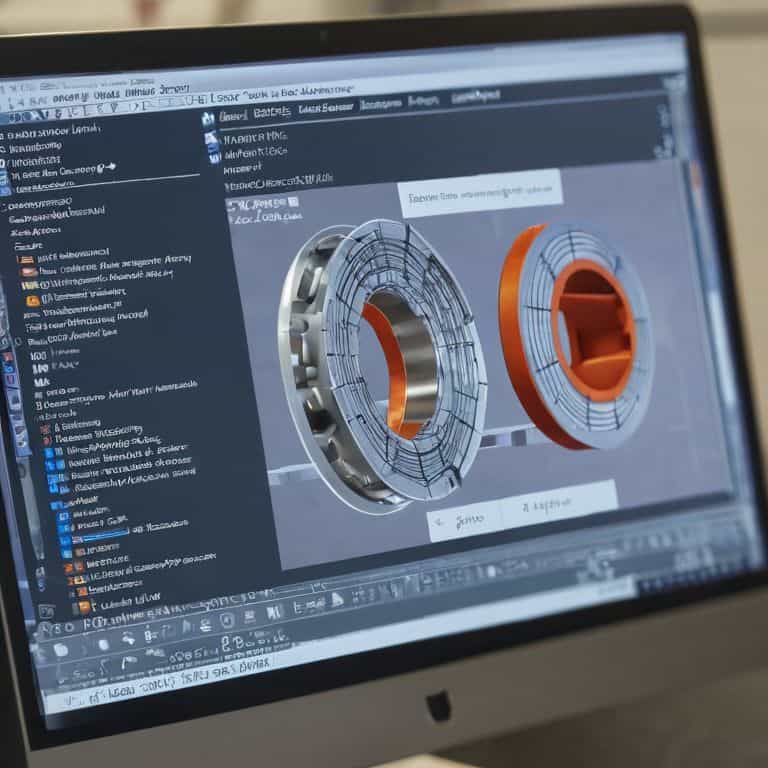
- 3. Now it’s time to import our 3D model – this can be a file you’ve downloaded from a repository like Thingiverse or a design you’ve created yourself using CAD software. I’ll be using a simple phone case model for this example, but the process is the same regardless of the object. Click on the “Load Model” button, select your file, and wait for it to load into the software.
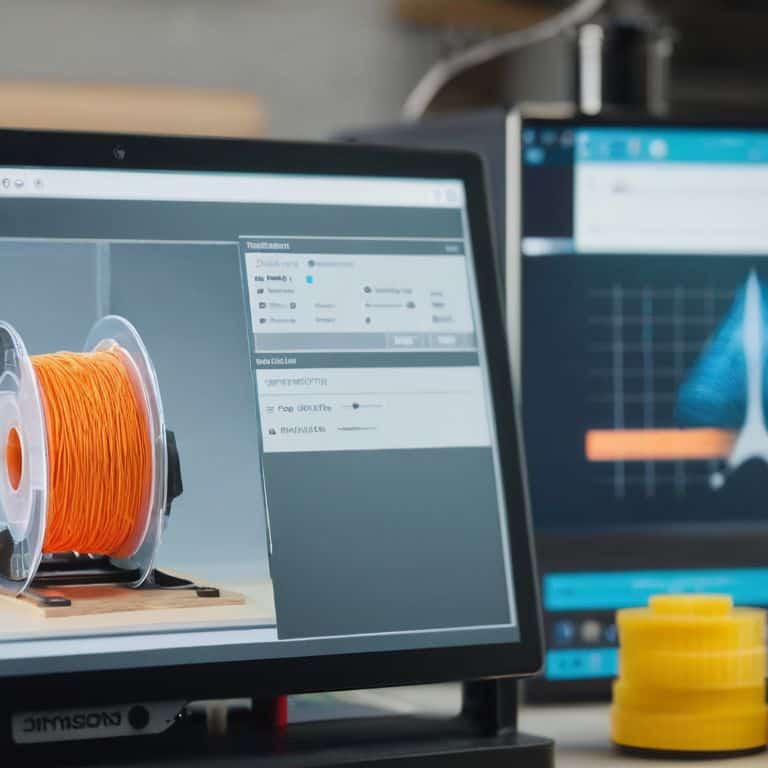
- 4. With our model loaded, let’s tweak the slicing settings – this is where we can really fine-tune our print. Look for options like layer height, infill density, and support material – these will all impact the final quality and durability of our print. Don’t be afraid to experiment and try out different combinations to see what works best for your specific project.
- 5. Once we’ve got our settings dialed in, it’s time to generate the G-code – this is the set of instructions that our 3D printer will use to actually print the object. Click on the “Slice” button, and wait for the software to do its thing – this might take a few minutes, depending on the complexity of your model and the speed of your machine.
- 6. Now that we’ve got our G-code, let’s save it to an SD card – this is what we’ll use to transfer the file to our 3D printer. Make sure the card is formatted correctly and has enough free space to hold the file. I like to label my files clearly, so I know exactly what I’m printing and when.
- 7. Finally, let’s load up our 3D printer and get ready to print – this is the moment we’ve all been waiting for. Insert the SD card, select the file, and click print. Sit back, relax, and watch as your creation comes to life – and don’t worry if it’s not perfect on the first try, that’s all part of the learning process.
A Guide to Slicing Software for 3d Printing
When it comes to optimizing 3d print settings, it’s essential to understand how different infill patterns for strength can affect the overall quality of your print. I’ve found that experimenting with various infill densities and patterns can make a significant difference in the durability and weight of your printed parts. For instance, a higher infill density can provide added strength, but may also increase print time and material usage.
To take your 3D printing to the next level, consider exploring advanced support generation techniques. This can be a game-changer for printing complex models with overhanging features. By fine-tuning your support settings, you can minimize post-print processing and reduce the risk of model damage. I’ve also discovered that 3d model preparation for slicing is crucial for achieving optimal results. Ensuring your model is properly oriented and scaled can make a huge difference in the printing process.
In my experience, slicing software comparison is key to finding the right tool for your specific needs. Different software options offer varying levels of control and customization, so it’s worth exploring several options to find the one that works best for you. By mastering 3d printing slicing techniques, you’ll be able to unlock the full potential of your 3D printer and create prints that are both functional and visually stunning.
Slicing Software for Beginners Voiding Warranties
Now that we’ve covered the basics of slicing software, let’s talk about where the magic really happens – tweaking and tuning for optimal results. As a self-proclaimed rebel, I love pushing the limits of what’s possible, and that often means voiding a warranty or two. For beginners, it’s essential to understand that slicing software is not a one-size-fits-all solution. You’ll need to experiment with different settings to find what works best for your specific printer and project.
I’ve spent countless hours tweaking my own slicing software, and I’ve learned that it’s all about finding the right balance between speed, quality, and material usage. Don’t be afraid to get your hands dirty and try new things – that’s where the real learning happens. And remember, a ‘void warranty’ sticker is just a challenge waiting to be accepted. With practice and patience, you’ll be slicing like a pro in no time, and your prints will thank you.
Taming the Beast 3d Printing Slicing Techniques
Now that we’ve got our slicing software up and running, it’s time to dive into the nitty-gritty of 3D printing slicing techniques. I like to think of it as taming a beast – with the right approach, you can get incredible results. One of my favorite techniques is adaptive layering, which adjusts the layer height based on the model’s complexity. This not only reduces print time but also improves the overall surface finish.
By experimenting with different slicing techniques, such as varying infill densities and perimeter settings, you can significantly enhance the strength and durability of your prints. Don’t be afraid to push the boundaries and try out new settings – after all, that’s what makes DIY tech so rewarding. With practice, you’ll develop a keen sense of what works best for your specific prints, and you’ll be churning out professional-grade models in no time.
5 Rebel Tips to Master 3D Printing Slicing Software
- Tweak Your Settings, Not Your Expectations: Learn to optimize your slicing software for the specific 3D printing material you’re using, whether it’s PLA, ABS, or something more exotic
- Slice, Dice, and Conquer: Master the art of slicing complex models into manageable parts, and discover the joy of printing without supports
- The Right Layer Height: Experiment with different layer heights to find the perfect balance between print speed and surface finish, and learn how to use this technique to create stunning visual effects
- Speed Demon: Unlock the secrets of accelerated printing without sacrificing quality, and discover how to use slicing software to push your 3D printer to its limits
- Infill Insanity: Don’t be afraid to get creative with infill patterns and densities – it’s a great way to add strength, reduce material usage, and create unique visual effects in your 3D prints
Key Takeaways for Mastering 3D Printing Slicing Software
By understanding and tweaking slicing software settings, you can significantly improve the quality and speed of your 3D prints, making you more self-sufficient in your projects
Through hands-on experimentation and a willingness to void warranties, you can unlock the full potential of your 3D printer and create custom, functional parts that meet your specific needs
Embracing the DIY ethos and learning to tame 3D printing slicing software is not only empowering but also a crucial step in fighting against closed-ecosystem products and embracing the freedom to modify and repair your own technology
Slicing Through the Noise
The right slicing software is like having a superpower for your 3D printer – it’s the difference between a flawed prototype and a flawless masterpiece, and I’m here to show you how to unlock it.
Frankie Miller
Unlocking the Full Potential of 3D Printing
In this guide to slicing software for 3D printing, we’ve covered the basics of slicing techniques and dove into the world of taming the beast that is 3D printing software. From understanding the importance of layer thickness to mastering the art of infill patterns, we’ve explored the essential tools and tricks to get you printing like a pro. By following these step-by-step instructions and experimenting with different slicing software, you’ll be well on your way to creating complex, functional parts with ease. Remember, the key to success lies in trial and error, so don’t be afraid to push the boundaries and try new things.
As you continue on your 3D printing journey, keep in mind that voiding warranties is not just about taking risks, but about taking control of your technology. By embracing the DIY spirit and modifying your machines, you’ll not only gain a deeper understanding of how they work, but also unlock a world of creative possibilities. So, go ahead, get your hands dirty, and join the ranks of the rebel makers who are redefining the world of technology, one print at a time. With unlimited possibilities at your fingertips, the only limit is your imagination, and I have no doubt that together, we can create something truly amazing.
Frequently Asked Questions
What are the most common mistakes to avoid when setting up slicing software for 3D printing?
When setting up slicing software, I see beginners trip up on simple stuff – like incorrect nozzle sizes, mismatched filament settings, or overlooked retraction settings. Double-check your numbers, and don’t be afraid to tweak and experiment – it’s all part of the process, and I’ve been there too, trust me!
How do I choose the right slicing software for my specific 3D printer model?
When choosing slicing software, I always say: check your printer’s specs and look for software that’s specifically optimized for your model. Some popular options like Cura, Slic3r, and Simplify3D often have pre-configured profiles for popular printers, making it a breeze to get started.
Can I use multiple slicing software programs together to achieve more complex print results?
Absolutely, you can mix and match slicing software to get the results you want. I like to combine Cura’s speed with Slic3r’s precision for complex prints. It’s all about experimenting and finding the right combo for your project. Don’t be afraid to void that warranty and get creative – it’s all part of the DIY fun!