


I still remember the first time I cracked open my old Nintendo 64 – the void warranty sticker was like a challenge, begging me to see what was inside. That was the start of my journey into retro console modding, and I’ve never looked back. A lot of people think that modifying old consoles is a daunting task, but I’m here to tell you that with the right guidance, it’s easier than you think. In fact, I believe that a good a guide to retro console modding should empower you to breathe new life into your old gaming systems.
In this article, I’ll share my hands-on experience and provide you with practical advice on how to mod your retro consoles. You’ll learn how to upgrade your hardware, fix common issues, and even add new features to your old favorites. My goal is to give you the confidence to take matters into your own hands and unleash the beast within your retro consoles. I’ll walk you through each step, highlighting common mistakes to avoid and providing tips for troubleshooting. By the end of this guide, you’ll be well on your way to becoming a retro console modding master, and you’ll never look at an old console the same way again.
Table of Contents
- Guide Overview: What You'll Need
- Step-by-Step Instructions
- Retro Console Modding Unleashed
- Modding Mastery: 5 Essential Tips to Unlock Your Retro Console's Full Potential
- Key Takeaways for Retro Console Modding
- Embracing the Void
- Conclusion: Unleashing the Full Potential of Retro Consoles
- Frequently Asked Questions
Guide Overview: What You'll Need
Total Time: 4 hours 30 minutes
Estimated Cost: $50 – $100
Difficulty Level: Intermediate
Tools Required
- Soldering Iron (with adjustable temperature)
- Desoldering Pump (for removing old solder)
- Wire Strippers (for 22-gauge wire)
- Pliers (needle-nose for small components)
- Torch (for heat shrink tubing)
Supplies & Materials
- Mod Chip (specific to console model)
- 22-gauge Wire (for wiring and connections)
- Heat Shrink Tubing (for insulation and protection)
- Solder (60/40 tin-lead or lead-free)
- Electrical Tape (for securing wires)
Step-by-Step Instructions
- 1. First, let’s get our tools in order – I like to have a well-organized workspace to avoid any unnecessary stress when working on these old consoles. Gather your screwdrivers, pliers, and any other tools you might need, and make sure they’re within arm’s reach. Take a photo of your workspace before you start, it’s a great way to keep track of your progress and identify any areas for improvement.
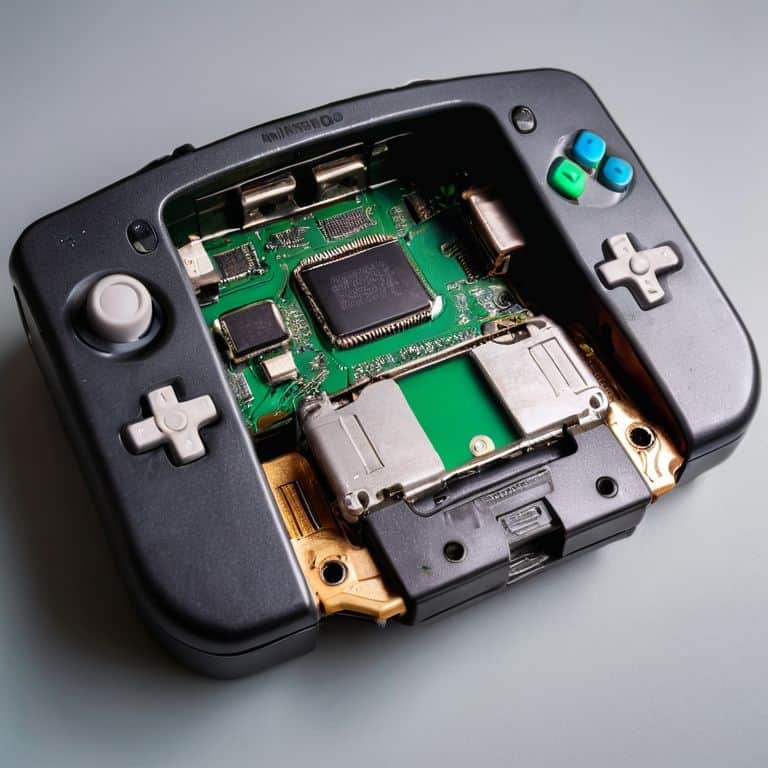
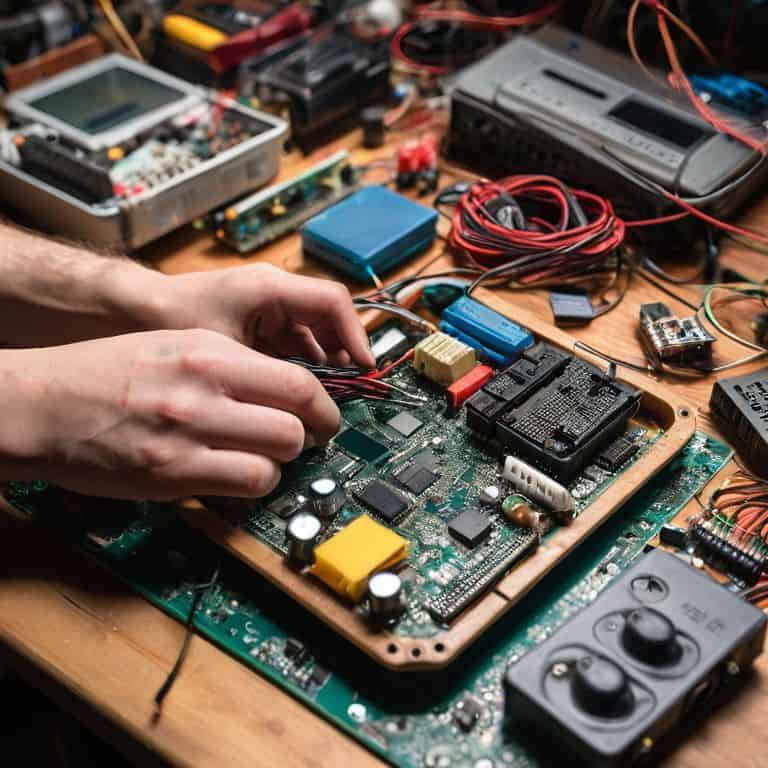
- 2. Next, we need to disassemble the console, which can be the most daunting part of the process, but trust me, it’s worth it. Start by removing any external casing or screws that hold the console together. Be careful not to strip any screws, and take note of any warranty voiding stickers – we’re about to make them irrelevant.
- 3. Now that we have the console open, it’s time to identify the key components we want to upgrade or modify. This could be the RAM, the processor, or even just cleaning out some dust that’s built up over the years. Take a close look at the circuit board and familiarize yourself with the layout – it’s not as complicated as it looks, I promise.
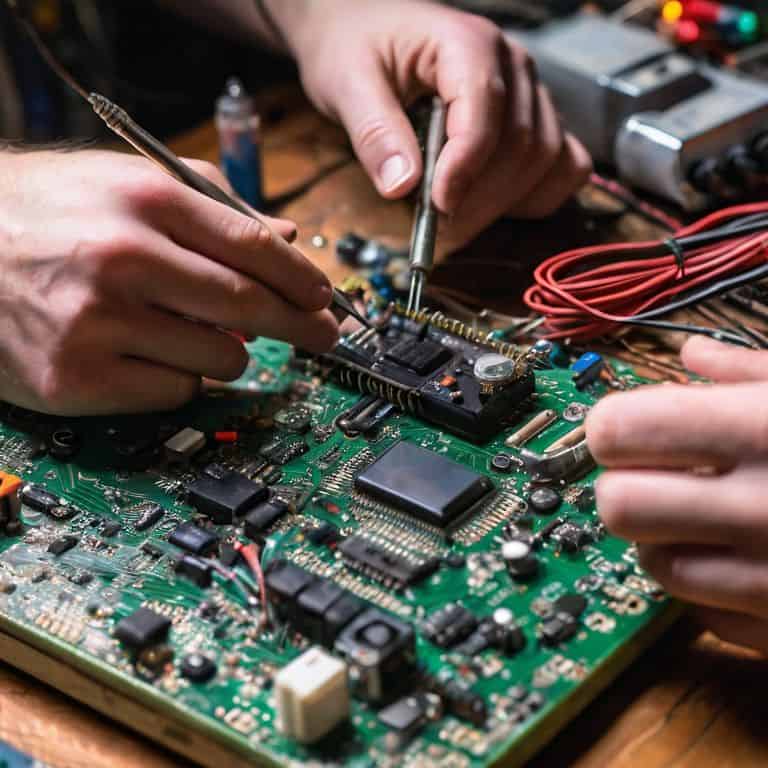
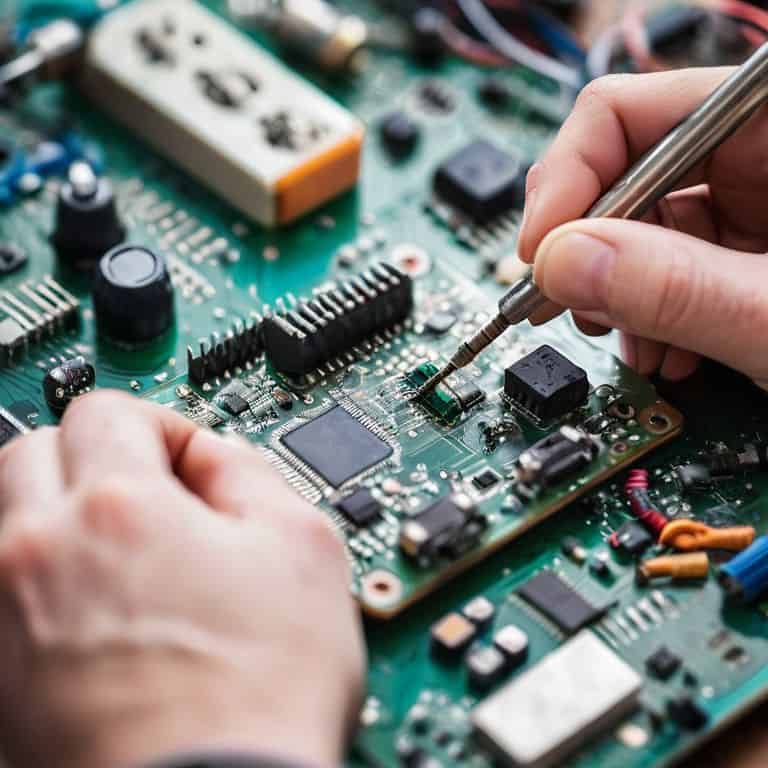
- 4. The next step is to solder in our upgrades, which can be a bit tricky if you’re new to soldering, but don’t worry, it’s a skill that’s easy to learn. Make sure you have a good soldering iron and some spare solder, and take your time when connecting the new components. It’s also a good idea to have a soldering guide or a YouTube video open on your phone for reference.
- 5. Once we’ve made our upgrades, it’s time to reassemble the console and test it out. Make sure all the screws are tightened securely, but don’t overtighten them – we don’t want to damage any of the internal components. Plug in the console and turn it on, and you should start to see the benefits of your hard work.
- 6. If everything is working as expected, it’s time to add some custom touches, like a new paint job or some custom decals. This is where you can really make the console your own and add some personality to it. Just make sure any paint or materials you use won’t damage the console’s internal components.
- 7. Finally, let’s talk about troubleshooting – because let’s face it, things don’t always go according to plan. If your console isn’t turning on, or you’re experiencing some other issue, don’t panic. Take a deep breath, and methodically work through the problem, checking each component and connection to make sure everything is secure and functioning properly. With a little patience and persistence, you should be able to identify and fix the issue.
Retro Console Modding Unleashed
Now that we’ve dove into the world of retro console modding, it’s time to take it to the next level. Retro handheld console modifications can be a game-changer, allowing you to play your favorite classic games on-the-go with improved performance and extended battery life. When it comes to upgrading your Nintendo 64, there are several options to consider, from simple hardware tweaks to more complex overhauls.
As you explore the world of retro console modding, you’ll discover a wide range of vintage gaming console restoration tips and tricks to help you breathe new life into your old systems. From cleaning and refurbishing original components to installing modern upgrades, the possibilities are endless. For example, sega genesis hardware tweaks can significantly improve the performance and functionality of this beloved console.
To get the most out of your retro console modding experience, don’t be afraid to experiment and try new things. Portable console battery life hacks can be a huge convenience, allowing you to play for hours on end without needing to recharge. Whether you’re working with an Atari 2600 or another classic system, the key to success lies in your willingness to get creative and think outside the box.
Nintendo 64 Upgrade Hacks
Now that we’ve unleashed the beast, let’s talk about one of my favorite consoles – the Nintendo 64. I’ve got a soft spot for this retro gem, and with a few clever hacks, you can breathe new life into it. One of my go-to upgrades is the installation of a USB port, allowing for easy game loading and elimination of those pesky cartridge issues.
I’ve also experimented with overclocking the N64’s processor, resulting in smoother gameplay and reduced lag. And, of course, no upgrade would be complete without a fresh coat of paint and some custom decals to give it that personalized touch. With these mods, you’ll be playing GoldenEye 007 like it’s 1999 all over again – but better.
Sega Genesis Hardware Tweaks
Now that we’ve unleashed the beast within our Nintendo 64, it’s time to give the Sega Genesis some love. One of my favorite hardware tweaks for this classic console is upgrading the capacitor bank. You see, those old caps can leak and cause all sorts of issues, from distorted audio to a completely dead system. By swapping them out with some fresh, high-quality replacements, you can breathe new life into your Genesis and ensure it keeps on gaming for years to come.
I like to use a combination of surface-mount and through-hole caps to get the job done. It’s a bit fiddly, but trust me, it’s worth it. Not only will your Genesis be more reliable, but it’ll also sound better and run cooler. Just be sure to follow proper safety protocols when working with electronics, and don’t be afraid to get creative with your capacitor selection – after all, that’s what DIY is all about!
Modding Mastery: 5 Essential Tips to Unlock Your Retro Console's Full Potential
- Always ground yourself before handling internal components to prevent static electricity damage
- Use high-quality, precision tools to avoid stripping screws or damaging fragile circuit boards
- Keep a ‘parts graveyard’ of salvaged components from old devices to repurpose in future mods or repairs
- Document every step of your modding process with photos and notes to simplify troubleshooting and inspire future projects
- Join online forums and communities to share knowledge, learn from others, and stay up-to-date on the latest retro console modding techniques and discoveries
Key Takeaways for Retro Console Modding
By upgrading and modifying your old consoles, you can breathe new life into classic gaming systems and make them more capable than ever before
Retro console modding is not just about cosmetics; it’s about unlocking hidden potential, improving performance, and adding new features to your beloved gaming devices
With the right mindset and a bit of technical know-how, you can void your warranty with confidence and join the ranks of DIY enthusiasts who refuse to let their tech gather dust
Embracing the Void
Retro console modding isn’t just about upgrading old hardware, it’s about reclaiming our right to tinker, to experiment, and to push the boundaries of what’s possible – one soldered joint at a time.
Frankie Miller
Conclusion: Unleashing the Full Potential of Retro Consoles
We’ve covered a lot of ground in this guide to retro console modding, from the fundamentals of hardware tweaks to specific upgrade hacks for the Nintendo 64 and Sega Genesis. By following these steps and applying a bit of creative problem-solving, you’ve not only learned how to breathe new life into old consoles but also how to unleash their full potential. Whether you’re looking to improve performance, add new features, or simply give your retro console a fresh makeover, the skills you’ve acquired will serve as a solid foundation for any future modding projects. Remember, the world of retro console modding is all about experimentation and pushing boundaries, so don’t be afraid to think outside the box and try new things.
As you put down your screwdriver and step back to admire your handiwork, remember that the true power of modding lies not just in the upgrades themselves, but in the sense of accomplishment and pride that comes with creating something truly unique. By embracing the DIY spirit and taking matters into your own hands, you’re not only extending the life of your retro console but also becoming part of a thriving community of makers and modders who believe in the importance of self-expression and innovation. So, keep tinkering, keep pushing the limits, and most importantly, keep having fun – because in the world of retro console modding, the possibilities are endless.
Frequently Asked Questions
What are the most common issues to watch out for when modding a retro console to prevent damage?
Watch out for overheating, soldering mistakes, and static electricity when modding your retro console. These common pitfalls can damage your hardware and set you back. I’ve learned from my own mistakes – trust me, you don’t want to fry your circuit board. Take your time, ground yourself, and double-check those solder joints to avoid costly errors.
How do I troubleshoot if my modded console isn't recognizing the new hardware or software upgrades?
Troubleshooting time! If your modded console isn’t recognizing new hardware or software, first check all connections – a loose wire can be a real party pooper. Next, verify that your upgrades are compatible and properly installed. Still stuck? Try resetting to default settings or re-flashing the firmware. And don’t worry, we’ve all been there – it’s just a matter of tinkering until it clicks!
Are there any specific safety precautions I should take when working with old electronics to avoid electrical shock or other hazards?
Hey, safety first! When tinkering with old electronics, always unplug the device, and be mindful of capacitors that can store a charge. Use an anti-static wrist strap, and avoid touching internal components. Keep your workspace dry and well-ventilated. Don’t be afraid to research specific safety precautions for your console – better safe than shocked, right?