


I still remember the first time I tried to build a pc from scratch – I was a teenager, and my friends thought I was crazy for trying to assemble a gaming rig on my own. But I was determined to prove them wrong, and after hours of tinkering, I finally had a working machine that could handle even the most demanding games. Fast forward to today, and I’ve lost count of how many PCs I’ve built, modified, and repaired. The truth is, how to build a pc isn’t rocket science – it’s a fun, rewarding project that can save you money and give you a sense of pride and accomplishment.
In this article, I’ll walk you through the entire process of how to build a pc, from choosing the right components to troubleshooting common issues. I’ll share my own experiences, tips, and tricks to help you avoid the pitfalls and get the most out of your build. You won’t find any generic or outdated advice here – just honest, practical guidance from someone who’s been in your shoes. By the end of this guide, you’ll have the confidence and knowledge to build a pc that meets your needs and exceeds your expectations. So, let’s get started and turn your PC-building dreams into a reality!
Table of Contents
Guide Overview: What You'll Need

Total Time: 2 hours 30 minutes
Estimated Cost: $500 – $1500
Difficulty Level: Intermediate
Tools Required
- Screwdrivers (flathead and Phillips)
- Torx driver (for certain CPU coolers)
- Pliers (for gripping small components)
- Wire cutters (for cutting cables to size)
- Wire strippers (for stripping insulation from cables)
- Thermal paste (for applying to CPU and GPU)
Supplies & Materials
- CPU (choose from AMD or Intel)
- Motherboard (compatible with chosen CPU)
- RAM (at least 16 GB recommended)
- Storage Drive (HDD or SSD, at least 512 GB recommended)
- Power Supply (at least 650 W recommended)
- Graphics Card (optional, but recommended for gaming)
- Case (choose a size that fits all components, typically 18 inches in height)
- Cooling System (choose from air or liquid cooling options)
- Operating System (choose from Windows, Linux, or macOS)
Step-by-Step Instructions
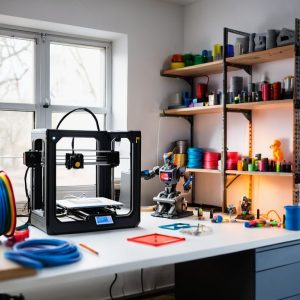
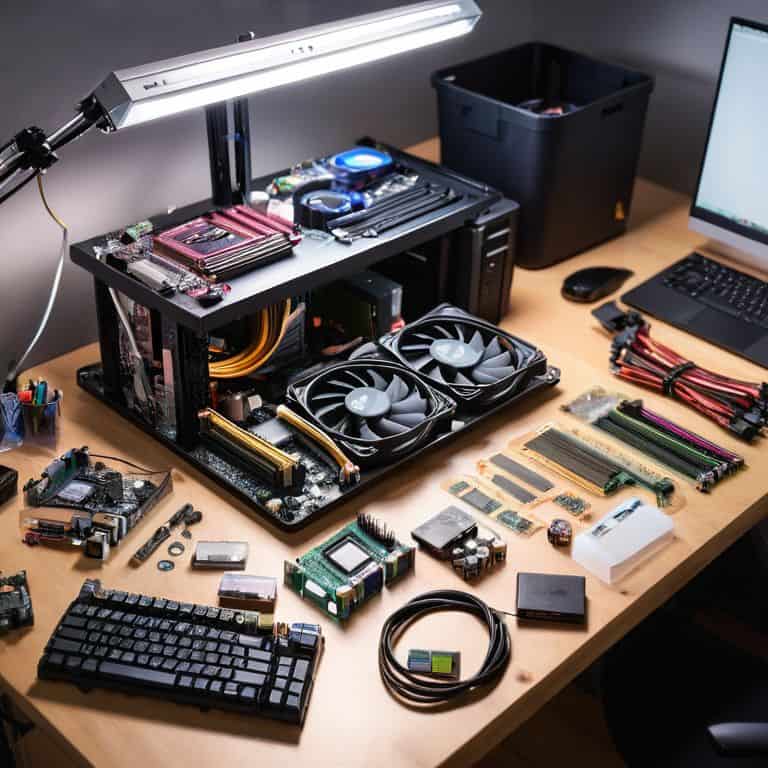
- 1. First, let’s start by unboxing and preparing our components. This includes the CPU, motherboard, RAM, graphics card, storage drive, and power supply. Take your time to carefully unpack each item, and make sure you have all the necessary screws, cables, and manuals. I like to lay everything out on a large, flat surface to get a good overview of what we’re working with.
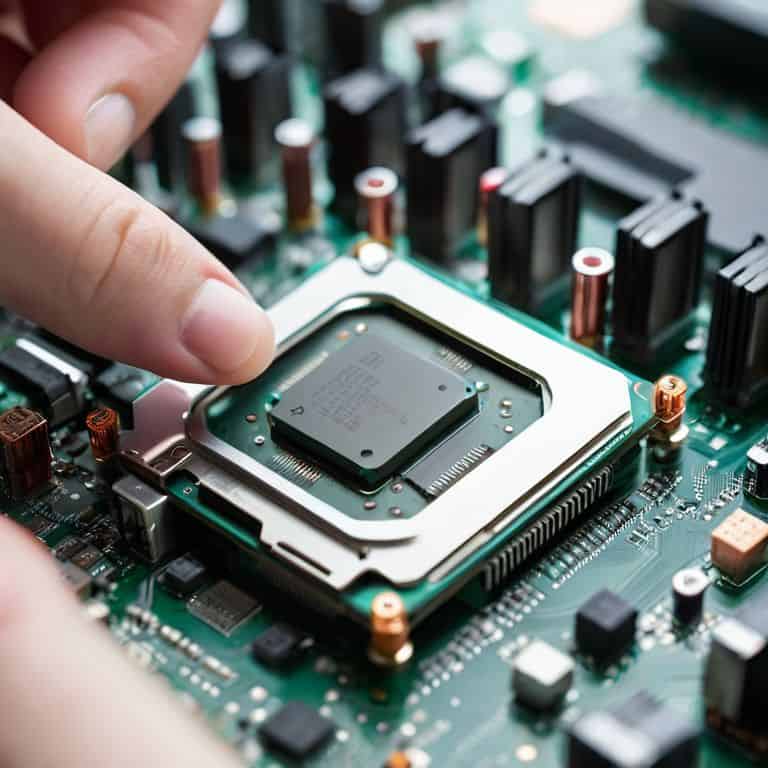
- 2. Next, we need to ground ourselves to prevent any static electricity damage to our components. You can do this by touching a grounded metal object or wearing an anti-static wrist strap. Now, let’s move on to installing the CPU onto the motherboard. Locate the CPU socket and gently lift the lever to open it. Remove the CPU from its packaging and align it with the socket, making sure to match the pins on the CPU with the holes on the socket.
- 3. Now that our CPU is installed, it’s time to add the thermal paste and cooler. Apply a small amount of thermal paste to the CPU die (the top surface) and gently press the cooler onto the CPU, making sure it’s securely fastened with the provided screws. Don’t overtighten, as this can damage the CPU or motherboard. Take a step back and admire your handiwork – we’re making progress!
- 4. The next step is to install the RAM, which is relatively straightforward. Locate the RAM slots on the motherboard and align the notches on the RAM with the tabs on the slot. Gently push the RAM into the slot until it clicks into place. Make sure it’s securely fastened, but don’t force it – we don’t want to bend any pins.
- 5. With our RAM installed, let’s move on to the storage drive installation. We’ll be using a SATA SSD for this build, which offers fast read and write speeds. Locate the SATA ports on the motherboard and connect one end of the SATA cable to the port. Connect the other end to the SSD, and then screw the SSD into the case using the provided screws. Don’t forget to connect the power cable to the SSD as well.
- 6. Now it’s time to install the power supply, which is the heart of our system. Locate the power supply bay in the case and remove any screws or clips that hold it in place. Carefully slide the power supply into the bay, making sure to align the screws with the holes. Replace the screws and clips, and then connect the power cables to the motherboard, storage drive, and any other components that require power.
- 7. The final step is to connect the front panel headers to the motherboard. This includes the power button, reset button, and LED indicators. Locate the front panel header on the motherboard and match the cables to the corresponding pins. This can be a bit fiddly, so take your time and make sure everything is securely connected. Now, let’s plug in the power cord and press the power button – our system should roar to life!
Build Your Beast
Now that we’ve got the basics covered, it’s time to supercharge our rig. When choosing the right cpu, remember that it’s the brain of your operation, so don’t skimp out. Look for one that balances power with efficiency, and make sure it’s compatible with your best motherboard for gaming. I personally love the thrill of finding the perfect combo, and it’s amazing how much of a difference it can make in your overall performance.
As we dive deeper, let’s talk about pc cooling systems explained. You don’t want your beast to overheat, trust me. I’ve been there, and it’s not pretty. Optimizing pc performance is all about finding that sweet spot between power and temperature control. Make sure you’ve got a solid cooling system in place, whether it’s air or liquid, and you’ll be golden.
When it comes to installing a graphics card, don’t be intimidated. It’s easier than you think, and the payoff is huge. With the right tools and a bit of patience, you’ll be enjoying silky-smooth graphics in no time. Just remember to handle that card with care, and double-check your connections before powering up.
Best Motherboard for Gaming Rebels Picks
When it comes to the motherboard, I’m looking for something that can keep up with my CPU’s chaos. I need a board that’s packed with features, has ample room for expansion, and can handle the heat. My top pick is the ASRock X570M Steel Legend Micro ATX – it’s a beast of a board that checks all my boxes. With its robust power delivery, high-quality audio capacitors, and sleek design, it’s the perfect foundation for my gaming rig.
I’ve also got my eye on the MSI MPG X570 Gaming Plus – it’s a close second, with its impressive overclocking capabilities and comprehensive cooling system. Both of these boards offer the perfect blend of performance, features, and style, making them my top recommendations for any gamer looking to build a powerful PC.
Choosing the Right Cpu for Chaos
When it comes to choosing the right CPU, I say, why settle for ordinary? You want a processor that’s gonna make your PC a powerhouse. I’m talking about Intel Core i9 or AMD Ryzen 9 – these beasts can handle anything you throw at them. For my own builds, I swear by the Ryzen 9 – it’s a game-changer. With its insane clock speeds and cores, you’ll be able to tackle even the most demanding tasks with ease.
Think about what you’ll be using your PC for – gaming, video editing, or maybe some serious coding? Whatever it is, choose a CPU that’s up for the challenge. Don’t be afraid to get a little crazy and opt for something that’s considered “overkill” – trust me, you won’t regret it. A powerful CPU is the heart of your build, and it’s worth investing in.
5 Crucial Tips to Build a PC That's a Real Game-Changer
- Plan Your Attack: Before You Start Building, Make Sure You’ve Got All the Right Components and Tools Within Arm’s Reach
- Don’t Be Afraid to Get Creative with Your Case: Think About Cable Management, Airflow, and Aesthetics to Make Your Build Truly Unique
- Choose Your CPU and Motherboard Like You’re Building a Dream Team: Consider Factors Like Cores, Threads, and PCIe Lanes to Ensure Your PC Can Handle Anything You Throw at It
- RAM and Storage: Why You Shouldn’t Skimp on the Good Stuff – Trust Me, You Won’t Regret Investing in Top-Notch Memory and Storage for Your PC
- Troubleshoot Like a Pro: Keep an Eye Out for Common Mistakes Like Loose Screws, Incorrectly Seated RAM, and Poor Cable Management to Avoid Hair-Pulling Frustrations Down the Line
Rebel's Recap: 3 Key Takeaways
Always choose components that align with your goals, whether it’s raw processing power or sleek design – your PC, your rules
Never underestimate the importance of a solid motherboard, it’s the backbone of your operation and can make or break your gaming experience
Building a PC from scratch isn’t just about following a manual, it’s about embracing the DIY spirit and creating something that’s truly yours, so don’t be afraid to experiment and void that warranty
Building Your Dream PC
The only way to truly own your technology is to build it with your own hands, and that’s exactly what we’re going to do – one screw, one wire, and one voided warranty at a time.
Frankie Miller
Embracing the Rebel Spirit: Conclusion
We’ve covered a lot of ground in this guide, from building a beast of a PC to choosing the perfect components, like the right CPU for chaos and the best motherboard for gaming. You’ve learned how to pick out the ideal parts for your needs, whether you’re a gamer, a content creator, or just someone who wants a computer that can keep up with their active lifestyle. By following these steps, you’ve not only saved money but also gained a sense of accomplishment and pride in your work. Remember, the key to a successful build is attention to detail and a willingness to get your hands dirty.
Now that you’ve completed your PC build, it’s time to unleash your creativity and make it truly yours. Whether you’re into overclocking, modding, or just want to show off your new rig, the possibilities are endless. Don’t be afraid to void that warranty and try new things – it’s all part of the fun. As you sit back and admire your handiwork, remember that building a PC is not just about the end result, but about the journey itself. So, go ahead, push the limits of what your PC can do, and join the ranks of the DIY rebels who refuse to be held back by closed-ecosystem products.
Frequently Asked Questions
What are the most important factors to consider when choosing a CPU for my gaming PC?
When choosing a CPU for gaming, I look for high clock speeds, multiple cores, and decent overclocking headroom. Think of it like the engine of your gaming rig – you want it to be powerful, efficient, and able to handle intense workloads. I’m talking at least 4 cores, 3.5 GHz or higher, and support for hyper-threading. Anything less, and you’ll be sacrificing performance.
How do I ensure compatibility between my motherboard and other components?
Compatibility is key, my friend! When pairing your motherboard with other components, check the socket type, RAM compatibility, and chipset support. Make sure your CPU, RAM, and GPU are all speaking the same language. I like to use online tools or the manufacturer’s website to double-check compatibility before making any purchases – it’s a rebel’s best friend!
What are some common mistakes to avoid when installing the CPU and motherboard to prevent damage or overheating?
Whoa, don’t even think about installing that CPU without thermal paste, and make sure the motherboard stand-offs are in place! I’ve seen folks damage their boards by skipping these steps. Also, handle the CPU by the edges, never touch the pins, and always ground yourself to prevent static damage. Let’s get it done right!