


I still remember the first time I stumbled upon a Raspberry Pi – it was like finding a treasure trove of possibilities. I was working on a project in my workshop, surrounded by wires, circuits, and scraps of code, when I realized that this tiny computer was the key to unlocking a world of DIY delights. A guide to Raspberry Pi projects was just what I needed to take my creations to the next level. But, as I delved deeper, I found that most resources were either too vague or too technical, leaving me frustrated and wondering if I was the only one who felt like I was stuck in a sea of confusing tutorials.
As someone who’s spent years voiding warranties and pushing boundaries, I’m excited to share my honest, no-hype advice on how to get the most out of your Raspberry Pi. In this article, I’ll walk you through the process of creating amazing projects, from home automation to retro game consoles. You’ll learn how to navigate the ups and downs of Raspberry Pi development, and I’ll share my personal tips and tricks for overcoming common obstacles. By the end of this guide to Raspberry Pi projects, you’ll be equipped with the knowledge and confidence to bring your own unique ideas to life, and join the ranks of DIY enthusiasts who are redefining what’s possible with technology.
Table of Contents
Guide Overview: What You'll Need
Total Time: 2 hours 30 minutes to several days
Estimated Cost: $50 – $200
Difficulty Level: Intermediate / Hard
Tools Required
- MicroSD card reader (for loading operating system)
- HDMI cable (for connecting to a monitor)
- Internet connection (for downloading software and updates)
- Wire strippers (for stripping wires)
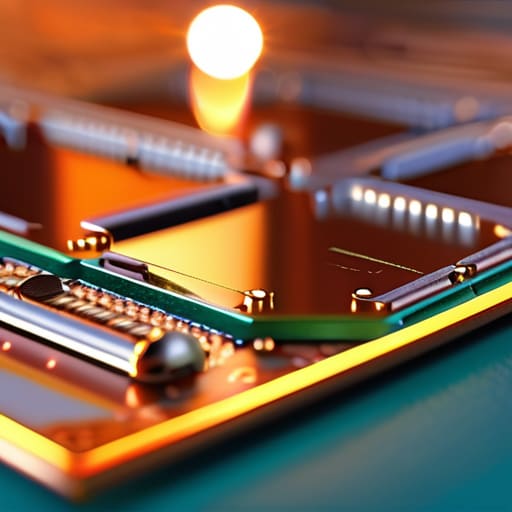
- Soldering iron (for advanced projects)
Supplies & Materials
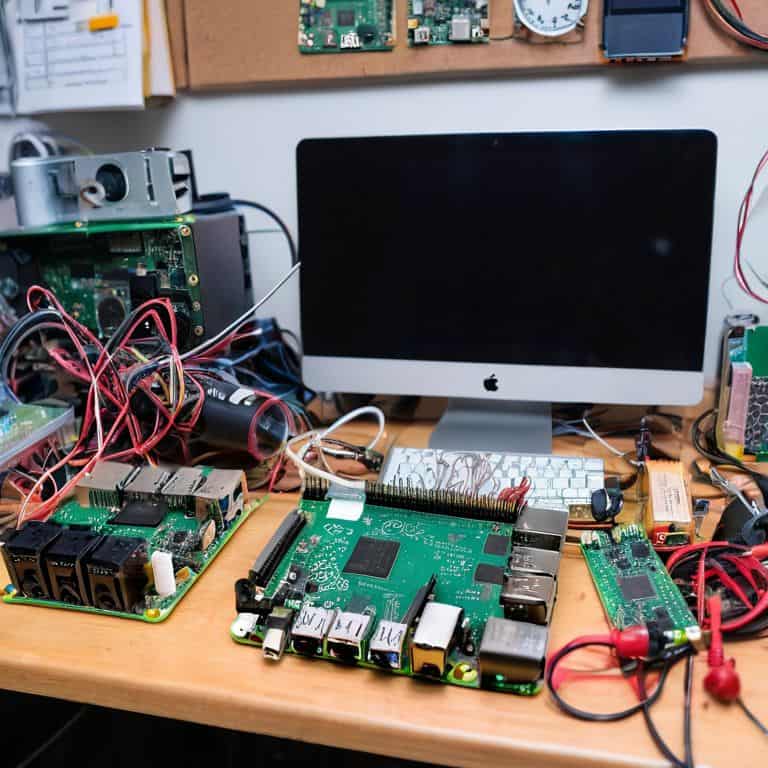
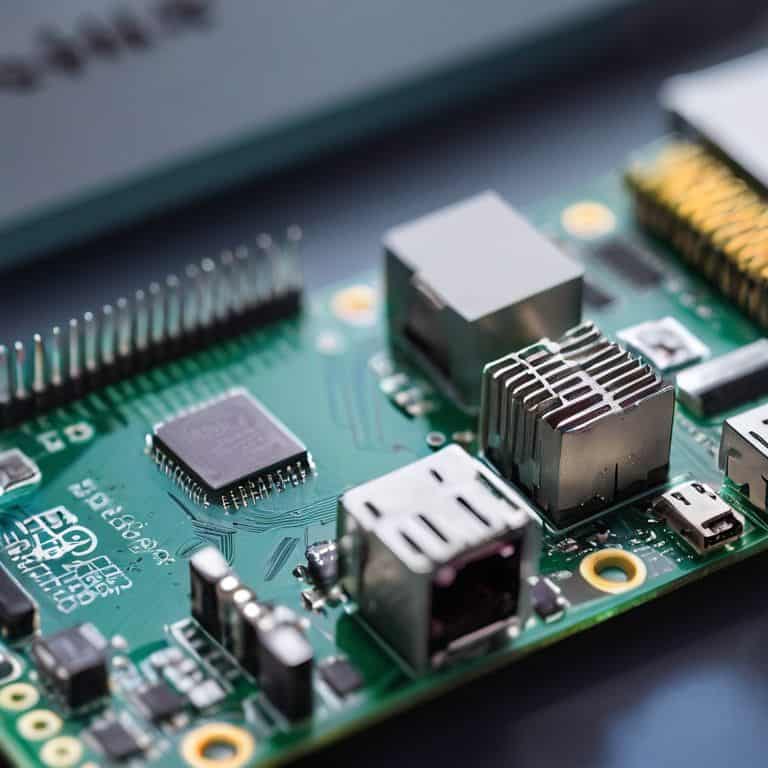
- Raspberry Pi board (e.g., Raspberry Pi 4 Model B)
- MicroSD card (at least 8 gigabytes)
- Power supply (e.g., 5 volts, 2.5 amps)
- Jumper wires (for connecting components)
- Breadboard (for prototyping circuits)
Step-by-Step Instructions
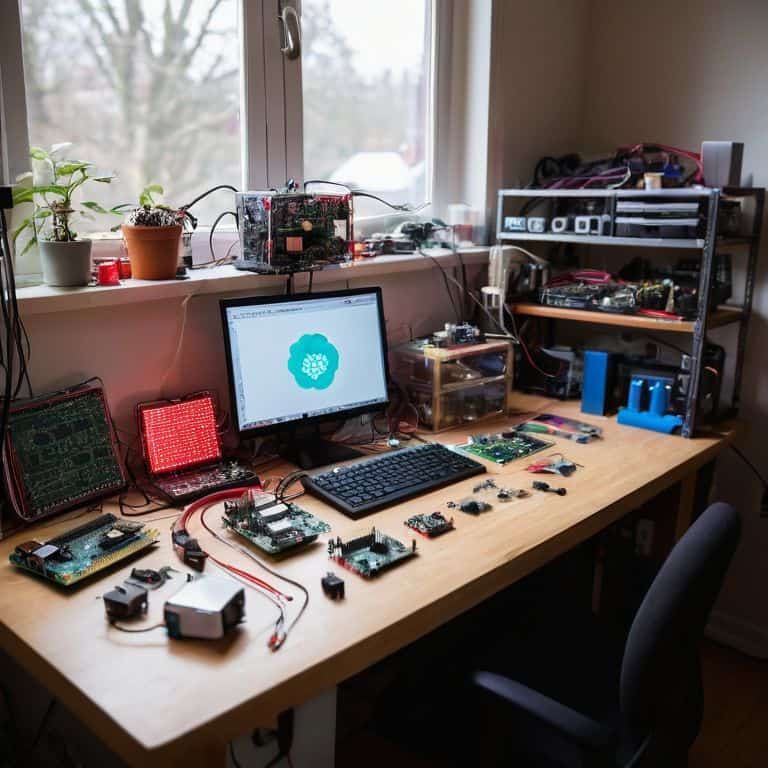
- 1. First, let’s get started with the basics – setting up our Raspberry Pi. This involves unpacking the device, inserting the microSD card, and connecting the power supply, HDMI cable, and keyboard. I like to think of this step as the foundation of our project, where we lay the groundwork for all the cool things we’ll be doing later. Make sure to handle the Raspberry Pi by the edges to avoid any damage to the components.
- 2. Next, we need to install the operating system on our Raspberry Pi. I recommend using the official Raspberry Pi Imager to download and install the latest version of Raspberry Pi OS. This process is relatively straightforward, but be patient as it may take a few minutes to complete. Once the installation is complete, we’ll be able to start exploring the world of Raspberry Pi projects.
- 3. Now that our Raspberry Pi is up and running, let’s move on to configuring the network settings. This is a crucial step, as it will allow us to connect to the internet and access various resources. We can do this by clicking on the Raspberry Pi icon in the top left corner of the screen, then selecting “Preferences” and “Raspberry Pi Configuration.” From here, we can set up our WiFi connection and configure other settings as needed.
- 4. With our network settings in place, we can start exploring the Raspberry Pi interface. Take some time to familiarize yourself with the different menus and options. We’ll be using the terminal to run commands and install software, so it’s a good idea to get comfortable with the interface. Don’t worry if it seems overwhelming at first – we’ll be taking it one step at a time.
- 5. Let’s move on to installing some essential software. We’ll need to install packages like Python, Git, and Vim to get started with our projects. We can do this by running commands in the terminal, such as “sudo apt-get update” and “sudo apt-get install python3.” Make sure to follow the prompts carefully, as some packages may require additional configuration.
- 6. Now that we have our software installed, let’s start with a simple project – building a digital clock. We’ll use Python to create a script that displays the current time on the screen. This project is a great way to get started with programming on the Raspberry Pi, and it’s a fun way to see our device in action. We’ll need to install a library like Tkinter to create the graphical interface.
- 7. As we work on our digital clock project, we’ll encounter some common pitfalls. Don’t worry if you run into errors or issues – they’re an opportunity to learn and troubleshoot. Take your time, and don’t be afraid to consult the documentation or search for solutions online. Remember, the goal is to have fun and learn as we go, so don’t get discouraged if things don’t work out as planned at first.
A Guide to Raspberry Pi Projects

As we dive deeper into the world of Raspberry Pi, it’s essential to explore raspberry pi home automation projects that can make our lives easier. One of my favorite projects is creating a smart lighting system using Python programming for Raspberry Pi. It’s amazing how a few lines of code can transform your living space into a futuristic hub. I’ve found that IoT projects with Raspberry Pi are not only fun but also highly rewarding, allowing us to automate and control various aspects of our homes.
When it comes to getting started with Raspberry Pi, I always recommend beginning with beginner-friendly Raspberry Pi projects. These projects are designed to be simple, yet engaging, and can help you build confidence in your abilities. The Raspberry Pi robotics kit is an excellent example of this, providing a comprehensive platform for learning and experimentation. By starting with these types of projects, you’ll be well on your way to creating more complex and innovative systems.
As you progress in your Raspberry Pi journey, you may want to explore more advanced projects, such as building a Raspberry Pi retro game console. This project requires a bit more expertise, but the end result is well worth the effort. With the right guidance and resources, you can create a fully functional retro game console that’s sure to impress your friends and family. Remember, the key to success lies in experimentation and perseverance, so don’t be afraid to try new things and learn from your mistakes.
Iot Projects With Python Programming
Now that we’ve dipped our toes into home automation, let’s dive deeper into IoT projects with Python programming. I love using Python with my Raspberry Pi because it’s incredibly versatile and easy to learn. We can create scripts to control sensors, LEDs, and even motors, making it a breeze to build complex IoT projects.
With Python, we can make our Raspberry Pi talk to other devices, like smart home hubs or even our phones. I’ve used Python to build a motion-sensing security camera and a automated gardening system – the possibilities are endless! By combining Python programming with our Raspberry Pi, we can create innovative IoT solutions that make our lives easier and more fun.
Raspberry Pi Home Automation Hacks
Now that we’ve covered the basics, let’s dive into some exciting Raspberry Pi home automation hacks. I’ve always been fascinated by the idea of controlling my lights, thermostat, and security cameras with a single device. With Raspberry Pi, you can create a centralized hub to automate and monitor your home. From voice-controlled lighting to motion-sensor security systems, the possibilities are endless. I’ve experimented with various projects, including integrating my Raspberry Pi with popular smart home platforms to create a seamless experience.
One of my favorite projects is building a voice-controlled home automation system using Raspberry Pi and a few simple components. By combining the Pi with a microphone and speaker, you can create a system that responds to voice commands, making it easy to control your home’s lighting, temperature, and security with just your voice.
5 Essential Tips to Supercharge Your Raspberry Pi Projects
- Start with the basics: Don’t be afraid to get your hands dirty and experiment with simple projects like LED blinkers or temperature sensors to get a feel for the Raspberry Pi’s capabilities
- Choose the right OS: Select a Raspberry Pi-friendly operating system like Raspbian or Ubuntu Mate, and make sure you understand the pros and cons of each before diving into your project
- Experiment with different programming languages: While Python is a popular choice for Raspberry Pi projects, don’t be afraid to try out other languages like Java, C++, or even Scratch to find what works best for you
- Join the community: The Raspberry Pi community is vast and active, with countless forums, tutorials, and projects to draw inspiration from – don’t be shy to ask for help or share your own creations
- Void that warranty: Don’t be afraid to push the limits of your Raspberry Pi and try out new, unconventional projects – after all, that’s what DIY is all about, and you might just stumble upon something revolutionary
Key Takeaways for Raspberry Pi Enthusiasts
By embracing the DIY spirit and experimenting with Raspberry Pi projects, you can unlock a world of creative possibilities and gain hands-on experience with coding, electronics, and problem-solving.
From home automation hacks to IoT projects with Python programming, the Raspberry Pi offers a versatile platform for makers and tinkerers to bring their ideas to life and push the boundaries of what is possible with open-source technology.
Remember, the true power of Raspberry Pi lies not just in its capabilities, but in the community-driven spirit of experimentation and collaboration – so don’t be afraid to void that warranty, share your projects, and learn from the experiences of others to take your skills to the next level.
Empowering Makers
The Raspberry Pi is more than just a tiny computer – it’s a key to unlocking a world of possibilities, where the only limit is your imagination and the only rule is to never stop tinkering.
Frankie Miller
Conclusion: Empowering Your DIY Spirit
We’ve covered a lot of ground in this guide to Raspberry Pi projects, from home automation hacks to IoT projects with Python programming. The key takeaway is that with a Raspberry Pi, you’re not just limited to the projects I’ve outlined – the possibilities are endless, and it’s up to you to experiment and innovate. Whether you’re a seasoned maker or just starting out, the Raspberry Pi is an incredibly versatile tool that can help you bring your ideas to life. By following the step-by-step instructions and tips outlined in this guide, you’ll be well on your way to creating your own unique projects and pushing the boundaries of what’s possible with this tiny but powerful computer.
As you continue on your DIY journey, remember that the right to repair and modify your own technology is a fundamental part of what makes it so rewarding. Don’t be afraid to void that warranty and get your hands dirty – it’s often the best way to learn and discover new things. With the Raspberry Pi, you have the power to create, innovate, and make a real impact on the world around you. So don’t just follow tutorials and guides – use them as a starting point and see where your imagination takes you. The world of DIY tech is full of endless possibilities, and with the Raspberry Pi by your side, you’re ready to take on any project that comes your way.
Frequently Asked Questions
What are the most essential components and materials needed to get started with Raspberry Pi projects?
Let’s get started! For Raspberry Pi projects, you’ll need the Pi itself, a microSD card, power supply, and some basic electronics like breadboards, jumper wires, and LEDs. Don’t forget a keyboard, mouse, and monitor for setup. I like to keep a stash of spare parts on hand, just in case – it’s all about being prepared to experiment and try new things!
How do I troubleshoot common issues with my Raspberry Pi, such as connectivity problems or frozen screens?
Troubleshooting time! For connectivity issues, check your Wi-Fi config and restart your router. Frozen screens usually mean a software glitch – try rebooting or re-flashing your OS. If all else fails, let’s dive into the logs together and debug like pros!
Can I use Raspberry Pi for more advanced projects, like AI or machine learning, and what kind of resources would I need to make that happen?
Absolutely, let’s dive into AI and machine learning with Raspberry Pi! You’ll need to install libraries like TensorFlow or PyTorch, and possibly upgrade your RAM. I’ll walk you through setting up a Raspberry Pi 4 with a 64-bit OS for more intense projects – we’ll get started with some cool AI-powered home automation ideas!