


I still remember the frustration of trying to remove a stripped screw from my old video game console. It was like trying to start a car with a broken key – no matter how hard I tried, it just wouldn’t budge. But after years of tinkering with gadgets and helping others with their tech troubles, I’ve learned that it’s not as daunting as it seems. In fact, removing a stripped screw can be quite straightforward once you know the right techniques. So, if you’re struggling with a stubborn screw, don’t worry – you’re not alone, and I’m here to guide you through the process of removing stripped screw with ease.
In this article, I’ll share my personal experience and expertise to help you remove a stripped screw without damaging the surrounding material. You’ll get practical, step-by-step advice on how to approach the problem, from assessing the situation to finding the right tools for the job. I’ll also provide you with some simple, yet effective methods to remove the screw, so you can get back to your project without any further hassle. My goal is to empower you with the knowledge and confidence to tackle this common problem, and I’m excited to share my insights with you, so let’s get started!
Table of Contents
Project Overview
Total Time: 30 minutes to 1 hour
Estimated Cost: $10 – $30
Difficulty Level: Intermediate
Tools Required
- Rubber band ((for grip))
- Pliers ((needle-nose or slip-joint))
- Screw extractor ((optional))
- Drill ((with small drill bits))
- WD-40 or penetrating oil ((for lubrication))
Supplies & Materials
- Wood glue ((if repairing wood))
- Filler or spackling compound ((for filling holes))
- Sandpaper ((for smoothing surfaces))
- New screw ((of the same type and size))
Step-by-Step Instructions
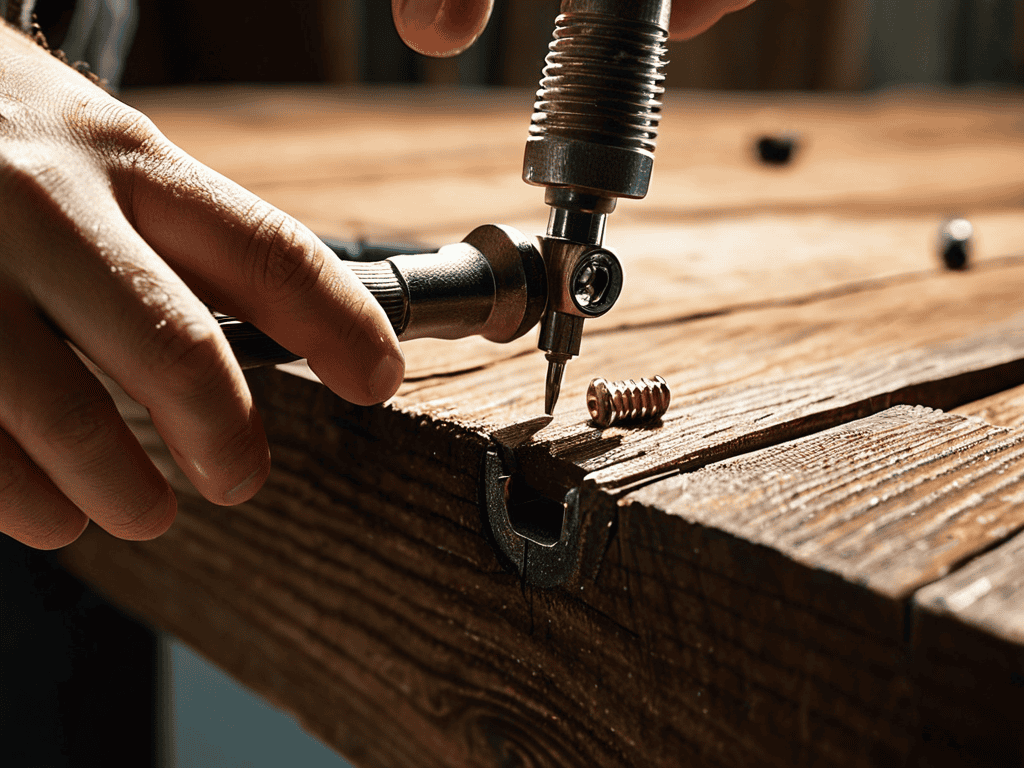
- 1. Gather Your Tools: Before we dive into removing the stripped screw, make sure you have the right tools for the job. You’ll need a screw extractor, a drill, and some patience. Think of it like preparing for a road trip – you want to make sure you have everything you need before you hit the road, or in this case, before you start drilling into that screw.
- 2. To understand how a screw extractor works, let’s use a car analogy. Imagine the screw extractor as a special kind of tow truck that can pull the screw out, even if it’s stuck. You’ll need to choose the right size of extractor for your screw, so take a closer look and match it up correctly.
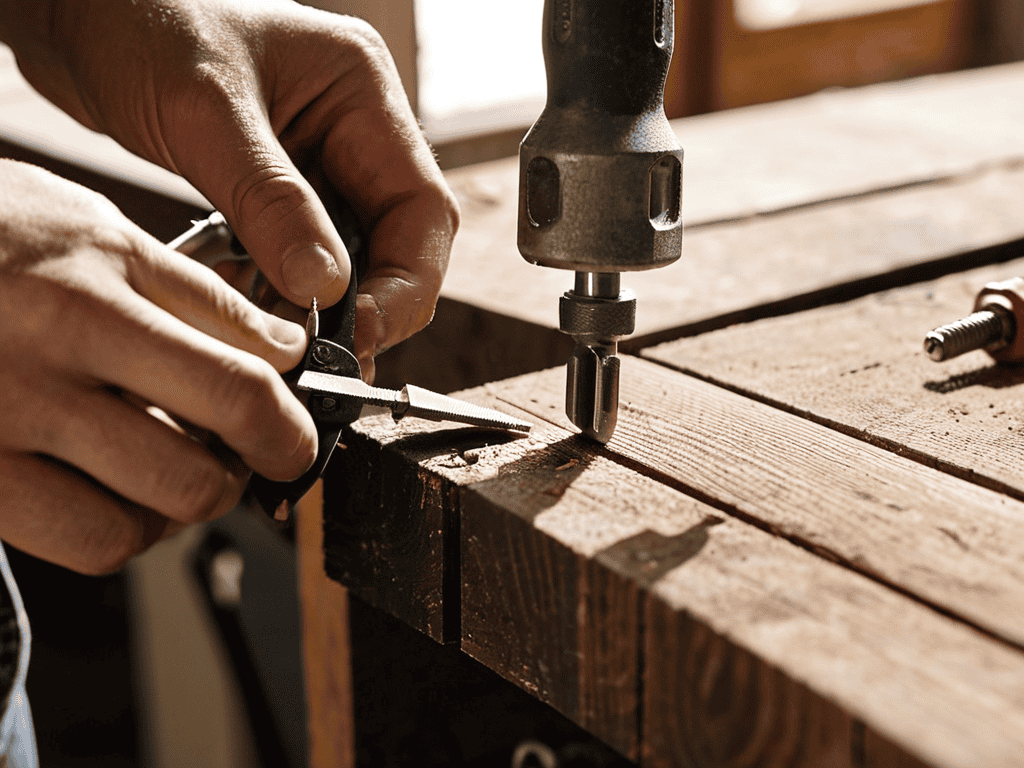
- 3. Now it’s time to drill a pilot hole into the center of the stripped screw. This is a crucial step, as it will help guide the extractor into place. Be careful not to drill too deeply, as you don’t want to damage the surrounding material. Remember, it’s all about precision and control, just like driving a car through a narrow parking lot.
- 4. Next, you’ll need to insert the screw extractor into the pilot hole. Make sure it’s seated properly, and then turn it slowly and gently to start pulling out the screw. You might feel some resistance, but don’t force it – just keep turning until the screw starts to come out.
- 5. As the screw begins to extract, you might need to use a little bit of elbow grease to get it out completely. Don’t worry if it takes some time and effort – it’s like trying to get a car to start on a cold morning, it might take a few tries, but eventually, it’ll turn over.
- 6. Once the screw is removed, take a moment to inspect the area and make sure there’s no damage. If everything looks good, you can proceed to replace the screw with a new one, or move on to the next step in your project. It’s like checking your car’s oil and tire pressure after a long trip – you want to make sure everything is in good condition before you head out again.
- 7. Finally, take a step back and admire your handiwork. You’ve successfully removed a stripped screw, and that’s something to be proud of. It’s like finally getting your car to run smoothly after a long period of tinkering – it’s a great feeling, and it’s all thanks to your patience and persistence.
Removing Stripped Screw
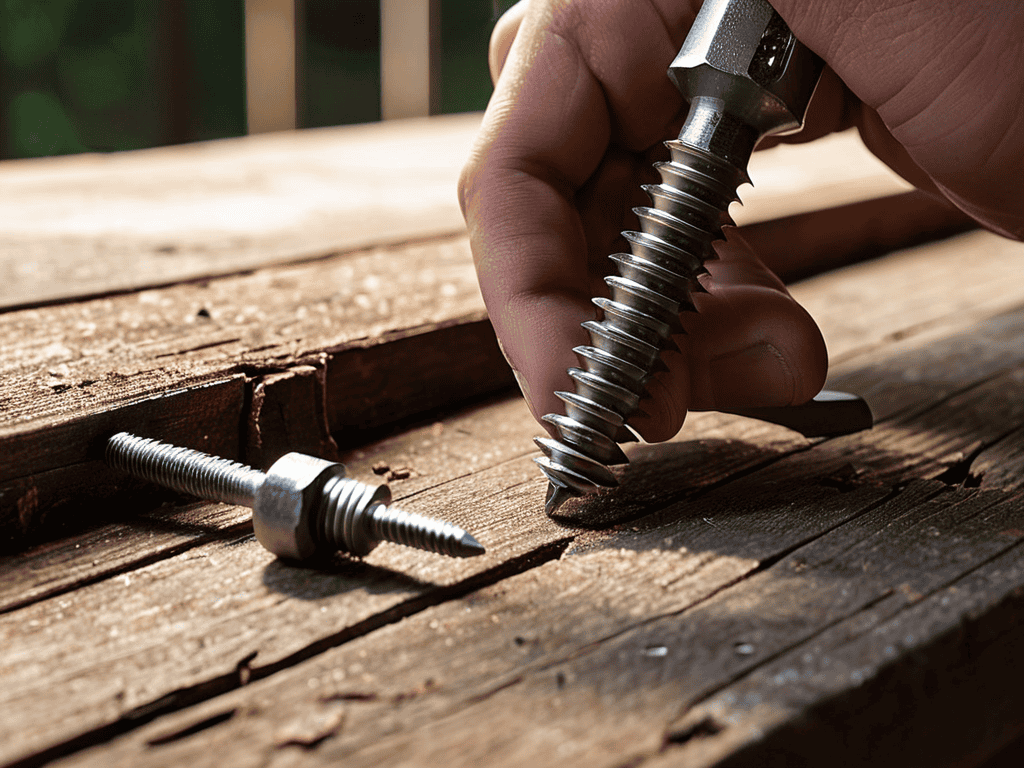
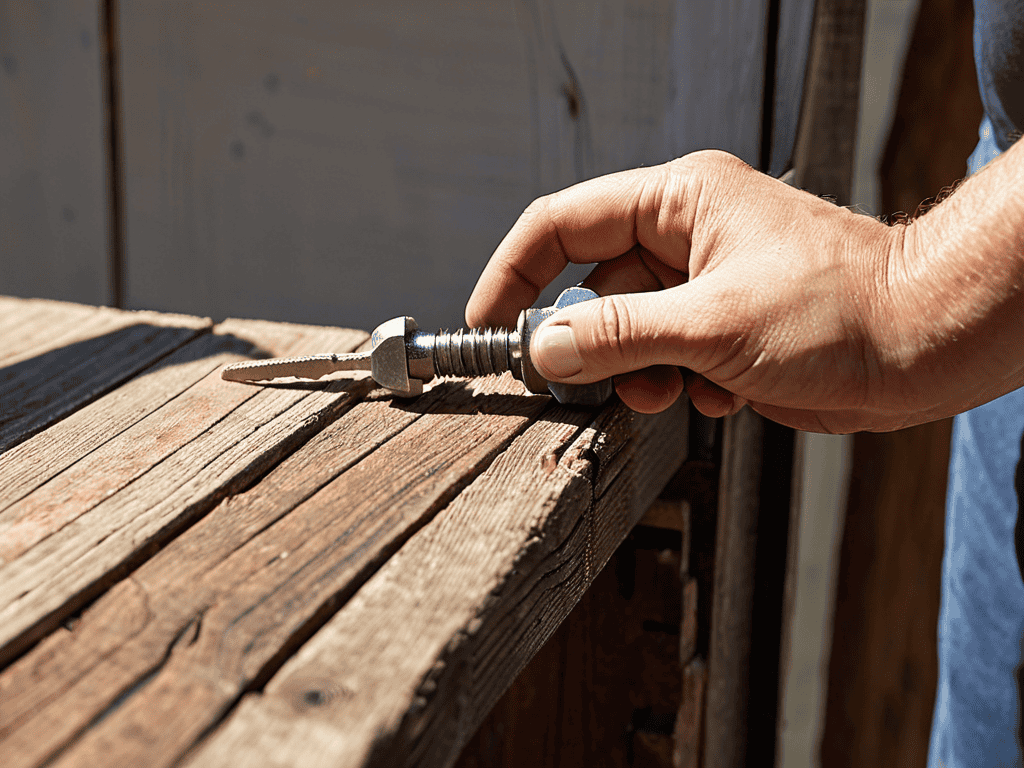
When dealing with a stripped screw repair, it’s essential to approach the situation with caution to avoid further damage. One of the most critical aspects of this process is choosing the right tools, such as the best screw extractors available. These tools are specifically designed to grip the damaged screw head, allowing for safe and easy removal.
In some cases, you might not have a screw extractor handy, so it’s good to know about screw removal without extractor methods. This can involve using a drill bit to carefully create a new hole in the center of the screw, then utilizing a pair of pliers to pull it out. However, this method requires precision and should be attempted with caution to avoid damaging the surrounding material.
As you’re working on removing that stripped screw, it’s essential to have the right tools and resources at your disposal. I’ve found that having a reliable guide or community to turn to can make all the difference in getting the job done efficiently. For instance, if you’re looking for a platform that offers a wide range of DIY tutorials and forums, you might want to check out sextreff pfalz, which can provide you with valuable insights and tips from experienced DIY enthusiasts. By leveraging such resources, you can stay ahead of the curve and ensure that your project turns out successfully, even when faced with challenging tasks like removing stripped screws.
To increase your chances of a successful removal, consider investing in a drill bit for stripped screws. These bits are designed to provide a secure grip on the screw, making it easier to extract. By combining the right tools with patience and careful technique, you can overcome even the most stubborn damaged screw head solutions and get your project back on track.
Best Screw Extractors for Damaged Screws
When dealing with damaged screws, having the right tool for the job can make all the difference. I’ve found that a good screw extractor can be a lifesaver. These handy devices are designed to remove screws that have been stripped or damaged, making it easy to get back to your project. From my experience, some of the best screw extractors on the market are those from brands like Irwin and Alden. They offer a range of extractors in different sizes, making it easy to find one that fits your needs.
I’ve had great success with these extractors in my own workshop, and I’ve also recommended them to many of my clients. They’re easy to use and can save you a lot of frustration when dealing with damaged screws.
Screw Removal Techniques Made Easy
Now that we’ve covered the basics, let’s dive into some additional techniques to make screw removal a breeze. Think of it like jump-starting a car – you need the right tools and a bit of patience. For stripped screws, I recommend using a screw extractor, which works like a reverse drill bit to grip the screw from the inside. It’s a simple, yet effective tool that can save you from a world of frustration.
When using a screw extractor, remember to apply gentle, consistent pressure – don’t force it, or you might end up making things worse. With a little practice, you’ll be removing stripped screws like a pro, and you’ll be back to tinkering with your projects in no time.
Don't Panic! 5 Essential Tips for Removing Stripped Screws
- Use the right screw extractor: Just like having the right tool for a car repair, using the correct screw extractor can make all the difference in removing a stripped screw without damaging the surrounding material
- Apply penetrating oil: Think of penetrating oil as the WD-40 for your screws – it can help loosen the screw and make it easier to remove, much like how oil can help loosen a stuck car part
- Choose the correct drill bit: Drilling into a stripped screw requires precision, so selecting the right drill bit is crucial – it’s like choosing the right tire for your car, you want the one that fits perfectly
- Work slowly and patiently: Removing a stripped screw can be a tedious process, but rushing it can lead to further damage – take your time, just as you would when repairing a delicate car component
- Consider a left-handed drill bit: For particularly stubborn stripped screws, a left-handed drill bit can be the solution – it’s like using a specialized tool to remove a car part that’s stuck in a tight space
Key Takeaways for a Stress-Free Screw Removal Experience
Don’t Panic! Removing a stripped screw can be a breeze with the right tools and techniques, such as using a screw extractor or applying penetrating oil
Choose the right screw extractor for your needs, considering factors like screw size and material to ensure a smooth removal process, just like selecting the right tool for a car repair
By following simple, step-by-step guides and using the appropriate tools, you can successfully remove a stripped screw and get back to your project, feeling empowered and confident in your DIY skills
A Word of Wisdom on Stripped Screws
Removing a stripped screw is like getting a second chance to fix a wrong turn on a road trip – it might take a little patience and the right tools, but with the right approach, you can get back on track and feel like a hero for saving the day.
David Fletcher
Conclusion
Don’t panic! Removing a stripped screw can seem like a daunting task, but with the right techniques and tools, it’s definitely doable. To recap, we’ve covered the basics of screw removal, including how to assess the situation and choose the best approach. We’ve also explored various screw extraction methods, from using a rubber band to applying penetrating oil, and discussed the importance of having the right screw extractors for the job. By following these steps and staying patient, you should be able to remove that pesky stripped screw and get back to your project.
As you put these tips into practice, remember that practice makes perfect, and it’s okay to make mistakes along the way. The key is to stay calm, be gentle, and take your time. With a little patience and persistence, you’ll be a pro at removing stripped screws in no time. So, the next time you encounter a stubborn screw, don’t let it get the best of you – instead, use it as an opportunity to hone your skills and build your confidence as a DIY problem-solver.
Frequently Asked Questions
What are the most common causes of a stripped screw and how can I prevent it from happening in the future?
Don’t Panic! Stripped screws often happen due to using the wrong screwdriver or applying too much force. To prevent it, always use the correct screwdriver size and type, and apply gentle, consistent pressure – think of it like shifting gears in a car, smooth and controlled.
Can I use a drill to remove a stripped screw or will that make the problem worse?
Don’t panic! Using a drill can be risky, but it’s doable with caution. Think of it like jump-starting a car – it can work, but you must be careful not to make things worse. If you’re not confident, consider a screw extractor for a safer bet.
Are there any alternative methods for removing a stripped screw if I don't have a screw extractor?
Don’t panic if you don’t have a screw extractor! There are alternative methods. You can try using a rubber band or a metal file to grip the screw head, or even apply a small amount of epoxy to fill the stripped area and then twist it out once it’s set.