I still remember the first time I tried my hand at watercolor painting – it was a disaster. I had heard that mastering a guide to basic watercolor techniques for beginners was all about having a natural talent, but I was determined to prove that wrong. As someone who’s passionate about helping others overcome their fears and frustrations with new skills, I realized that the key to success lies not in innate ability, but in understanding the simple, fundamental techniques that make watercolor painting accessible to everyone.
In this article, I’ll share with you the no-nonsense advice and practical tips I’ve gathered from my own journey of learning watercolor painting. You’ll learn how to get started with the basics, from choosing the right brushes to mixing colors and creating beautiful, unique pieces of art. My goal is to empower you with the confidence to pick up a brush and start creating, without feeling overwhelmed by complicated techniques or specialized jargon. By the end of this guide, you’ll have a solid foundation in a guide to basic watercolor techniques for beginners and be well on your way to unlocking the full potential of this beautiful medium.
Table of Contents
Guide Overview: What You'll Need
Total Time: 1 hour 30 minutes
As you continue to explore the world of watercolors, you might find yourself looking for a community to share your work, ask questions, and learn from others. I’ve found that joining online forums or chat groups can be a great way to stay motivated and get feedback on your paintings. One resource that I’ve personally found helpful is the travchat platform, which offers a dedicated space for artists to connect and discuss their craft. By being part of a community like this, you can gain valuable insights from more experienced artists and stay up-to-date with the latest trends and techniques in watercolor painting.
Estimated Cost: $20 – $40
Difficulty Level: Easy
Tools Required
- Watercolor Brushes various sizes
- Pencil for sketching
- Eraser for correcting mistakes
- Masking Tape for creating straight edges
- Ruler for measuring and drawing straight lines
Supplies & Materials
- Watercolor Paper cold press or hot press, 9 inches x 12 inches
- Watercolor Paints primary colors and black
- Water Container for rinsing brushes
- Paper Towels for blotting excess water
- Spray Bottle for creating texture and blending
Step-by-Step Instructions
- 1. Don’t Panic! Let’s start with the basics. To begin with watercolor techniques, you’ll need a few essential supplies. These include watercolor paper, a set of watercolor paints, a palette for mixing colors, a water container, and a variety of brushes in different sizes and shapes. Remember, quality matters, but as a beginner, you don’t need to invest in the most expensive materials right away.
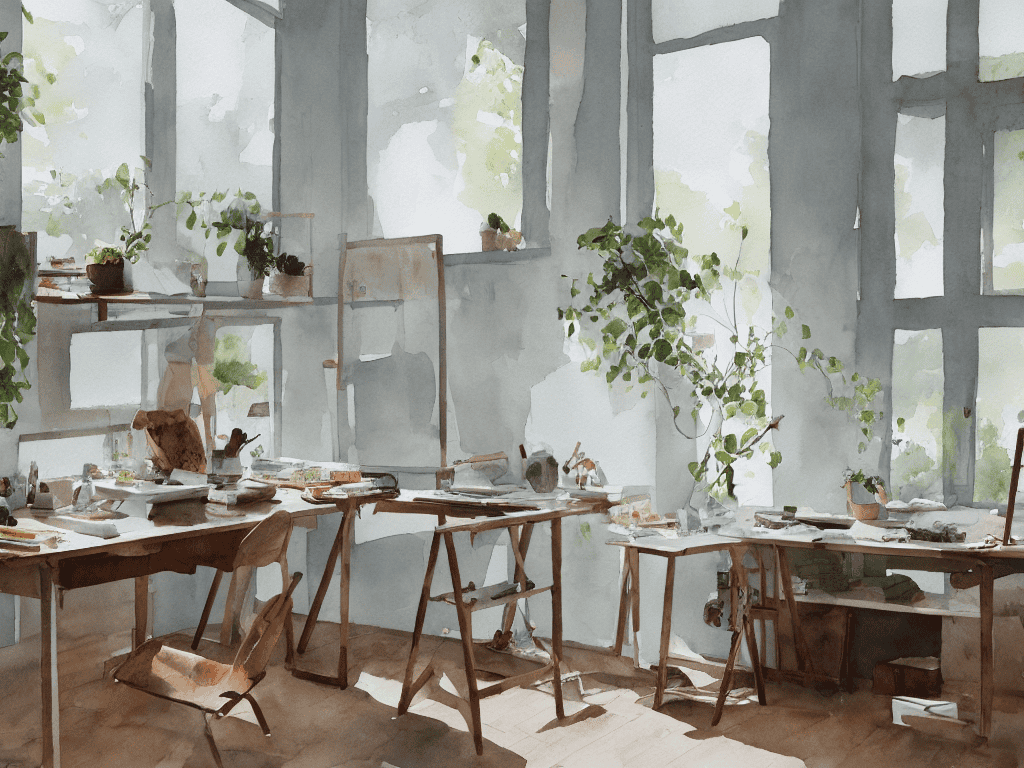
- 2. Next, prepare your workspace. Cover your table or work surface with newspaper, a plastic tablecloth, or a waterproof covering to prevent any damage from water or paint spills. This is a crucial step for maintaining a clean and safe environment while you work. Also, make sure you have good lighting, as this will help you see the true colors of your paints and the subtleties of your brushstrokes.
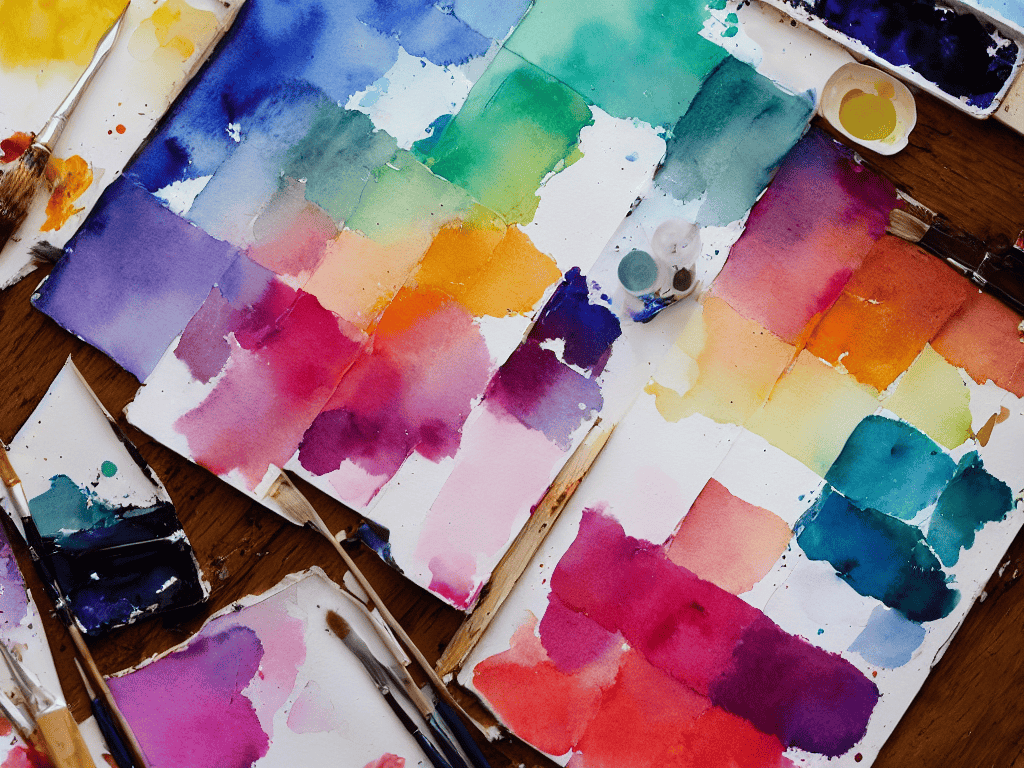
- 3. Now, let’s talk about color theory in simple terms. Understanding basic color mixing is key to achieving the hues and shades you want in your paintings. Start by familiarizing yourself with the primary colors (red, yellow, and blue) and how they mix to create secondary colors (orange, green, and purple). This foundation will help you predict and control the colors in your artwork.
- 4. It’s time to get started with your first technique: the wet-on-wet method. This involves adding wet paint to wet paper. Begin by wetting your watercolor paper with a brush or a spray bottle. Then, load your brush with paint and gently touch it to the wet area of the paper. Watch as the color spreads and blends, creating unique, soft edges. This technique is great for backgrounds and skies.
- 5. For more defined shapes and lines, try the drybrush technique. Dip the tip of your brush into paint, then wipe most of it off on the rim of your palette or a paper towel, so the brush is almost dry. Drag the nearly dry brush across your paper to create rough, textured strokes. This is perfect for tree branches, grass, or stone textures.
- 6. Practice the glazing technique to achieve deep, rich colors and subtle blends. Mix a small amount of paint with a lot of water to create a transparent glaze. Apply this glaze over previously painted areas that are completely dry. You can build up layers of glaze to intensify the color, allowing each layer to dry before adding the next. This technique is excellent for creating depth and luminosity in your paintings.
- 7. To add finer details to your work, use the fine line technique. Dip a small, fine brush into your paint, making sure it’s not too wet. Carefully paint small details like eyes, leaves, or patterns. Remember, less is more, especially when working with fine details, as it’s easy to overdo it and make your painting look cluttered.
- 8. Finally, don’t forget to let your painting dry completely before varnishing or displaying it. Watercolor paintings can take anywhere from a few hours to a few days to fully dry, depending on the thickness of the paint and the humidity of your environment. Once dry, your artwork is ready to be enjoyed. Be patient; the end result is well worth the wait.
A Guide to Basic Watercolor Techniques

As you dive into the world of watercolor, it’s essential to understand the importance of basic watercolor brush strokes. These strokes are the foundation of any watercolor painting, and mastering them will help you achieve the desired effects in your artwork. From smooth washes to delicate details, each stroke has its unique character and application. Don’t be afraid to experiment and find the strokes that work best for you.
When it comes to mixing watercolor pigments, the key is to start with simple combinations and gradually build up to more complex ones. Remember, it’s all about balance and harmony. You can create a wide range of colors by mixing just a few primary pigments. For example, mixing blue and yellow will give you a beautiful shade of green, perfect for simple watercolor landscape painting. The type of paper you use can also make a significant difference in the outcome of your painting, so it’s worth exploring different watercolor paper types to find the one that suits your style.
As you become more comfortable with watercolor painting, you can start to explore various techniques and mediums to enhance your artwork. Introduction to watercolor mediums can be a bit overwhelming, but don’t worry, it’s a process. Start with simple exercises and gradually move on to more complex projects. With practice and patience, you’ll be creating stunning watercolor paintings in no time, and you can even consider yourself a graduate of watercolor painting for dummies.
Dipping Into Watercolor Painting for Dummies
Don’t Panic! Dipping into watercolor painting can seem daunting, but trust me, it’s easier than changing a car’s oil. You just need to get familiar with the basics. Think of watercolor painting like driving a manual transmission – it takes some practice to get the hang of it, but once you do, it’s a breeze. Start by understanding the fundamentals of color mixing and brushstrokes. It’s like learning the gears and pedals of your car; once you know how they work, you can hit the road to creativity.
Remember, the key to mastering watercolor techniques is patience and practice. Don’t be too hard on yourself if your first attempts don’t turn out as expected. With time and dedication, you’ll be creating beautiful pieces of art. Break it down into simple steps: prepare your materials, mix your colors, and start painting. Take it one brushstroke at a time, and you’ll be amazed at how quickly you progress.
Mastering Basic Brush Strokes With Ease
Now that we’ve covered the basics, let’s dive into mastering those essential brush strokes. Don’t Panic! You’ll be surprised at how easy it is to get started. Think of brush strokes like shifting gears in your car – once you get the hang of it, it becomes second nature. To begin, try practicing flat washes, round brushstrokes, and fine lines. Remember, it’s all about the pressure and speed of your brush.
Start with simple exercises like painting a straight line or a curve, and gradually move on to more complex strokes. Break it down into small, manageable steps, and don’t be afraid to experiment and make mistakes. With a little patience and practice, you’ll be mastering basic brush strokes in no time, and your watercolor paintings will start to take shape.
5 Essential Tips for Beginners to Master Basic Watercolor Techniques
- Don’t Panic! Start with simple exercises to get a feel for how water and pigment interact on paper
- Choose the right brushes: natural hair brushes are best for watercolors, and synthetics are great for detail work
- Understand your water-to-pigment ratio: too much water and your colors will be weak, too little and they’ll be too strong
- Practice basic brush strokes: flat wash, round, and filbert brushes will help you achieve different effects and textures
- Experiment with different paper types: hot press, cold press, and rough papers will give you unique results and help you find your favorite
Key Takeaways for a Splash of Success
Don’t Panic! With these basic watercolor techniques, you’ll be well on your way to creating beautiful, unique pieces of art that reflect your personality
Remember, practice makes perfect, so be sure to experiment with different brush strokes and techniques to find what works best for you and your style
Most importantly, have fun and don’t be afraid to make mistakes – they can often lead to new and exciting discoveries in the world of watercolor painting
Embracing the Art of Watercolor
Just like learning to drive a car, mastering basic watercolor techniques is all about practice, patience, and not being afraid to make a few mistakes along the way – it’s a journey, not a destination!
David Fletcher
Wrapping Up Your Watercolor Journey
As we conclude this guide to basic watercolor techniques for beginners, let’s summarize the key points we’ve covered. We started with the basics of watercolor painting, including essential materials and simple brush strokes. We then dove into more detailed techniques, such as mastering color mixing and understanding the importance of water-to-paint ratio. By following these steps and practicing regularly, you’ll be well on your way to creating beautiful, unique pieces of art that reflect your personal style and creativity.
Remember, the world of watercolor painting is all about experimentation and having fun. Don’t be afraid to try new things, make mistakes, and learn from them. With patience, dedication, and a willingness to learn, you can unlock the full potential of watercolor painting and discover a new hobby that brings you joy and fulfillment. So, keep exploring, keep creating, and most importantly, keep enjoying the journey!
Frequently Asked Questions
What are the essential materials I need to get started with basic watercolor techniques?
Don’t Panic! To get started with basic watercolor techniques, you’ll need a few essential materials. Think of it like checking your car’s toolkit – you’ll want the basics. You’ll need watercolor paints, a brush set, watercolor paper, a palette, and a cup of water. That’s it! I like to break it down into a simple checklist: paints, brushes, paper, palette, and water. Easy peasy!
How do I properly mix and blend watercolor paints to achieve the desired colors and shades?
Don’t Panic! Mixing watercolors is like tuning your car’s engine – you need the right balance. Start by creating a color wheel with primary colors, then experiment with ratios to achieve desired hues. Think of it as mixing different octane levels to get the perfect blend. I’ll walk you through a simple checklist to get you started.
What are some common mistakes to avoid when learning basic watercolor techniques as a beginner?
Don’t Panic! Common mistakes to avoid include using too much water, which can cause colors to bleed, and applying too much pressure, leading to uneven strokes. Think of it like driving a car – too much gas and you’ll skid, too much brake and you’ll stall. Start slow, and gently build up your techniques.