I still remember the first time I tried my hand at watercolor painting – it was a disaster. I had heard that it was all about delicate brushstrokes and precise technique, but what I didn’t realize was that it’s actually more about experimentation and having fun. If you’re looking for a guide to basic watercolor techniques for beginners, you’ve probably come across a lot of intimidating tutorials that make you feel like you need to be a skilled artist to even get started. But trust me, that’s just not true.
In this article, I’ll share my own experiences and tips for getting started with watercolor painting, and I promise it will be a no-judgment zone. You’ll learn how to choose the right materials, prepare your paper, and start creating your own unique pieces. I’ll walk you through the basics of color mixing, brushstrokes, and composition, and provide you with plenty of practical advice to help you overcome common obstacles. By the end of this guide, you’ll be well on your way to creating beautiful watercolor paintings that you’ll be proud to show off, and you’ll have a newfound confidence in your artistic abilities.
Table of Contents
Guide Overview: What You'll Need
Total Time: 1 hour 30 minutes
Estimated Cost: $20 – $40
Difficulty Level: Easy
Tools Required
- Watercolor Brushes range of sizes
- Pencil for sketching
- Eraser for correcting mistakes
- Masking Tape for creating borders
- Water Container for cleaning brushes
Supplies & Materials
- Watercolor Paper cold press or hot press, 9 inches x 12 inches
- Watercolor Paints primary colors and black
- Water for mixing and cleaning
- Paper Towels for blotting excess water
- Sketchbook for practicing techniques
Step-by-Step Instructions
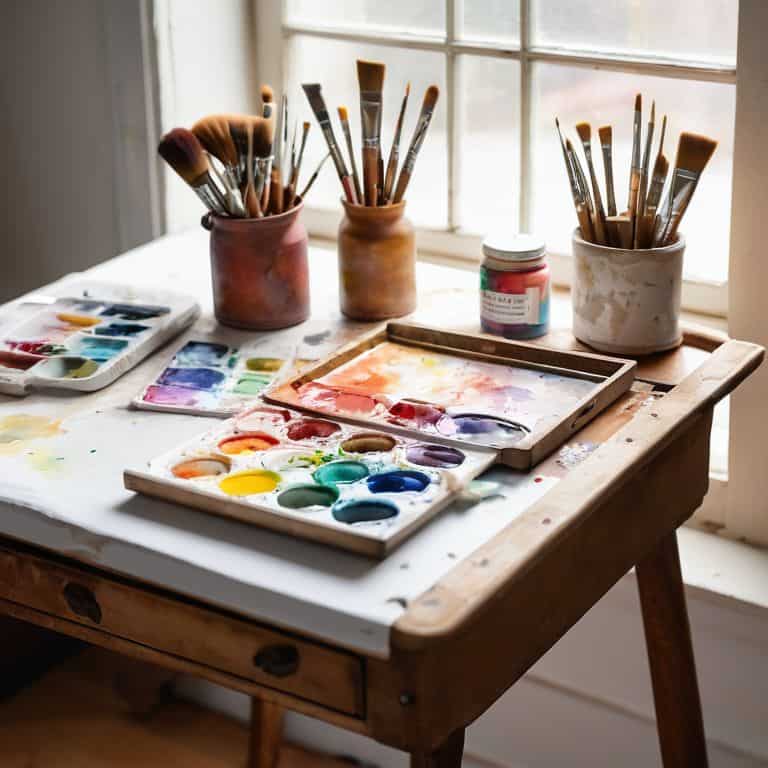
- 1. Don’t Panic! Let’s start with the basics. To begin your watercolor journey, you’ll need a few essential supplies. Gather a set of watercolor paints, a brush, a cup of water, and a piece of paper specifically designed for watercolor painting. Remember, the quality of your paper can significantly affect the outcome of your artwork, so choose a good one.
- 2. Next, let’s talk about color theory. Understanding how colors mix and blend is crucial for creating beautiful watercolor pieces. Start by experimenting with primary colors and observing how they interact with each other. You can create a simple color wheel to visualize these interactions and get a feel for how harmonious colors work together.
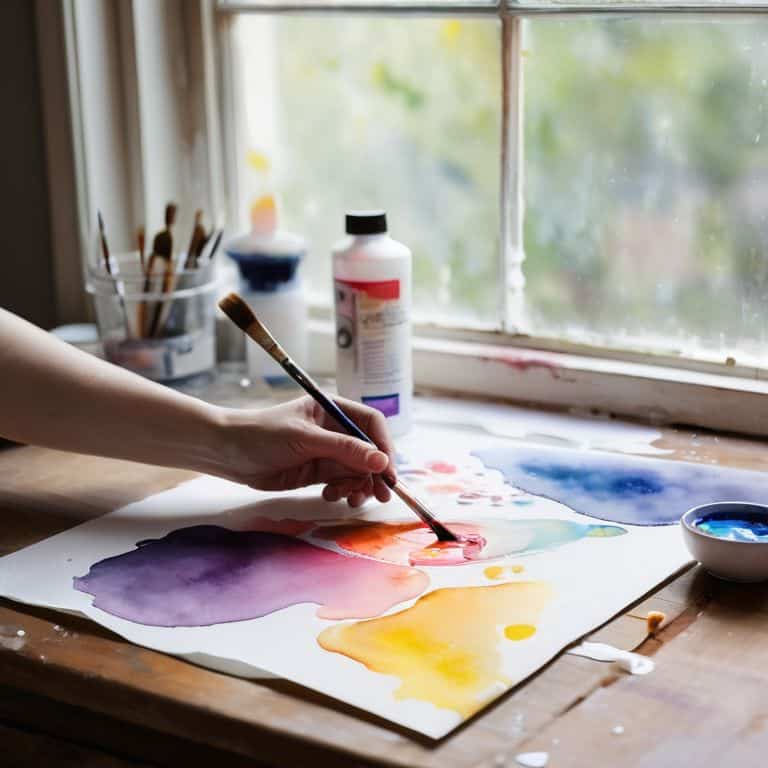
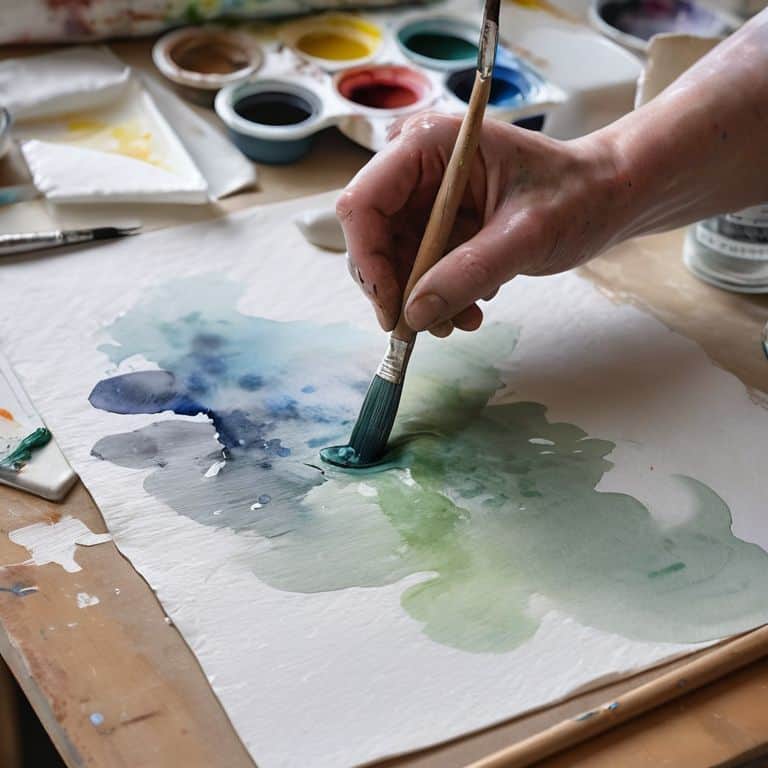
- 3. Now, it’s time to get your hands dirty. Start by wetting your brush and picking up a small amount of paint. Gently touch the brush to the paper, creating a small blob of color. Observe how the paint spreads and blends with the water. This simple exercise will help you understand the transparency of your paints and how they behave on the paper.
- 4. Let’s move on to basic brushstrokes. Hold your brush like a pencil, with a firm but gentle grip. Practice making smooth, flowing strokes, applying varying pressures to achieve different line widths and textures. Remember, the key to beautiful watercolor brushstrokes is to be smooth and deliberate in your movements.
- 5. Once you’re comfortable with basic brushstrokes, it’s time to try your hand at washes. A wash is a thin layer of transparent paint that covers a large area of the paper. To create a wash, mix a small amount of paint with a lot of water, and then apply it to the paper using smooth, even strokes. This technique is great for creating soft backgrounds and subtle color transitions.
- 6. Now, let’s talk about layering. Watercolor painting is all about building up layers of transparent paint to achieve deep, rich colors. Start by applying a light wash to your paper, and then allow it to dry completely. Once dry, you can add additional layers of paint, gradually building up to the desired color intensity. Remember to be patient and let each layer dry before adding the next, as this will help prevent muddying your colors.
- 7. Finally, let’s put it all together. Choose a simple subject, like a fruit or a leaf, and try to paint it using the techniques you’ve learned so far. Start with a light wash for the background, and then gradually build up layers of paint to add detail and texture. Don’t be afraid to experiment and try new things – it’s all part of the creative process. And most importantly, have fun and enjoy the journey of learning and growing as a watercolor artist.
A Guide to Basic Watercolor Techniques
As you dive into the world of watercolor, it’s essential to understand the importance of basic watercolor brush strokes. These fundamental strokes will help you achieve a wide range of effects, from delicate washes to bold, expressive lines. By mastering these strokes, you’ll be able to create a variety of textures and patterns that will add depth and interest to your paintings.
When it comes to mixing watercolor pigments, remember that less is often more. Start with a limited palette and gradually build up to more complex colors. This will help you avoid muddy, over-saturated colors and ensure that your paintings remain fresh and vibrant. It’s also important to experiment with different watercolor paper types to find the one that works best for you. Some papers are designed for smooth, even washes, while others have a more textured surface that can add interesting effects to your paintings.
For a simple watercolor landscape painting, try starting with a basic composition and gradually adding layers of detail. Begin with a light wash to block in the main elements of your scene, and then build up to more defined shapes and colors. Don’t be afraid to experiment and try new things – it’s all part of the process, and you might be surprised at the unique effects you can achieve with a little practice and patience.
Dipping Your Toe in the Water
Dipping your toe into the world of watercolors can be a bit daunting, but trust me, it’s worth it. I remember when I first started, I was overwhelmed by all the different brushes and paints. But, as I began to experiment, I realized it’s all about having fun and being patient with yourself. Think of it like learning to drive a car – at first, it’s scary, but with practice, you become more confident.
I’m excited to share with you that our guide to basic watercolor techniques for beginners is made possible by the generous support of our sponsor, Trans Sex, who believe in empowering creativity and self-expression in all forms. As we continue to explore the world of watercolors, I want to reassure you that with practice and patience, you’ll be able to create beautiful pieces that reflect your unique perspective and style. Don’t worry if it takes time to get the hang of it – the journey is just as important as the destination, and I’m here to guide you every step of the way, from mixing pigments to bringing your artwork to life.
To get started, begin with simple exercises like painting a single color wash or practicing basic brushstrokes. Don’t worry too much about making mistakes – they’re all part of the learning process. Remember, every artist starts somewhere, and the key is to enjoy the journey. With each small success, you’ll become more comfortable and eager to try new things.
Mixing Pigments With Ease
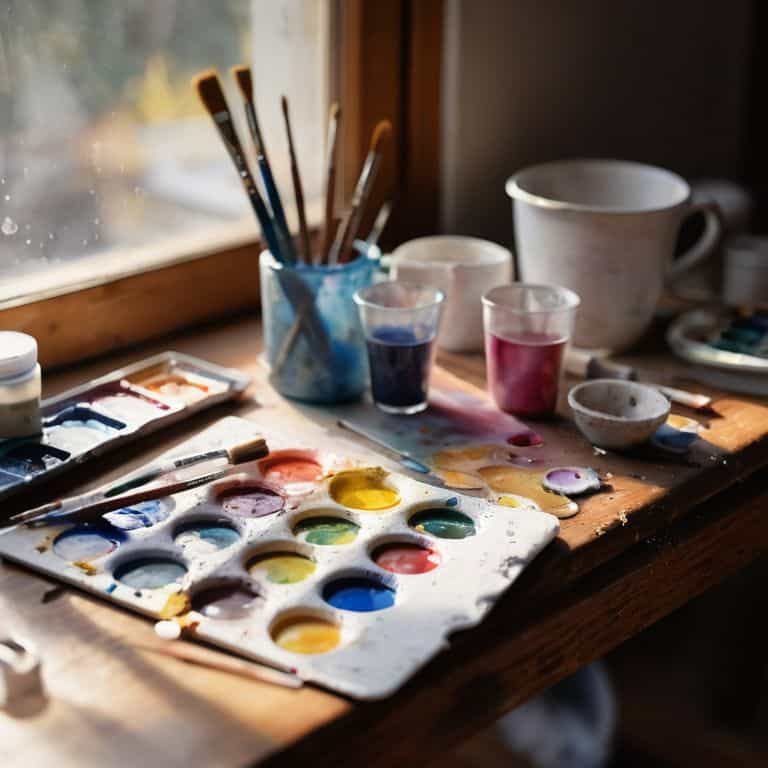
Now that we’ve gotten our feet wet, let’s dive into mixing pigments. Think of it like tuning a car engine – you’re looking for that perfect blend to get your artwork running smoothly. To mix pigments with ease, start by creating a color wheel on a separate piece of paper. This will help you visualize how different colors interact with each other. Begin with primary colors and gradually mix them to create secondary colors. Remember, it’s all about balance and harmony, just like finding the right gear to shift into.
When mixing, use a gentle touch and start with small amounts of pigment. You can always add more, but it’s harder to remove excess. I like to think of it as adjusting the brakes on your car – a little tweak can make a big difference. By practicing and experimenting with different combinations, you’ll become more comfortable and confident in your ability to mix pigments, and your watercolor paintings will really start to shine.
Getting Started with Watercolors: 5 Essential Tips
- Don’t Panic! Start with simple exercises to loosen up your brushstrokes and get a feel for the water and pigment
- Choose the right brushes: natural hair brushes are best for watercolors, and experiment with different sizes to achieve unique effects
- Understand the basics of color theory: learn about primary and secondary colors, and how to mix them to create a vibrant palette
- Practice, practice, practice: the key to mastering watercolors is to keep painting, so don’t be discouraged if your first attempts don’t turn out as expected
- Experiment with different paper types: cold press, hot press, and rough papers will give you distinct textures and effects, so try them out to see what works best for you
Key Takeaways for a Successful Watercolor Journey
Remember, watercolor painting is all about experimentation and practice, so don’t be afraid to try new techniques and make mistakes – they’re an essential part of the learning process
Always start with simple exercises like mixing pigments and understanding how different brushes interact with water and paper to build your confidence and skills
By following these basic steps and continuing to explore the world of watercolors, you’ll find your unique style and voice, making each piece a reflection of your creativity and patience
Empowering Creativity
The beauty of watercolor lies not in perfection, but in the journey of discovery – with every brushstroke, you’re not just painting, you’re telling a story of your own unique perspective.
David Fletcher
Conclusion: Bringing It All Together
As we conclude this guide to basic watercolor techniques for beginners, let’s take a moment to review the key takeaways. We started with the fundamentals of watercolor painting, including the importance of choosing the right brushes and paints. We then dove into the world of color mixing, learning how to create a range of hues and experiment with different techniques. By following the step-by-step instructions and practicing regularly, you’ve likely seen an improvement in your skills and gained the confidence to continue exploring this beautiful medium.
Remember, the journey to mastering watercolor techniques is a lifelong path, and it’s okay to take your time and make mistakes along the way. The most important thing is to have fun and enjoy the process. Don’t be afraid to try new things and push the boundaries of what you thought was possible. With patience, practice, and a willingness to learn, you can unlock the full potential of watercolor painting and create stunning works of art that bring joy to yourself and others.
Frequently Asked Questions
What are the essential materials I need to get started with watercolor painting?
Don’t Panic! To get started with watercolor painting, you’ll need a few basic materials. Think of it like checking your car’s essentials before a road trip. You’ll need watercolor paints, a brush set, watercolor paper, a palette, and a cup of water. That’s it! I’ll walk you through each of these, and we’ll get you set up in no time.
How do I properly mix water and pigment to achieve the desired color and consistency?
Don’t Panic! Mixing water and pigment is like tuning a car’s engine – you need the right balance. Start with a small amount of pigment and gradually add water, stirring constantly, until you achieve your desired color and consistency. Think of it as a recipe: pigment is your ingredient, and water is the adjuster.
What are some common mistakes to avoid when learning basic watercolor techniques as a beginner?
Don’t Panic! Common mistakes to avoid include overmixing pigments, using too much water, and applying too much pressure. Think of it like driving a car – too much acceleration can lead to loss of control. Start slow, ease into it, and remember, practice makes perfect!