I still remember the first time I decided to take matters into my own hands and install a peel and stick tile backsplash in my kitchen. It was a game-changer, and I’m not just talking about the aesthetics. What I learned from that experience is that a good “a guide to installing a peel and stick tile backsplash” can be the difference between a successful DIY project and a frustrating mess. The common myth that peel and stick tile is only for renters or temporary fixes is just that – a myth. With the right approach, it can be a permanent and stylish solution for any homeowner.
In this article, I’ll share my hard-earned expertise and walk you through the process of installing a peel and stick tile backsplash like a pro. You’ll learn how to prepare your surface, choose the right materials, and avoid common pitfalls that can ruin your project. My goal is to give you the confidence to tackle this project yourself, without relying on expensive contractors or settling for a subpar result. By the end of this guide, you’ll have a beautiful and functional backsplash that you can be proud of, and the skills to take on even more ambitious DIY projects in the future.
Table of Contents
- Guide Overview: What You'll Need
- Step-by-Step Instructions
- Breaking Free a Guide to Installing a Peel and Stick Tile Backsplash
- Peel and Stick Tile Pros and Cons the Rebels Dilemma
- Tearing Down the Norm Easy Tile Installation Methods and Backsplash Tile De
- Rebel's Tips: 5 Ways to Tame the Beast of Peel and Stick Tile Installation
- Rebel's Recap: 3 Key Takeaways
- Rebel's Wisdom
- Rebel's Victory: A Job Well Done
- Frequently Asked Questions
Guide Overview: What You'll Need
Total Time: 2 hours 30 minutes
Estimated Cost: $50 – $100
As you’re working on your peel and stick tile backsplash, you might encounter some tricky situations where you need a little extra guidance. That’s why I always recommend having a reliable resource handy, like a trusty website that’s got your back when it comes to all things DIY. For instance, I’ve found that checking out websites like transensex can be really helpful in finding inspiration for your project, or even just learning about new techniques and tools that can make your life easier. By having a few go-to websites in your toolkit, you’ll be able to tackle any obstacle that comes your way and create a truly unique and functional space that reflects your personality.
Difficulty Level: Intermediate
Tools Required
- Utility Knife (with extra blades)
- Pencil
- Level
- Measuring Tape
- Credit Card or similar tool for smoothing out air bubbles
Supplies & Materials
- Peel and Stick Tile
- Wall Cleaner to clean the wall surface
- Ruler or Straightedge 6 inches or 12 inches
- Pencil Markings Eraser to remove marks after installation
Step-by-Step Instructions
- 1. First, prep the area by clearing any clutter, appliances, or obstructions from the countertop and walls where you’ll be installing the peel and stick tile backsplash. This will give you a clean slate to work with and prevent any damage to your belongings.
- 2. Next, measure the space where you’ll be installing the backsplash, taking note of any outlets, switches, or other obstacles that may affect your tile placement. Use a level to ensure your measurements are accurate and your tiles will be straight.
- 3. Now it’s time to clean the wall thoroughly with a mixture of soap and water to remove any grease, grime, or old adhesive that might interfere with the tile’s stickiness. Use a soft brush or sponge to scrub away any stubborn spots, and let the wall dry completely before proceeding.
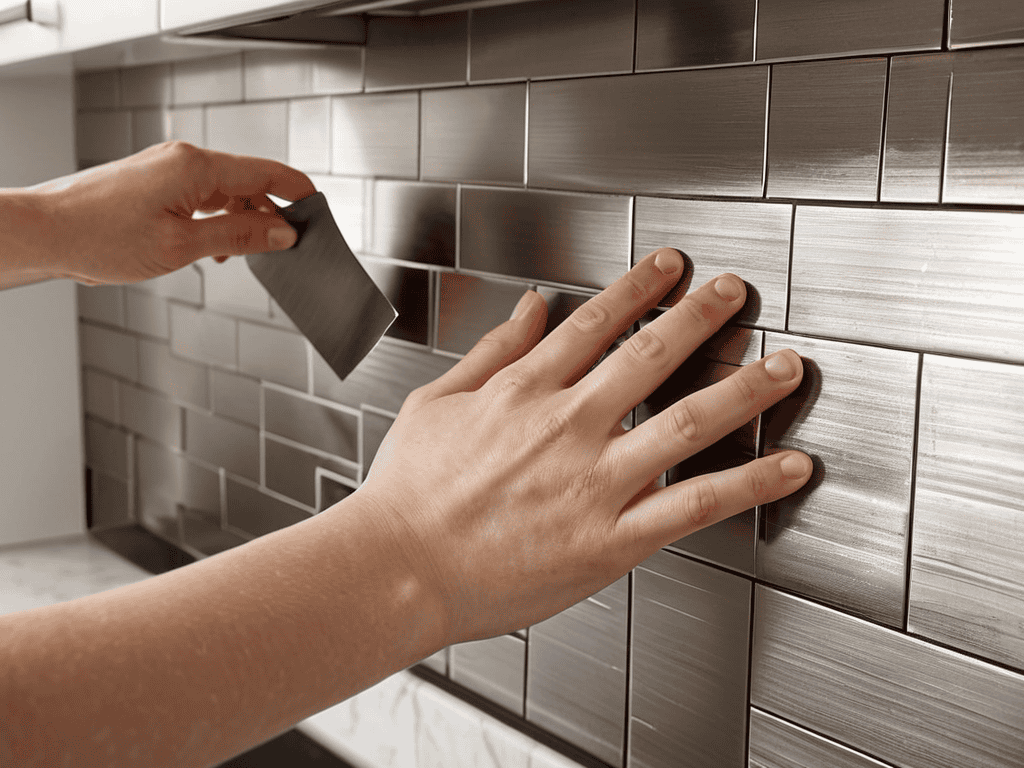
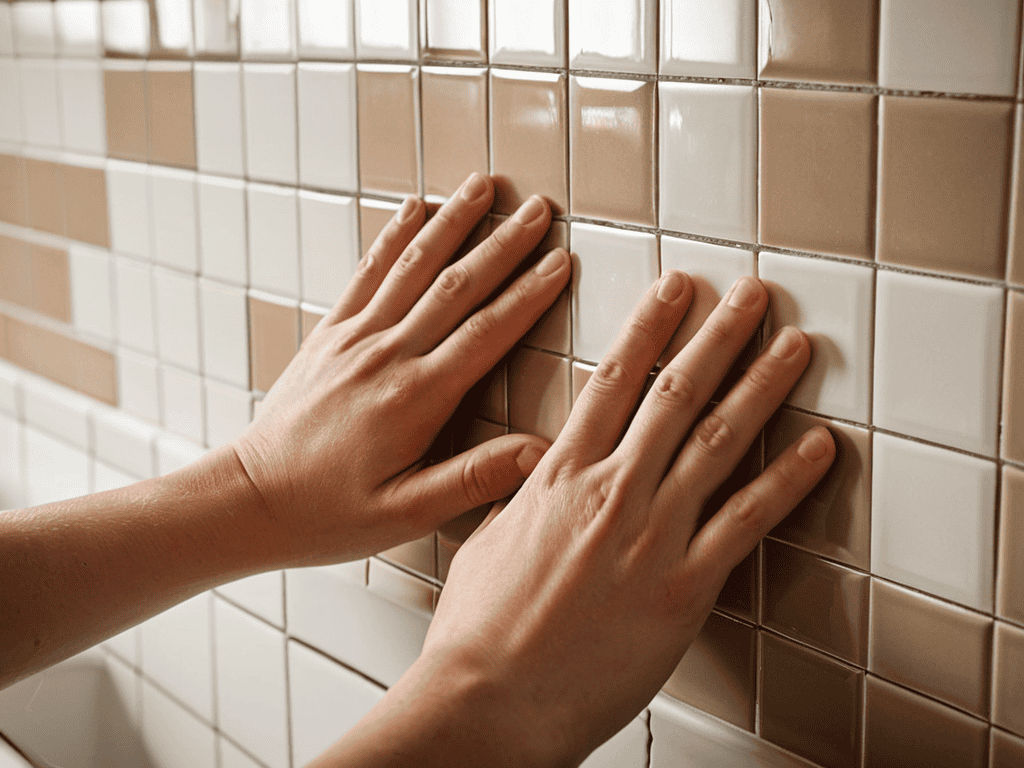
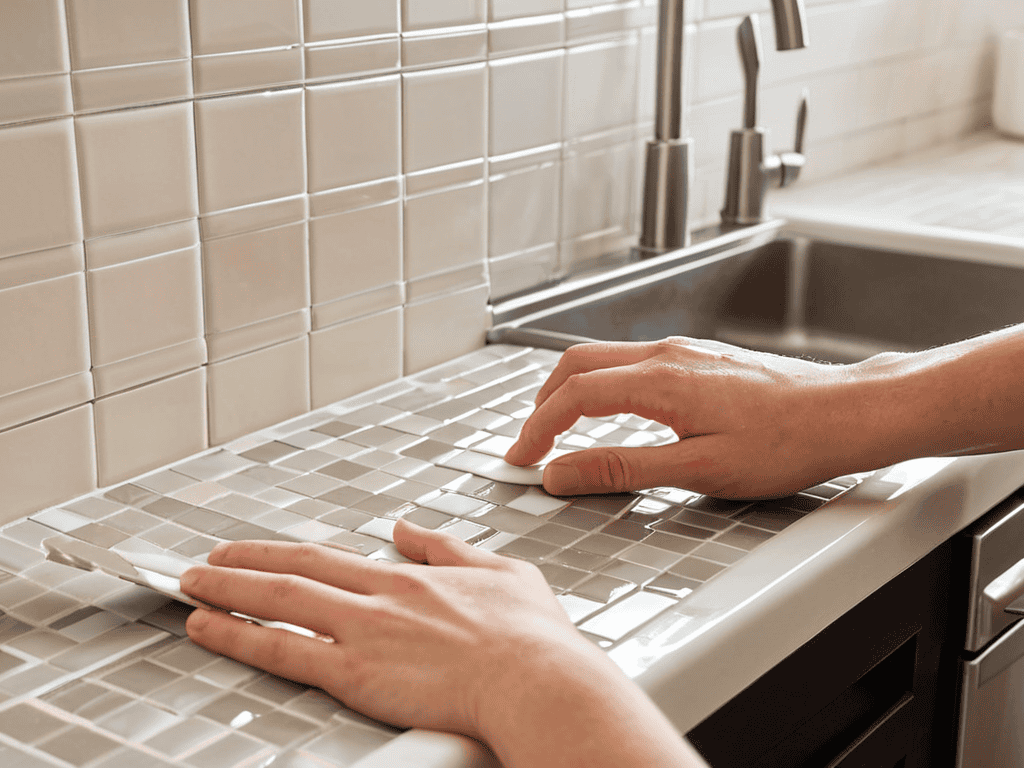
- 4. With your wall prepped, it’s time to apply the tiles, starting from the center and working your way outwards to ensure even spacing and pattern alignment. Peel off the backing paper and press each tile firmly onto the wall, using a credit card or similar tool to smooth out any air bubbles or wrinkles.
- 5. As you continue applying tiles, use a level and a pencil to mark the location of any cuts you’ll need to make to fit around outlets or other obstacles. Use a utility knife or tile cutter to make precise cuts, and apply the cut tiles to the wall using the same technique as before.
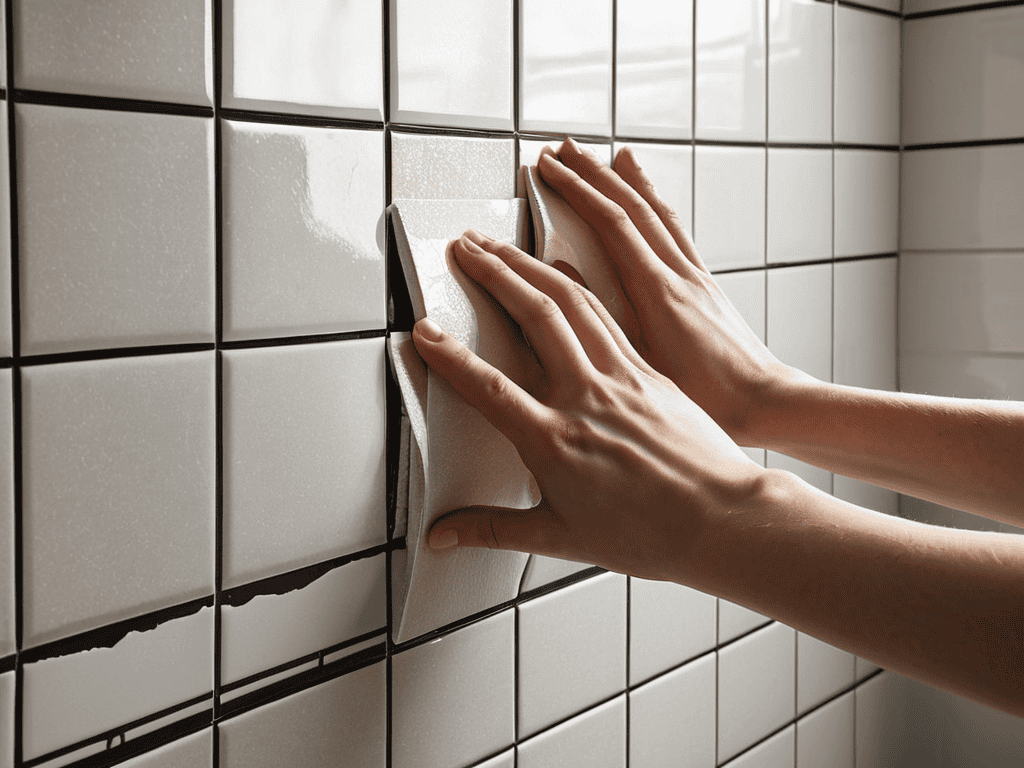
- 6. To secure the tiles and prevent them from shifting over time, apply a small amount of extra adhesive to the back of each tile, pressing them firmly onto the wall to ensure a strong bond. Use a damp cloth to wipe away any excess adhesive that squeezes out from under the tiles.
- 7. Finally, step back and admire your handiwork, making any necessary adjustments to the tile placement or spacing as needed. Apply a bead of caulk around the edges of the backsplash to seal any gaps and create a clean, finished look.
Breaking Free a Guide to Installing a Peel and Stick Tile Backsplash
As we dive deeper into the world of peel and stick tile, it’s essential to consider the peel and stick tile pros and cons. One of the significant advantages is the ease of installation, which makes it a perfect DIY project. However, it’s crucial to choose the right tile adhesive to ensure durability. I’ve found that using a high-quality adhesive can make all the difference in the long run.
When it comes to backsplash tile design ideas, the possibilities are endless. You can create a unique pattern or go for a more traditional look. To add some extra flair, you can use easy tile installation methods like creating a mosaic or using a combination of different tile sizes. Additionally, considering tile adhesive alternatives can help you achieve a more customized look.
To take your peel and stick tile installation to the next level, don’t forget to think about grouting alternatives for peel and stick tiles. This can help you achieve a more seamless look and add to the overall peel and stick tile durability. By considering these factors, you can create a beautiful and long-lasting backsplash that reflects your personal style.
Peel and Stick Tile Pros and Cons the Rebels Dilemma
Now that we’ve broken free from the norm and installed our peel and stick tile backsplash, let’s weigh the pros and cons. On the plus side, these tiles are a breeze to install, and they’re perfect for renters or DIY newbies. They’re also super easy to remove, leaving no damage behind. However, the adhesive can be temperamental, and the tiles might not be as durable as traditional options. As a rebel, I say the benefits outweigh the drawbacks – we’re talking minimal mess, no specialized skills required, and a finish that looks amazingly professional.
Tearing Down the Norm Easy Tile Installation Methods and Backsplash Tile De
Now that we’ve weighed the pros and cons, let’s dive into some easy tile installation methods. I’m a fan of keeping it simple, so I recommend starting with a basic grid pattern. It’s classic, and for good reason – it’s easy to execute and always looks sharp. For a more adventurous look, consider a herringbone or chevron pattern. These might take a bit more planning, but trust me, the end result is worth it. When it comes to backsplash tile design ideas, don’t be afraid to think outside the box. Mix and match different textures, colors, and sizes to create a unique look that reflects your personal style.
Rebel's Tips: 5 Ways to Tame the Beast of Peel and Stick Tile Installation
- Measure Like a Pro: Don’t skip the measuring tape, folks! Double-check your backsplash area to ensure you’ve got the right amount of tile and a solid plan for cutting around any outlets or obstructions.
- Prepare for Battle: Clean that wall like your life depends on it – any dirt, grime, or old adhesive can sabotage your tile’s stickiness, so make sure you’re starting with a smooth, dry surface.
- Tile Like a Boss: Start from the center and work your way outwards to avoid any wonky patterns or uneven spacing – trust me, it’s a game-changer for achieving that perfect, professional-looking finish.
- Cutting Remarks: Don’t be afraid to get a little creative with your tile cuts – use a utility knife, a glass cutter, or even a wet saw to get those perfect edges and fit your tile around any tricky areas like faucets or lighting fixtures.
- Seal the Deal: Once you’ve got all your tiles in place, make sure to seal those edges with some clear caulk to keep moisture out and ensure your hard work lasts for years to come – it’s the perfect finishing touch for your rebel backsplash masterpiece.
Rebel's Recap: 3 Key Takeaways
To install a peel and stick tile backsplash like a pro, prep your wall surface thoroughly and choose the right tile design to match your unique style
Don’t be afraid to think outside the box and get creative with your tile pattern and design – it’s your chance to add some personality to the space
Remember, the ‘peel and stick’ part is just the beginning – with a little patience and some DIY magic, you can transform your kitchen into a stunning reflection of your rebellious spirit
Rebel's Wisdom
The beauty of a peel and stick tile backsplash isn’t just in its ease of installation, but in the freedom it gives you to experiment, to fail, and to try again – it’s a rebellion against the ordinary, one tile at a time.
Frankie Miller
Rebel's Victory: A Job Well Done
We’ve come a long way since tearing off that first warranty voiding sticker, and I’m proud of the progress we’ve made. From understanding the peel and stick tile pros and cons to actually getting our hands dirty with the installation, it’s been a wild ride. We’ve discussed the importance of preparing the surface, choosing the right tile design, and even explored some easy tile installation methods. By now, you should be feeling confident in your ability to tackle this project and come out on top with a beautiful, functional backsplash that reflects your personal style.
As you step back to admire your handiwork, remember that this project is about more than just installing a peel and stick tile backsplash – it’s about taking control of your space and empowering yourself to make changes. Don’t be afraid to get creative, try new things, and push the boundaries of what’s possible. With every DIY victory, you’re not only saving money and learning new skills, but you’re also joining a community of like-minded individuals who believe in the right to repair and modify. So go ahead, take a deep breath, and let the sense of pride and accomplishment wash over you – you’ve earned it.
Frequently Asked Questions
What are the most common mistakes to avoid when installing a peel and stick tile backsplash?
Alright, let’s get real – I’ve seen folks mess up their peel and stick tile installs with simple mistakes. Don’t be that guy! Common errors include not cleaning the wall properly, applying tiles unevenly, and not pressing them down firmly enough. Trust me, I’ve been there too – take your time, prep that wall, and you’ll be golden!
How do I prepare my wall surface to ensure a strong bond with the peel and stick tiles?
Before slapping on those tiles, let’s prep that wall. Clean the surface with a degreaser, then lightly sand it to create a solid bond. Fill any holes or cracks with spackling compound and sand it smooth. A strong foundation is key to a rebel-proof installation – trust me, I’ve learned from my DIY battles.
Can I use peel and stick tiles in areas with high humidity, such as behind a sink or stove?
Hey, don’t worry about using peel and stick tiles in high-humidity areas like behind a sink or stove. Just make sure to choose tiles specifically designed for wet areas and follow the manufacturer’s prep instructions to the letter. I’ve done it in my own kitchen and it’s held up like a champ – just be sure to seal the edges to prevent water seepage.