I still remember the first time I tried to build my own home server – it was a daunting task, filled with confusing tutorials and overly complicated instructions. But what really frustrated me was the notion that I needed to be a tech expert to succeed. The truth is, learning how to build a home server is not as complicated as it seems. With the right guidance, you can create a customized server that fits your needs, and I’m here to show you that it’s entirely possible to do it yourself.
In this article, I’ll walk you through the process of building a home server that’s tailored to your specific requirements. You’ll learn how to choose the right hardware, install the necessary software, and troubleshoot common issues. My goal is to provide you with honest and practical advice, so you can avoid the pitfalls and enjoy the benefits of having a personalized server. By the end of this guide, you’ll be equipped with the knowledge and confidence to build a home server that meets your needs, and you’ll be able to say goodbye to the frustrations of relying on external services.
Table of Contents
Guide Overview: What You'll Need
Total Time: 4 hours 30 minutes
Estimated Cost: $200 – $500
Difficulty Level: Intermediate
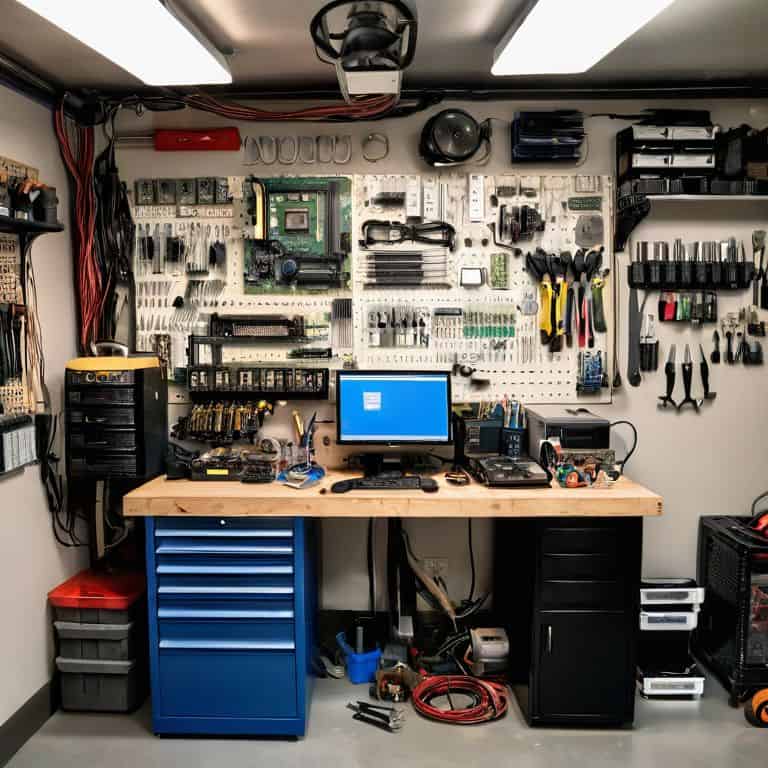
Tools Required
- Drill Press (for precise hole drilling)
- Circular Saw (for cutting wood)
- Screwdriver Set (with flathead and Phillips tips)
- Pliers (for gripping small components)
- Wire Strippers (for stripping electrical wires)
Supplies & Materials
- 2-in x 4-in lumber (for building the server case frame)
- Plywood (1/4 inch thick, for the case’s top and bottom panels)
- Motherboard (compatible with your chosen CPU and RAM)
- CPU (choose a suitable processor for your needs)
- RAM (at least 8 gigabytes recommended)
- Hard Drive (or solid-state drive, for storage)
- Power Supply (with sufficient wattage for your components)
- Cooling System (optional, but recommended for high-performance builds)
Step-by-Step Instructions
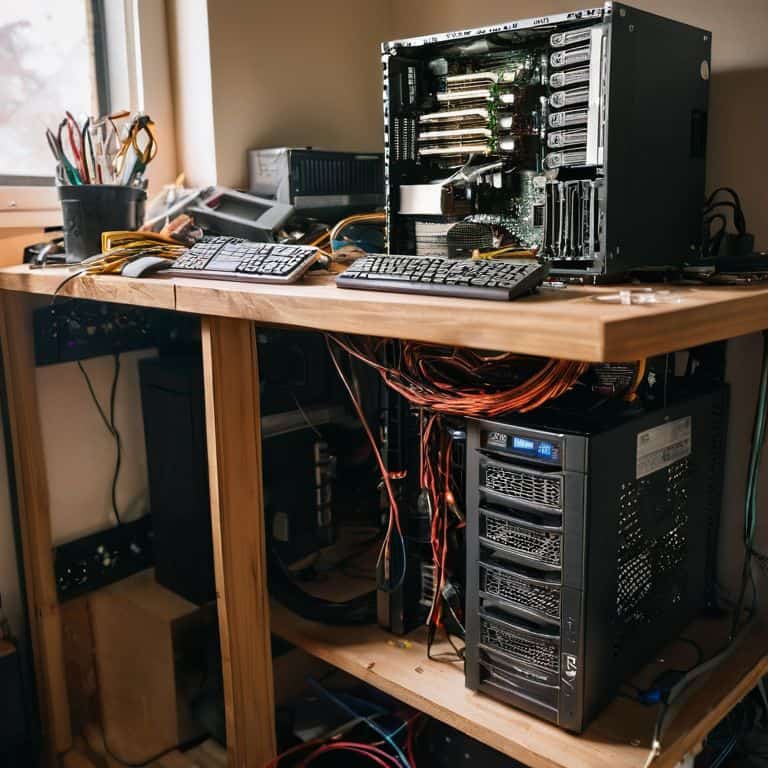
- 1. First, let’s start by gathering all the necessary components for our home server build. This includes a reliable motherboard, a CPU, some RAM, storage devices, a power supply, and a case to put everything in. I like to think of this step as the foundation of our project, where we get to choose the brain and brawn of our operation.
- 2. Next, we need to prepare our case for the build. This involves unboxing and cleaning the case, and then installing the motherboard stand-offs. These small spacers will help us mount the motherboard securely and prevent any damage from electrical shorts. Don’t worry if you’ve never done this before; it’s easier than you think, and I’ll guide you through each step.
- 3. Now it’s time to install the motherboard, which is the main circuit board of our server. We’ll need to carefully align the motherboard with the stand-offs and screw it into place. Make sure to handle the motherboard by the edges to avoid touching any of the sensitive components. Once it’s secure, we can start connecting the various cables, such as the power cables, data cables, and fan cables.
- 4. With the motherboard in place, we can move on to installing the CPU and RAM. The CPU, or central processing unit, is the heart of our server, handling all the calculations and computations. To install it, we’ll need to apply a small amount of thermal paste to the CPU die, and then carefully insert it into the socket. The RAM, on the other hand, is used for storing data temporarily while the server is running. We’ll need to insert the RAM modules into their respective slots at an angle, and then secure them with clips.
- 5. Next up, we have the storage devices, which can include hard drives, solid state drives, or a combination of both. I like to use a RAID configuration to ensure data redundancy and performance. We’ll need to connect the storage devices to the motherboard using SATA cables, and then install the necessary drivers and software to get them up and running.
- 6. Now that we have all the components installed, it’s time to connect the power supply and turn on our server. But before we do that, let’s take a moment to double-check all our connections. We don’t want any loose cables or incorrect settings to cause problems down the line. Once we’re confident that everything is in order, we can plug in the power cord and press the power button.
- 7. As our server boots up for the first time, we’ll need to install an operating system to manage all the hardware and software components. I recommend using a Linux distribution, such as Ubuntu Server, which is free, open-source, and highly customizable. We’ll need to create a bootable USB drive, insert it into our server, and then follow the on-screen instructions to complete the installation process.
- 8. Finally, let’s talk about network configuration and getting our server connected to the internet. We’ll need to assign a static IP address to our server, configure the DNS settings, and set up any necessary firewall rules. This will allow us to access our server remotely and transfer files to and from it. Don’t worry if this sounds complicated; I’ll provide you with a step-by-step guide on how to do it, and before you know it, you’ll be managing your own server like a pro.
Build Your Server Empire
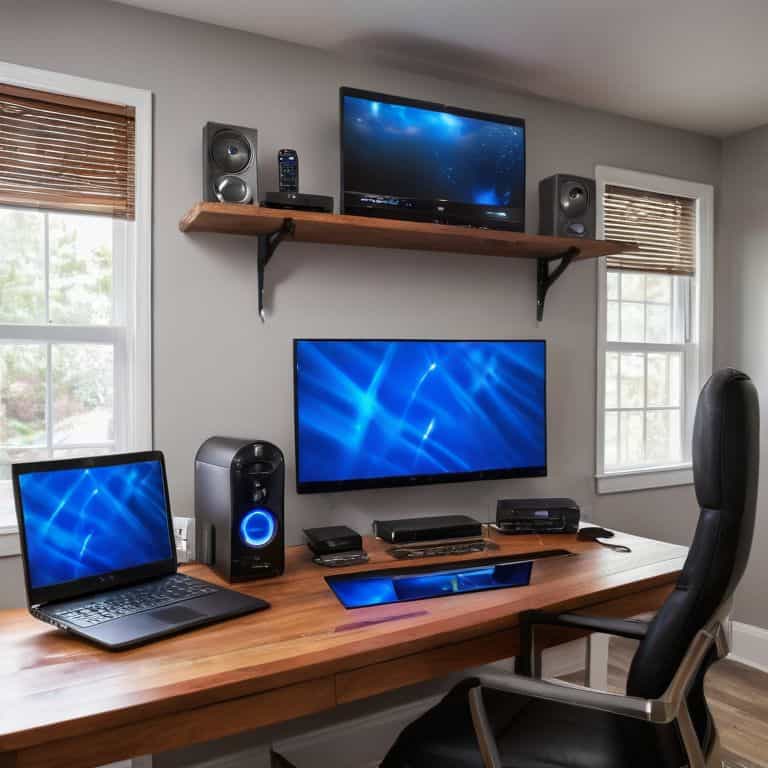
Now that you’ve got your home server up and running, it’s time to think about building a home media server that can stream your favorite shows and movies to any device on your network. This is where things can get really exciting, as you can customize your server to fit your specific needs. For example, you can install a media management software like Plex, which makes it easy to organize and stream your media collection.
As you’re setting up your server, you’ll want to consider the best operating systems for home servers. Some popular options include Ubuntu Server, Windows Server, and FreeNAS. Each has its own strengths and weaknesses, so it’s worth doing some research to determine which one is right for you. You’ll also want to think about home server hardware requirements, such as processor speed, RAM, and storage capacity. Don’t worry if this sounds overwhelming – just remember that you can always upgrade or modify your server as needed.
One of the most important things to keep in mind when building your server empire is home network storage solutions. You’ll want to make sure that your server is properly connected to your network, and that you have enough storage space to hold all of your files and media. This might involve setting up a diy home server build with multiple hard drives or solid-state drives. With a little patience and practice, you’ll be a pro at setting up a plex media server and streaming your favorite content to any device in the house.
Mastering Home Media Servers With Plex
Now that we’ve got our home server up and running, let’s talk about taking it to the next level with a home media server. I’m obsessed with Plex – it’s like the ultimate media management tool. With Plex, you can stream your favorite movies, TV shows, and music to any device in your home. I’ve set it up on my own server, and it’s been a game-changer. I can access all my media from anywhere, and it’s incredibly easy to use.
I’ve found that Plex is super versatile, and it can handle pretty much any type of media file you throw at it. Plus, it’s constantly updating with new features, so you’ll always have the latest and greatest. Trust me, once you go Plex, you’ll never go back – it’s the perfect addition to your home server empire.
Void Warranties With Diy Home Server Builds
Now that you’ve built your home server, it’s time to take it to the next level. I love seeing people get creative with their builds, adding custom cases, liquid cooling, or even repurposing old hardware. The beauty of DIY is that there’s no one “right” way to do things – it’s all about experimentation and having fun. I’ve got a drawer full of spare parts from my own projects, and I’m always looking for new ways to breathe life into old tech.
By building your own server, you’re not just saving money – you’re also gaining the freedom to modify and upgrade as you see fit. No more being held back by proprietary systems or limited warranties. You’re the master of your digital domain, and it’s an incredible feeling. So go ahead, void that warranty, and see what amazing things you can create!
5 Essential Tips to Supercharge Your Home Server Build
- Plan Your Server’s Purpose: Before you start building, think about what you want your home server to do – is it for media streaming, file storage, or something more complex?
- Choose the Right Hardware: Don’t be afraid to get creative with spare parts, but make sure they’re compatible and meet your server’s performance needs
- Keep it Cool and Quiet: Proper ventilation and noise reduction are key to a happy server – consider using old computer cases or hacking together a custom cooling system
- Backup and Redundancy are Key: Don’t risk losing your data – set up a robust backup system and consider using RAID or other redundancy techniques to keep your files safe
- Experiment and Expand: Your home server is a blank canvas – don’t be afraid to try new things, add new features, and push the limits of what’s possible with your DIY build
Building Your Home Server: Key Takeaways
By following the step-by-step guide, you can create a customized home server that meets your specific needs and empowers you to take control of your digital domain
Mastering home media servers with Plex allows you to streamline your entertainment experience, and with a DIY home server build, you can ensure seamless integration and customization
With a DIY home server, you’re not just building a device – you’re joining a movement that fights against closed-ecosystem products and embraces the right to repair and modify your own technology
Building Your Digital Fortress
The moment you screw in that first hard drive is the moment you take back control of your digital life – building a home server isn’t just about storage, it’s about freedom.
Frankie Miller
Conclusion: You're Now the Master of Your Digital Domain
We’ve covered a lot of ground in this journey to build a home server, from the initial steps of planning and building, to voiding warranties and mastering home media servers with Plex. You’ve learned how to get your hands dirty, troubleshoot common issues, and create a system that’s truly yours. Whether you’re using your server for data storage, media streaming, or as a central hub for your smart home devices, the sense of accomplishment and control you’ve gained is invaluable. Remember, the process of building and customizing your home server is just as important as the end result, and it’s a skill that will serve you well in all your future DIY endeavors.
As you look at your newly built home server, remember that it’s not just a device – it’s a symbol of your independence and ability to take control of your technology. You’ve joined a community of makers and DIY enthusiasts who believe in the power of self-sufficiency and the importance of understanding the technology that surrounds us. So don’t be afraid to experiment, try new things, and push the boundaries of what’s possible. With your home server as the foundation, the possibilities are endless, and I’m excited to see what you’ll create next.
Frequently Asked Questions
What are the minimum hardware requirements for a home server to ensure smooth performance?
For a smooth home server experience, you’ll want at least a dual-core CPU, 4GB of RAM, and a 256GB SSD. Don’t worry if that sounds like gibberish – trust me, it’s the bare minimum to get you started. I’ve built servers with older hardware, but this config will give you a solid foundation for streaming, storing, and syncing your files.
How do I ensure my home server is secure and protected from external threats and data breaches?
Securing your home server is a top priority. I recommend setting up a firewall, enabling encryption, and using strong passwords. Regularly update your OS and software to patch vulnerabilities. Consider setting up a VPN for remote access and limit user permissions to prevent unauthorized access. Let’s get your server locked down and your data safe!
Can I use an old or refurbished computer as a home server, and what are the pros and cons of doing so?
Absolutely, you can breathe new life into an old or refurbished computer as a home server. Pros include cost savings and reduced e-waste, while cons might be limited processing power and potential reliability issues. I’ve done it myself with an old PC, and with some tweaks, it’s been humming along just fine.