I still remember the first time I tried to desolder components from a circuit board – it was a mess. I was attempting to upgrade my old gaming console, and I ended up damaging the board beyond repair. But that failure sparked a curiosity in me, and I soon discovered that voiding warranties wasn’t just about breaking rules, it was about understanding how things work. Now, I’m excited to share my knowledge with you on how to desolder components from a circuit board, and show you that it’s not as daunting as it seems.
In this article, I’ll walk you through the step-by-step process of desoldering components, highlighting common mistakes to avoid and troubleshooting tips to ensure your project goes smoothly. You’ll learn how to identify the right tools for the job, and how to handle delicate components with care. My goal is to empower you with the knowledge and confidence to take on your own DIY projects, whether it’s upgrading your computer or restoring an old gadget. By the end of this guide, you’ll be well on your way to becoming a circuit board liberator, free to modify and improve your technology without fear of voiding warranties.
Table of Contents
Guide Overview: What You'll Need
Total Time: 30 minutes to 1 hour
Estimated Cost: $10 – $30
Difficulty Level: Intermediate
Tools Required
- Soldering iron with a desoldering tip
- Desoldering pump also known as a solder sucker
- Tweezers for handling small components
- Wire cutters for cutting component leads
- Pliers for gripping and bending
Supplies & Materials
- Solder wick for absorbing excess solder
- Desoldering flux to reduce oxidation and improve solder flow
- Heat-resistant surface such as a silicone mat or a ceramic tile, measuring 6 inches by 6 inches
- Safety goggles to protect eyes from solder splashes and debris
- Ventilation such as a fume extractor or a well-ventilated area, spanning 10 feet by 10 feet
Step-by-Step Instructions
- 1. First, let’s get started by preparing our workspace – clear a flat surface and make sure it’s heat-resistant, as we’ll be dealing with hot soldering irons. I like to use a old ceramic tile or a heat-resistant mat to protect my workbench. Now, gather your tools: a desoldering iron, some desoldering wick, and a pair of tweezers.
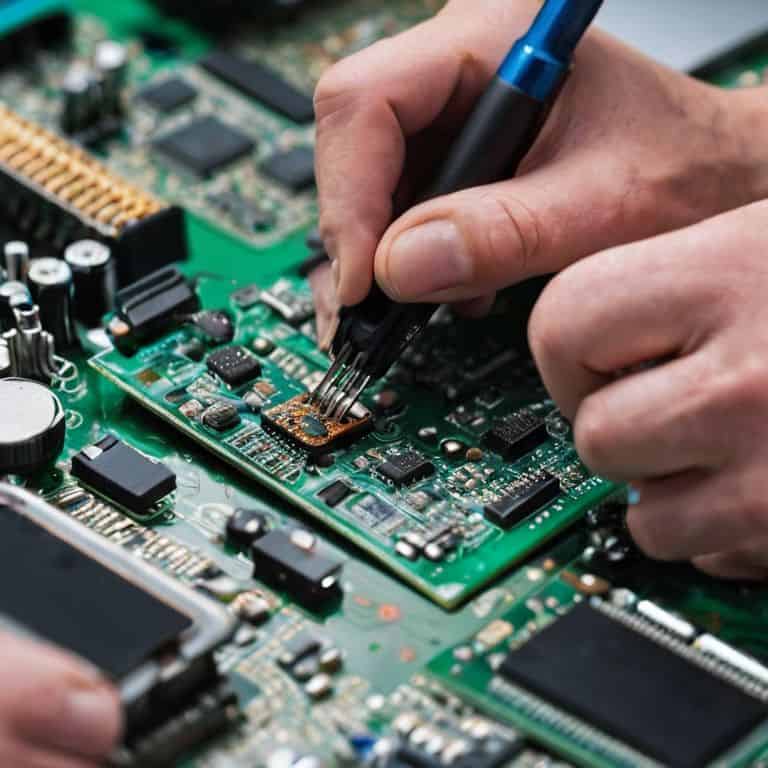
- 2. Next, identify the component you want to remove from the circuit board. Take a closer look at the solder joints holding it in place – we’ll need to target those. Make sure you have a good understanding of the component’s location and how it’s connected to the board. I always take a photo of the board before I start, so I can reference it later if needed.
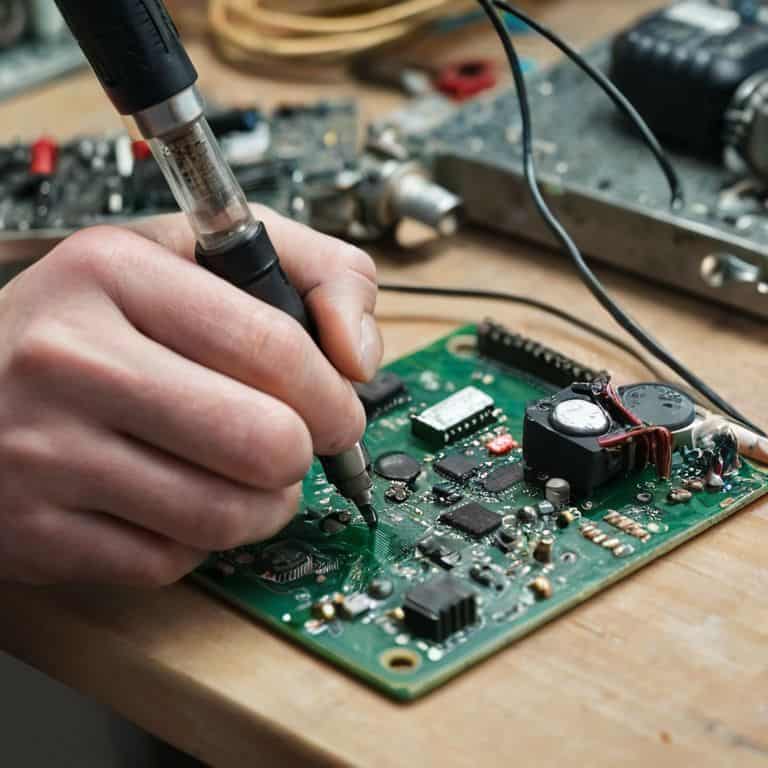
- 3. Now it’s time to heat up our desoldering iron. Plug it in, set the temperature to around 350-400°C (depending on the type of solder used), and let it heat up for a few minutes. While we’re waiting, let’s prepare our desoldering wick – cut a small piece, about 1-2 inches long, and have it ready to use.
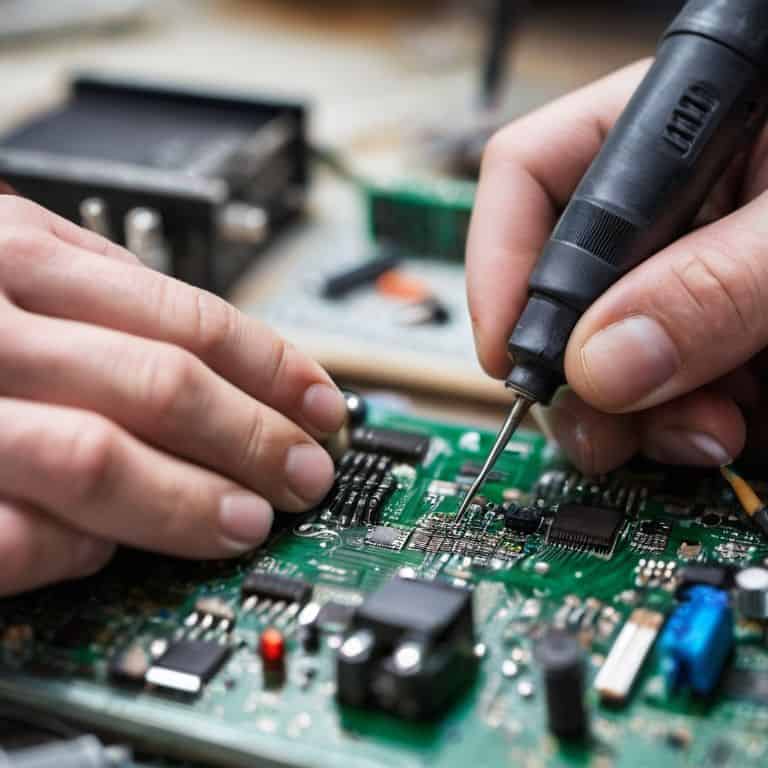
- 4. With our iron hot, carefully touch the tip to the solder joint. Hold it there for a few seconds until the solder starts to melt, then quickly move the desoldering wick into place, allowing it to absorb the excess solder. Repeat this process for each solder joint holding the component in place. Be careful not to touch any surrounding components with the iron.
- 5. Once all the solder joints are cleared, use your tweezers to gently lift the component off the board. Be careful, as it may still be attached to other components or wires. If it doesn’t come off easily, don’t force it – we may need to go back and reheat some of the solder joints.
- 6. Now that our component is removed, let’s inspect the area for any excess solder or debris. Use a small brush or a cotton swab to clean out any remaining solder or residue. This will help prevent any short circuits or other issues when we’re ready to reinstall the component or add a new one.
- 7. Finally, take a step back and admire your handiwork – we’ve successfully desoldered a component from a circuit board! Take a photo of the board to document our progress, and let’s get ready to move on to the next step in our project. Whether we’re repairing, modifying, or upgrading, we’ve taken a crucial step in taking control of our technology.
Desolder Like a Boss
Now that you’ve got the basics down, it’s time to take your desoldering game to the next level. One of the most important things to keep in mind is desoldering techniques for beginners, which often focus on using the right solder removal tools. I’ve found that a good desoldering iron can make all the difference in getting the job done efficiently. When it comes to circuit board repair methods, having the right tools at your disposal can be a lifesaver.
As you become more comfortable with the process, you’ll want to experiment with different solder removal tools comparison to see what works best for you. Some people swear by desoldering wicks, while others prefer pumps or irons. It’s all about finding what works best for your specific needs and the type of circuit board you’re working with. Don’t be afraid to try out different methods and see what yields the best results.
In terms of desoldering safety precautions, always make sure you’re working in a well-ventilated area and wearing protective gear, such as gloves and safety glasses. This will help prevent any accidents and ensure that you can focus on the task at hand. With practice and patience, you’ll be able to salvage even the most delicate electronic component and get back to tinkering with your projects in no time.
Desoldering Techniques for Beginners
Now that you’ve got the basics down, let’s dive into some essential desoldering techniques perfect for beginners. I remember when I first started, I was intimidated by the thought of damaging the board or the components. But with practice, you’ll get the hang of it. One key technique is to use the “damp sponge” method – it’s a simple trick where you use a damp sponge to absorb excess solder, making it easier to remove components without causing a mess.
For those just starting out, I recommend practicing on an old board or a spare component to get a feel for the process. Don’t be discouraged if it takes a few tries to get it right – desoldering is an art that requires patience and a gentle touch. With time and practice, you’ll be desoldering like a pro, and those “void warranty” stickers will become a thing of the past.
Solder Removal Tools Comparison
When it comes to desoldering, having the right tools can make all the difference. I’ve got a few favorites that I like to keep in my workshop, and I’m excited to share them with you. My go-to desoldering iron is a trusty old Hakko – it’s a beast of a tool that can handle even the toughest solder joints. But I’ve also been experimenting with some newer models, like the Pace Soldering Iron, which has a super-fine tip that’s perfect for precision work.
I’ve also got a desoldering pump that I like to bust out for particularly stubborn joints – it’s a bit more aggressive than my iron, but it gets the job done. And let’s not forget about desoldering wicks – these are a great option if you’re working with delicate components or just need a little extra precision. I’ve tried a few different brands, but my favorite is still the old reliable RadioShack wick – it’s cheap, effective, and easy to find.
Desoldering Wisdom: 5 Tips to Get You Started
- Use the right desoldering iron temperature: too low and you’ll struggle to melt the solder, too high and you’ll damage the components or the board
- Always use a desoldering wick or vacuum to remove excess solder, it’s a game changer for keeping your board clean and preventing solder bridges
- Don’t be afraid to use a bit of flux to help the desoldering process, it can make all the difference when dealing with stubborn components
- Practice desoldering on an old board or a scrap piece of circuitry before tackling a real project, it’s better to make mistakes on something that doesn’t matter
- Keep your desoldering iron tip clean and well-maintained, a dirty or worn-out tip can make the desoldering process much harder than it needs to be
Key Takeaways for a Warranty-Voiding Pro
Always prep your workspace and components before desoldering to avoid damage and ensure a smooth process
Mastering the right desoldering technique, whether it’s the wick method or using a desoldering pump, is crucial for removing components safely and efficiently
Practice makes perfect: don’t be discouraged if you damage a component or two in the beginning – with time and experience, you’ll be desoldering like a pro and taking your DIY projects to the next level
Desoldering Wisdom
Desoldering isn’t just about removing old solder, it’s about freeing your components from their outdated prison and giving them a new lease on life – so grab that desoldering iron and let the liberation begin!
Frankie Miller
Empowered to Desolder
We’ve covered the essential steps to desolder components from a circuit board, from preparing your workspace to removing the last bits of solder. You’ve learned about various desoldering techniques, including the use of desoldering irons, pumps, and wicks. The solder removal tools comparison should have given you a good idea of what to expect from each method. Now, it’s time to put these skills into practice and start working on your own projects. Remember, desoldering is an art that requires patience, attention to detail, and a bit of practice to master. Don’t be discouraged if it takes a few tries to get the hang of it – you’ll soon be desoldering like a boss.
As you continue on your DIY journey, keep in mind that every component you liberate is a testament to your growing skills and confidence. Don’t be afraid to void that warranty and take control of your technology. With each successful desoldering, you’ll be one step closer to unlocking the full potential of your devices and creating something truly unique. So, go ahead, grab your desoldering iron, and get ready to unleash your inner maker – the world of DIY tech is waiting for you, and it’s full of endless possibilities and limitless creativity.
Frequently Asked Questions
What are the most common mistakes to avoid when desoldering components from a circuit board?
Alright, let’s get real – we’ve all been there! Common mistakes to avoid when desoldering include applying too much heat, using the wrong solder removal tools, and not cleaning the area properly. Don’t be that guy who ends up with a charred board or a messed-up component. Take your time, and remember, patience is key when voiding that warranty!
How do I know which desoldering technique to use for a specific component or circuit board?
Choosing the right desoldering technique depends on the component and board. For small components like capacitors or resistors, I use the wick method. For larger components or denser boards, I opt for a desoldering pump. It’s all about matching the tool to the task – experiment, and don’t be afraid to try a few methods to see what works best!
What are some safety precautions I should take when working with desoldering irons and other solder removal tools?
Safety first! When working with desoldering irons, make sure you’ve got heat-resistant surfaces, a well-ventilated workspace, and insulated tools to avoid those nasty shocks. Don’t forget your safety glasses and a fire extinguisher nearby – we’re playing with heat and electricity, after all!