I still remember the first time I built my own gaming PC – the thrill of voiding the warranty and the sense of accomplishment when it all came together. It started with a simple question: how to install windows on a new pc? I was surprised to find that most guides made it seem like a daunting task, full of complicated steps and warnings about bricking your system. But I’ve learned that with the right approach, it’s actually a breeze.
In this article, I’ll walk you through the no-nonsense process of installing Windows on your brand new PC. I’ll share my personal experience, highlighting the common pitfalls to avoid and the troubleshooting tips that will save you hours of frustration. You’ll get a step-by-step guide on how to install Windows on a new PC, from preparing your hardware to activating your license key. My goal is to empower you to take control of your technology, so you can focus on what really matters – gaming, creating, or whatever your passion may be.
Table of Contents
- Guide Overview: What You'll Need
- Step-by-Step Instructions
- How to Install Windows on a New Pc
- Rip Off the Stickers Meeting Windows Installation Requirements
- Tinkering With Bios Configuring for a Seamless Windows Setup
- Windows Wisdom: 5 Tips to Ensure a Smooth Installation
- Key Takeaways for a Smooth Windows Installation
- Words to Live By
- Empowering Your Tech Journey
- Frequently Asked Questions
Guide Overview: What You'll Need
Total Time: 1 hour 45 minutes
Estimated Cost: $50 – $100
Difficulty Level: Intermediate
Tools Required
- USB Flash Drive (with at least 8 gigabytes of free space)
- Computer with internet connection
- Microsoft account (for Windows activation)
Supplies & Materials
- Windows Operating System (purchased or downloaded from Microsoft)
- Product Key (provided with Windows purchase or from Microsoft)
- Backup device (optional, for backing up existing data)
Step-by-Step Instructions
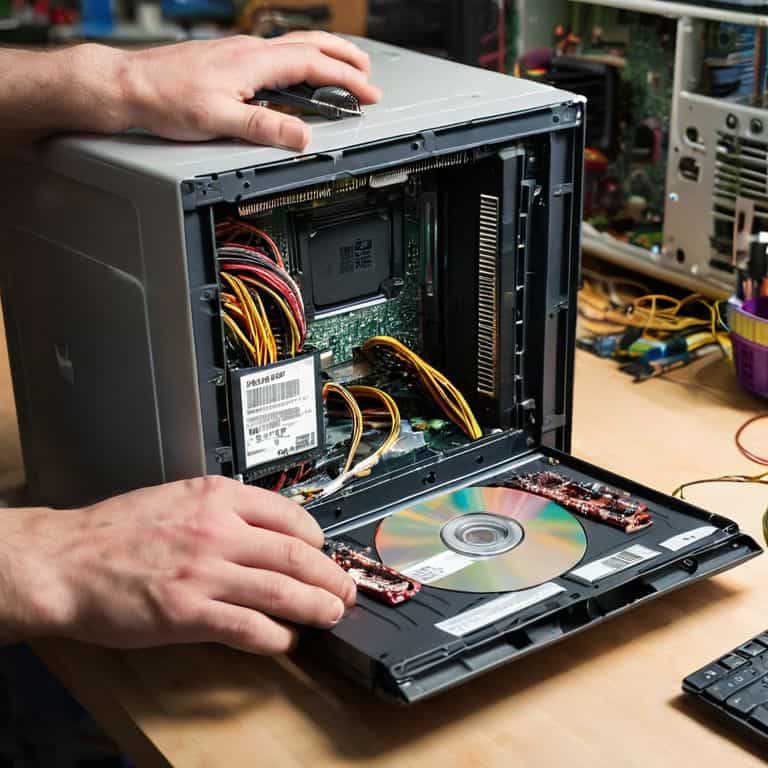
- 1. First, let’s get started with the basics – you’ll need a few things to install Windows on your new PC: a Windows installation disc or USB drive, your PC’s power cord, and a keyboard and mouse. Make sure you have all these components ready before you begin.
- 2. Next, plug in your PC and press the power button – don’t worry if it doesn’t boot up yet, we’re just checking that everything is working as it should. You should see some lights turning on and fans spinning, which is a good sign that your PC is alive.
- 3. Now, insert your Windows installation disc or USB drive into your PC – if you’re using a USB drive, make sure it’s plugged into a port that’s recognized by your PC’s BIOS. You might need to fiddle with the USB ports a bit to get it working.
- 4. Restart your PC and enter the BIOS settings – this is usually done by pressing a key like F2, F12, or Del, but it varies depending on your PC’s manufacturer. Once you’re in the BIOS settings, set your PC to boot from the USB drive or disc first, and save the changes.
- 5. Your PC should now boot up from the Windows installation disc or USB drive – you’ll see a Windows logo and a progress bar as it loads the installation files. Once it’s done, you’ll be prompted to select your language and keyboard layout, so choose the ones that apply to you.
- 6. The next step is to accept the license terms and choose the type of installation you want – if you’re installing Windows on a new PC, you’ll likely want to choose the custom installation option, which will allow you to partition your hard drive and install Windows from scratch.
- 7. Now, you’ll need to partition your hard drive – this can be a bit tricky, but don’t worry, I’ve got you covered. You’ll want to create a primary partition for Windows, and you can use the remaining space to create additional partitions for your files and programs. Just make sure you leave enough space for Windows to install and run smoothly.
- 8. Once you’ve partitioned your hard drive, the Windows installation will begin – this can take a while, so be patient and grab a snack or something. You’ll see a progress bar as the installation progresses, and you might be prompted to restart your PC a few times.
- 9. Finally, once the installation is complete, you’ll be prompted to create a user account and set up your Windows settings – this includes things like your timezone, language, and network settings. Take your time and make sure everything is set up the way you want it, and you’ll be ready to start using your new PC in no time.
How to Install Windows on a New Pc
As we dive into the world of Windows installation, it’s essential to consider the windows installation requirements. Before you start, ensure your new PC meets the minimum specs to run Windows smoothly. I’ve seen many enthusiasts overlook this step, only to encounter issues down the line. Creating a bootable USB drive is also crucial, as it will serve as the installation medium for your new operating system.
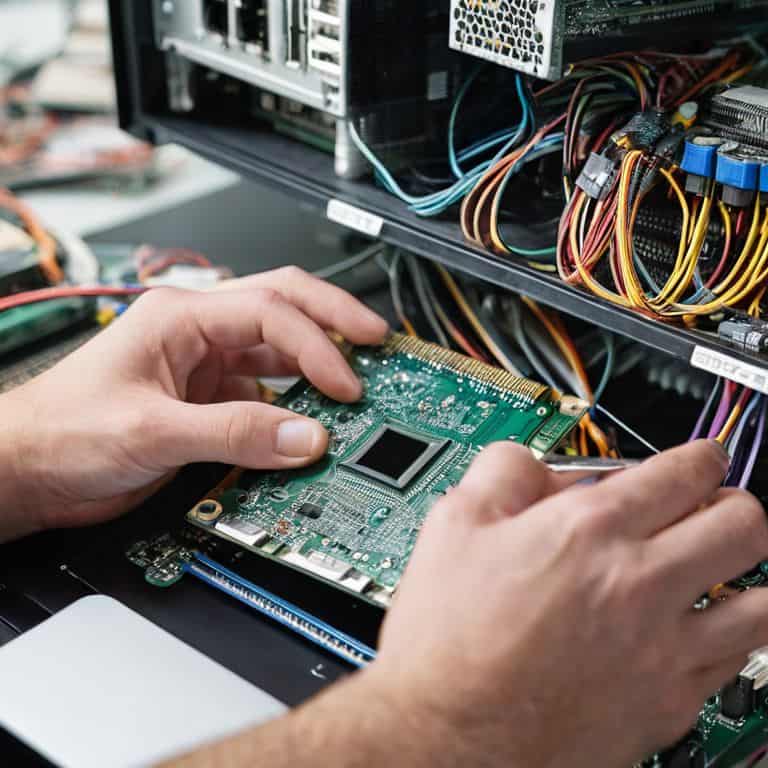
When configuring your BIOS for Windows, keep in mind that the process may vary depending on your motherboard manufacturer. It’s vital to configure bios for windows correctly to avoid any potential issues during the installation process. I recommend checking your motherboard manual or online documentation for specific instructions. Additionally, make sure you have all the necessary device drivers ready, as they will be required to ensure your hardware components function properly.
To optimize Windows performance, it’s crucial to troubleshoot windows setup issues as they arise. Don’t be discouraged if you encounter any problems – they can often be resolved with a simple tweak or update. By following these tips and being mindful of your system’s configuration, you’ll be well on your way to a seamless Windows installation experience. Remember to installing device drivers and update your system regularly to keep your PC running at its best.
Rip Off the Stickers Meeting Windows Installation Requirements
Now that we’ve got our new PC ready to rock, let’s talk about meeting those Windows installation requirements. I know, I know – it sounds like a snooze-fest, but trust me, this is where the magic happens. You’ll need to make sure your rig has a capable processor, some decent RAM, and a hard drive with enough space to breathe. Don’t worry, I won’t bore you with the exact specs – just know that if you’ve built a PC in the last few years, you’re probably golden.
Let’s get down to business: 64-bit processor, at least 4GB of RAM (but let’s be real, 8GB or more is where it’s at), and a hard drive with some serious storage chops. If you’re feeling fancy, you can even throw in a solid-state drive (SSD) for some lightning-fast loading times. Just remember, the more powerful your PC, the more you can push Windows to its limits – and that’s where the real fun begins!
Tinkering With Bios Configuring for a Seamless Windows Setup
Now that we’ve got our Windows installation media ready, it’s time to dive into the BIOS settings. This is where things can get a bit tricky, but don’t worry, I’ve got your back. First, reboot your PC and enter the BIOS settings – usually by pressing F2, F12, or Del, depending on your motherboard. Once you’re in, look for the boot order settings and set your USB drive or CD/DVD drive as the first boot device. Save your changes and exit the BIOS settings. Your PC will now boot from the installation media, and we can start the Windows setup process.
Make sure to disable any secure boot options, as they can prevent the Windows installation from proceeding. Also, take note of your BIOS version – if it’s outdated, you might need to update it before proceeding. Don’t worry if this sounds overwhelming; I’ll walk you through each step, and before you know it, you’ll be a BIOS-tinkering pro.
Windows Wisdom: 5 Tips to Ensure a Smooth Installation
- Verify Your Hardware: Before you start, double-check that your PC meets the minimum system requirements for Windows and that all components are compatible
- Backup Your Data (Even if You Don’t Have Any Yet): It’s a good habit to get into, and you’ll be glad you did in case something goes wrong during the installation process
- Disable Secure Boot: This can prevent Windows from installing properly, so make sure to disable it in your BIOS settings before proceeding
- Use a High-Quality USB Drive: If you’re installing Windows from a USB drive, ensure it’s a fast and reliable one to avoid any issues during the installation
- Keep Your Power Cord Plugged In: You don’t want your PC shutting down mid-installation due to a dead battery, so keep it plugged in and powered up throughout the process
Key Takeaways for a Smooth Windows Installation
Make sure to prepare your new PC by meeting the Windows installation requirements, including checking the minimum processor, RAM, and disk space needed
Configure your BIOS settings correctly to ensure a seamless Windows setup, including setting the boot order and enabling USB boot if necessary
Don’t be afraid to get hands-on and troubleshoot common issues that may arise during the installation process, and remember that installing Windows on your new PC is a straightforward process that can be completed with the right guidance
Words to Live By
Installing Windows on a new PC isn’t about following a recipe, it’s about understanding the ingredients – your hardware, your software, and your vision for what you want to achieve; that’s where the real magic happens.
Frankie Miller
Empowering Your Tech Journey

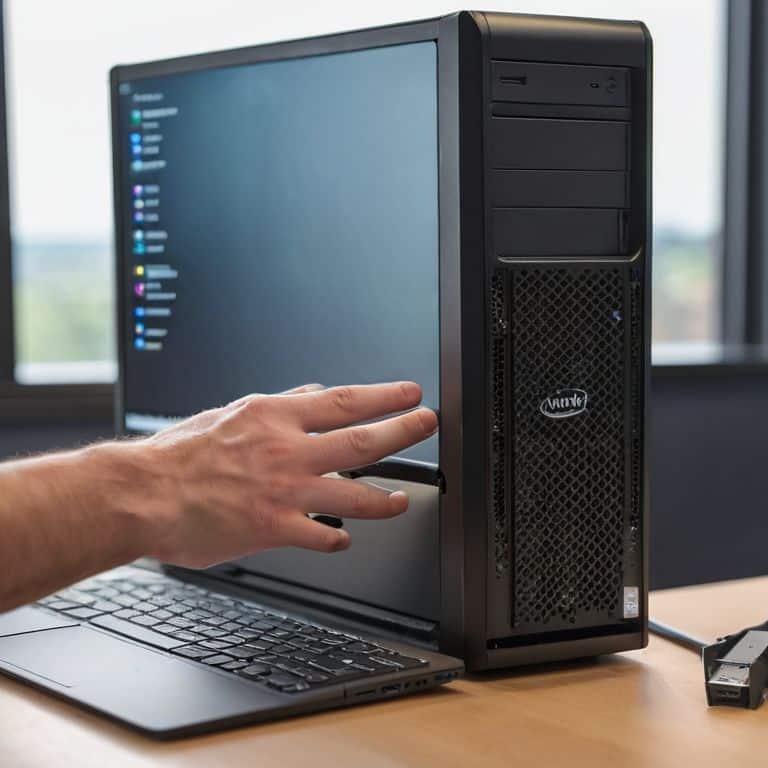
That’s it, you’ve made it through the tinkering process and successfully installed Windows on your new PC. Let’s take a step back and appreciate the journey – from ripping off those pesky stickers to configuring your BIOS for a seamless setup. We’ve covered the essential steps, from preparing your PC to troubleshooting common issues. By following this guide, you’ve not only installed an operating system but also gained a deeper understanding of your machine. Remember, the right to repair and modify is a fundamental aspect of technology ownership, and it’s essential to exercise this right to get the most out of your devices.
As you boot up your new PC, remember that this is just the beginning of your tech journey. Embracing the DIY spirit will open doors to endless possibilities – from upgrading your hardware to exploring the world of custom PC building. Don’t be afraid to void that warranty and try new things; it’s often the best way to learn and grow. With every project, you’ll become more confident in your abilities and more self-sufficient in your tech endeavors. So, go ahead, get creative, and make technology truly your own – the world of DIY tech awaits, and I’m excited to see what you’ll build next.
Frequently Asked Questions
What if my PC doesn't have a CD drive, can I still install Windows from a USB?
No CD drive, no problem. We can install Windows from a USB drive. I’ll show you how to create a bootable USB installer – it’s easier than you think, and I’ve got the steps right here.
How do I know which version of Windows is compatible with my new PC's hardware?
Check your PC’s specs, friend! Look for the CPU, RAM, and storage details. Then, head to Microsoft’s website to see which Windows version is compatible. Don’t worry, it’s easier than voiding a warranty (just kidding, that’s easy too)! You can also use the PC’s manual or manufacturer’s website for guidance. I’ve got a cheat sheet on my blog to help you match your hardware with the perfect Windows version.
What should I do if I encounter a 'driver not found' error during the Windows installation process?
Don’t sweat it, a ‘driver not found’ error is a minor speed bump. Try loading the driver from a USB stick or CD, or download it from the manufacturer’s website. If that doesn’t work, we can get creative – I’ve got some tricks up my sleeve, like using a third-party driver installer or tweaking the BIOS settings.