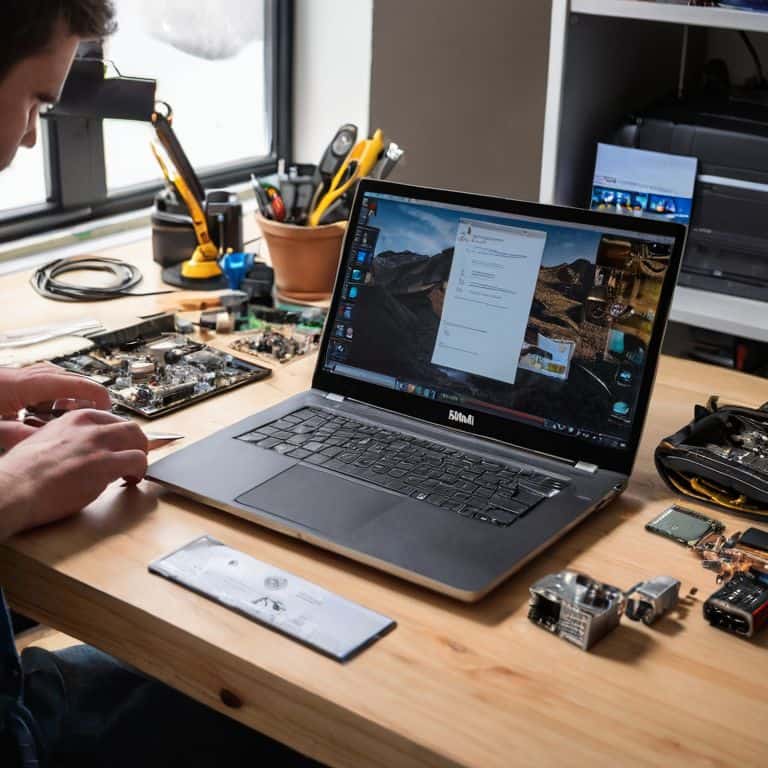
I still remember the first time I voided a warranty on my old laptop – it was a liberating experience, and it’s what sparked my passion for DIY tech upgrades. The idea that you can’t or shouldn’t upgrade your own laptop is a myth that’s been perpetuated for far too long. When it comes to how to upgrade your laptop, most people are led to believe that it’s a daunting task, best left to the professionals. But I’m here to tell you that’s just not true – with the right guidance, you can breathe new life into your old machine and make it run like new again.
In this article, I’ll walk you through the step-by-step process of upgrading your laptop, from choosing the right components to avoiding common pitfalls. You’ll learn how to assess your laptop’s upgrade potential, choose the right tools for the job, and install new components with confidence. My goal is to empower you with the knowledge and skills to take control of your own technology, and to show you that upgrading your laptop is a fun and rewarding experience. So, if you’re ready to ditch the manual and get your hands dirty, let’s dive in and explore the world of laptop upgrades together!
Table of Contents
Guide Overview: What You'll Need
Total Time: 2 hours 30 minutes
Estimated Cost: $50 – $200
Difficulty Level: Intermediate
Tools Required
- Screwdriver (preferably a Torx driver)
- Plastic spudger (for prying open the laptop case)
- Thermal paste (for reapplying to the CPU and GPU)
- Anti-static wrist strap (for grounding yourself)
- Pliers (for removing jumpers or clips)
Supplies & Materials
- RAM upgrade modules (compatible with your laptop model)
- Solid-state drive (SSD) (to replace the existing hard drive)
- Laptop cooling pad (optional, but recommended for improved airflow)
- Thermal tape (for securing heat sinks)
- Cable ties (for organizing internal cables)
Step-by-Step Instructions
- 1. First, let’s get familiar with the inside of your laptop – it’s time to void that warranty and unleash its true potential. Start by flipping your laptop over and removing the screws that hold the bottom panel in place. You’ll likely need a Phillips screwdriver for this, and be sure to keep track of which screws go where, as they can vary in size and thread type.
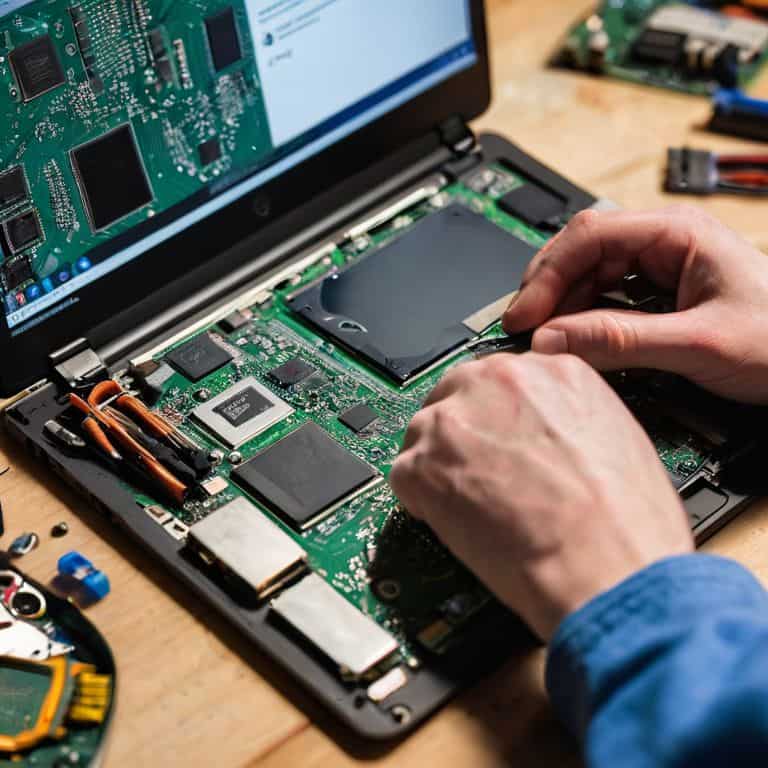
- 2. Next, gently pry the bottom panel off, taking care not to damage any of the clips or hinges that hold it in place. You might need to use a plastic spudger or a similar tool to help release the panel without causing any damage. Once you’ve removed the panel, you’ll be greeted with a maze of wires, circuits, and components – don’t worry, we’ll navigate this complex landscape together.
- 3. Now it’s time to locate the RAM and storage components, which are usually the easiest and most impactful upgrades to make. Look for the RAM slots, which are typically marked with a label or a diagram on the motherboard. You’ll need to release the clips that hold the RAM in place, and then gently pull the sticks out at an angle. Be careful not to touch any of the electrical components or the gold contacts on the RAM.
- 4. To install the new RAM, simply align the notches on the RAM stick with the tabs on the slot, and then firmly push it in at an angle until it clicks into place. Make sure it’s securely seated and the clips are holding it firm. Repeat this process for the second RAM slot, if your laptop has one.
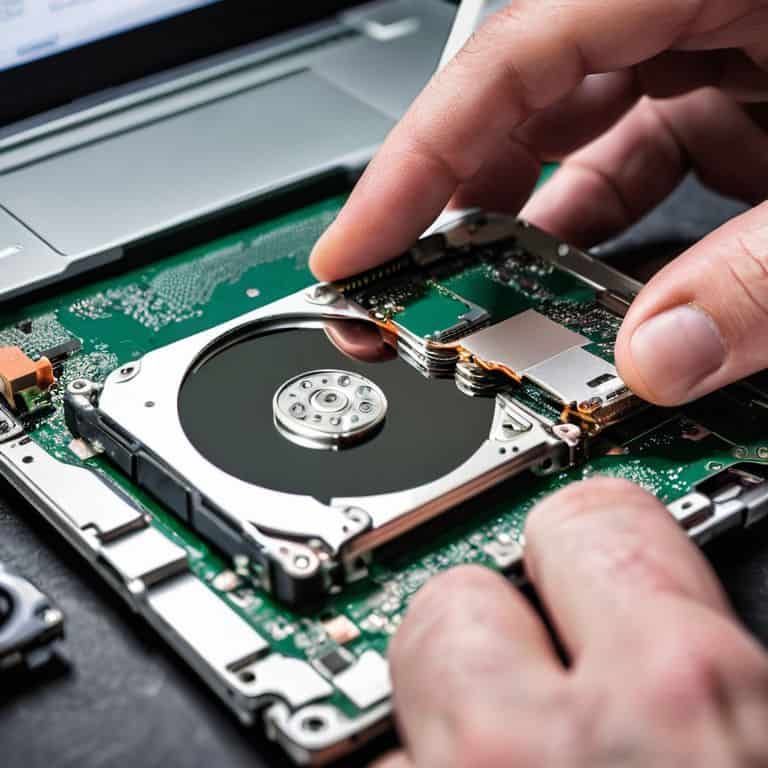
- 5. Moving on to the storage upgrade, you’ll need to locate the hard drive or solid-state drive (SSD), which is usually held in place by a few screws or a bracket. Remove the screws or release the bracket, and then carefully lift the drive out of its bay. You might need to disconnect a cable or two, so take note of which ones you need to remove and where they connect.
- 6. To install the new SSD, simply connect the cables to the correct ports on the motherboard, and then securely fasten the drive to its bay using the screws or bracket you removed earlier. Make sure it’s tightly fastened and the cables are securely connected.
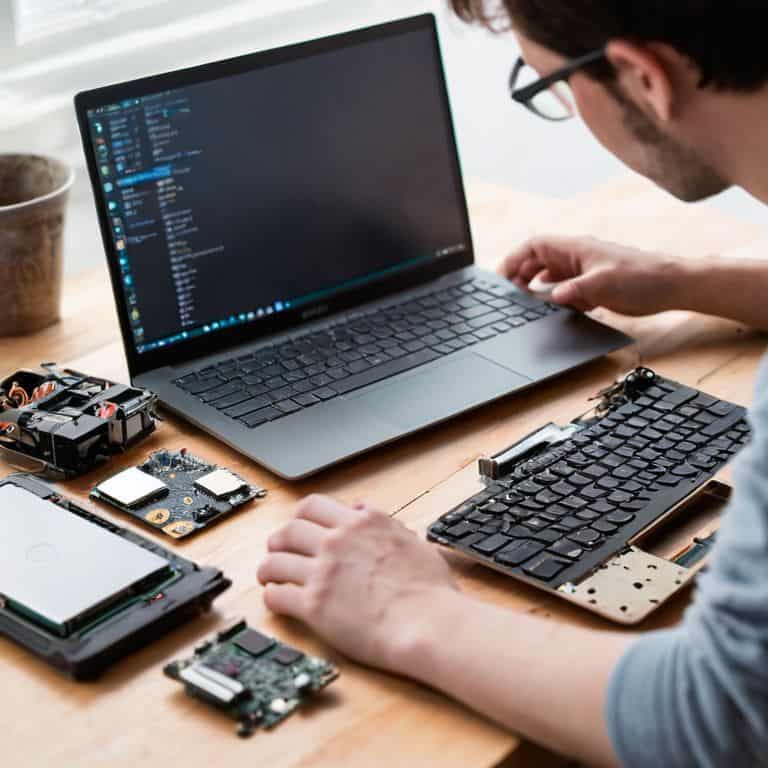
- 7. Finally, reassemble your laptop in the reverse order that you disassembled it, making sure all the screws are tightened and the panels are securely fastened. Once you’ve completed the upgrades, boot up your laptop and enjoy the improved performance and increased storage capacity. Remember to install any necessary drivers or software to get the most out of your new hardware.
Upgrade Your Laptop
When it comes to laptop hardware upgrade options, it’s essential to consider what will give you the most bang for your buck. For many, swapping out the traditional hard drive for a solid-state drive (SSD) is a game-changer. Not only does it significantly improve loading times, but it also makes your laptop more responsive overall. I’ve seen firsthand the difference it can make, and I highly recommend making the switch if you haven’t already.
Another crucial aspect to consider is increasing laptop battery life. While upgrading your battery itself can be a bit tricky, there are other ways to squeeze more juice out of your laptop. Simple tweaks like adjusting your power settings or disabling unnecessary devices can make a big difference. Additionally, keeping your laptop cool is vital, which is why I always recommend exploring laptop cooling system upgrade options. It’s amazing how much of a difference a good cooling system can make in terms of performance and battery life.
By following these tips and exploring diy laptop repair tutorials, you’ll be well on your way to unlocking your laptop’s full potential. Remember, laptop performance optimization tips are all about finding that perfect balance between power and efficiency. Don’t be afraid to experiment and try new things – and most importantly, don’t let a little thing like a warranty hold you back from making your laptop truly your own.
Laptop Hardware Upgrade Options
Now that we’ve covered the basics, let’s dive into the fun part – exploring laptop hardware upgrade options. You’ve got a few key components to consider: RAM, storage, and the processor. Upgrading your RAM is usually the easiest and most cost-effective way to give your laptop a boost. I recommend swapping out that slow hard drive for a sleek SSD – it’s a game-changer.
When it comes to storage, you can either replace your existing drive or add a secondary one. If you’re feeling adventurous, you could even try overclocking your processor, but be careful not to push it too far. I’ve got a whole drawer full of spare parts from my own experiments, so don’t be afraid to get creative and try new things. Remember, that ‘void warranty’ sticker is just a challenge, not a warning.
Ssd vs Hdd for Laptops
When it comes to storage upgrades, you’ve got two main options: SSD (Solid State Drive) or HDD (Hard Disk Drive). I’m a huge fan of SSDs – they’re a total game-changer. Not only do they offer blazing-fast read and write speeds, but they’re also way more durable than traditional hard drives. Plus, they use less power, which means your laptop’s battery will last longer.
For laptops, I always recommend going with an SSD. The performance boost is worth it, and they’re relatively affordable these days. HDDs just can’t compete with the speed and reliability of SSDs. Trust me, once you make the switch, you’ll wonder how you ever put up with those clunky old hard drives. Your laptop will feel like new, and you’ll be able to get back to gaming, editing, or whatever you love doing, without any frustrating slowdowns.
5 Essential Tips to Supercharge Your Laptop Upgrade
- Plan Ahead: Before You Begin, Research Your Laptop’s Specs and Upgrade Limitations
- Don’t Skimp on Quality: Invest in a Reputable SSD for a Noticeable Performance Boost
- Ground Yourself: Static Electricity is Your Enemy – Take Necessary Precautions to Protect Your Components
- Thermal Management is Key: Ensure Proper Cooling to Prevent Overheating and Premature Wear
- Keep it Organized: Label and Store Your Screws and Cables to Avoid Losing Them in the Chaos
Key Takeaways: Unlocking Your Laptop's Full Potential
Upgrading your laptop is a straightforward process that can significantly boost performance, and with the right guidance, you can do it yourself without voiding the warranty (or at least, not caring about it)
Choosing between SSD and HDD for your laptop depends on your needs: SSDs offer faster loading times and responsiveness, while HDDs provide more storage space at a lower cost, so it’s essential to consider your priorities
By taking matters into your own hands and upgrading your laptop, you’re not only saving money and extending its lifespan, but also joining a community of DIY enthusiasts who believe in the right to repair and modify their own technology
Upgrading Your Laptop: A Path to Freedom
The true power of upgrading your laptop isn’t just about boosting performance, it’s about taking back control and shattering the illusion that you need permission to modify your own device.
Frankie Miller
Unleashing Your Laptop's Full Potential
You’ve made it through the guide, and by now, you should have a solid understanding of how to upgrade your laptop. We’ve covered the basics of hardware upgrades, from choosing between SSD and HDD to the actual installation process. It’s essential to remember that upgrading your laptop is a highly customizable process, and what works for one person might not work for another. Take your time, and don’t be afraid to experiment and try new things – after all, that’s what DIY is all about.
As you put your upgraded laptop to the test, remember that the true power of DIY lies not just in the upgrades themselves, but in the freedom to create and modify your technology as you see fit. Don’t let void warranty stickers hold you back – with the right mindset and a bit of technical know-how, you can unleash your laptop’s full potential and make it a truly unique and powerful tool. So go ahead, get creative, and show the world what you’re capable of building.
Frequently Asked Questions
What tools do I need to upgrade my laptop's hardware without damaging any components?
Alright, let’s get started! To upgrade your laptop’s hardware without damaging any components, you’ll need a few essential tools: a screwdriver set, plastic spudgers, and an anti-static wrist strap. Don’t forget a can of compressed air to clean out dust and debris. Trust me, these basics will help you navigate the upgrade process like a pro!
How do I know which SSD or HDD is compatible with my specific laptop model?
Check your laptop’s manual or specs online to see what type of drive it uses – SATA, PCIe, or M.2. You can also peek inside to see what’s already installed. I like to use online databases or forums specific to my laptop model to find compatible upgrades. Don’t worry, it’s easier than you think!
Can I upgrade my laptop's processor or is that a more complex task that requires professional assistance?
Upgrading your laptop’s processor can be a bit more involved, but it’s still a DIY-able task. You’ll need to check if your laptop’s processor is soldered or socketed – if it’s the latter, you’re in luck. I’ve done it myself, and with the right tools and a steady hand, you can swap out that old CPU for a shiny new one.