I still remember the first time I voided a warranty on an old Nintendo 64 console. It was a liberating experience, and it sparked a passion for restoring and modifying old gaming rigs. As a self-taught maker, I’ve always believed that a ‘Do Not Open’ label is an invitation to explore and improve. That’s why I’m excited to share my knowledge with you in this guide to cleaning and restoring old game consoles. Whether you’re a retro gaming enthusiast or just looking to breathe new life into an old console, this article will walk you through the process of cleaning and restoring your beloved gaming systems.
In this hands-on guide, I’ll show you how to scrub away the grime and get your old consoles humming like new. You’ll learn how to identify common problems, replace faulty components, and even modify your consoles for improved performance. My goal is to empower you with the knowledge and confidence to take on your own restoration projects, without being held back by manufacturer restrictions. By the end of this article, you’ll be equipped with the practical advice and tips you need to successfully clean and restore your old game consoles, and maybe even void a warranty or two along the way.
Table of Contents
Guide Overview: What You'll Need
Total Time: 2 hours 30 minutes
Estimated Cost: $20 – $40
Difficulty Level: Intermediate
Tools Required
- Soft-bristled brush (for gentle cleaning)
- Cotton swabs (for detailed cleaning)
- Compressed air can (for blowing out dust)
- Screwdriver set (for console disassembly)
- Anti-static wrist strap (for protecting components from static electricity)
Supplies & Materials
- Isopropyl alcohol (70 percent or higher concentration)
- Microfiber cloths (several)
- Console-specific cleaning solutions (if recommended by manufacturer)
- Replacement parts (if necessary) (such as buttons, controllers, or internal components)
- Desoldering wick (for removing old solder)
Step-by-Step Instructions
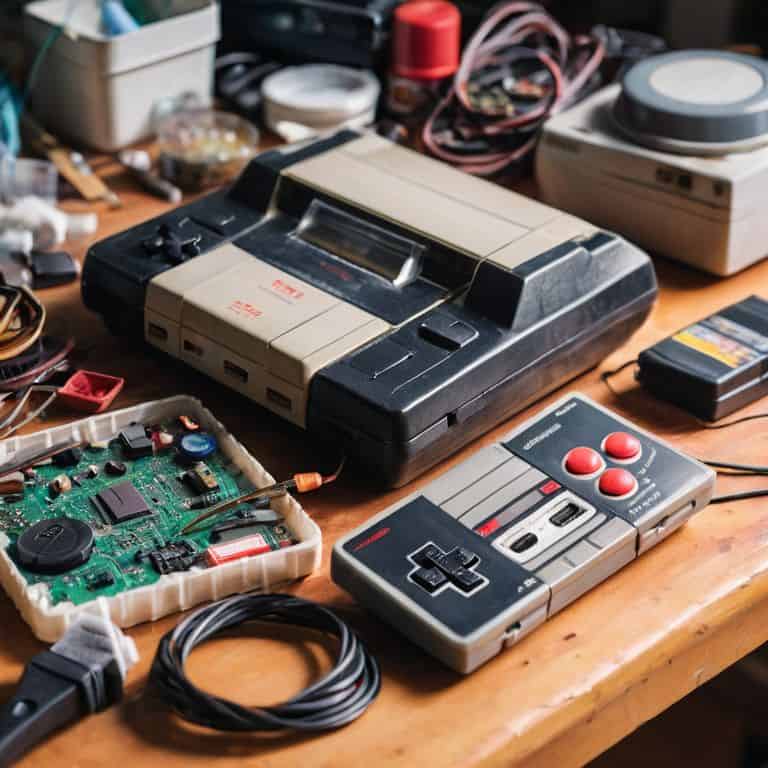
- 1. First, let’s get started by gathering our tools – we’ll need a screwdriver set, a can of compressed air, a soft-bristled brush, and some cotton swabs to get into those tight spaces. I like to keep all my tools in a designated toolbox, it makes it easier to find what I need when I’m in the middle of a project.
- 2. Next, we need to disassemble the console – this is the part where most people would say “be careful not to void your warranty,” but let’s be real, if you’re reading this, you’re probably looking to void that warranty and make the console truly yours. Start by removing the screws from the back and gently prying the casing open.
- 3. Now that we have the console open, it’s time to clean out the dust and debris that’s accumulated over the years. Use your compressed air to blow out any dust or dirt that’s built up in the vents and fans. Be careful not to spray the can too closely, as the force of the air can damage some of the internal components.
- 4. With the dust and debris cleared out, we can start to inspect the internal components – look for any signs of wear or damage on the circuit boards, and make a note of any parts that may need to be replaced. This is also a good time to check for any corrosion or water damage, and take steps to repair or replace any affected components.
- 5. Once we’ve inspected and cleaned the internal components, it’s time to reassemble the console – make sure all the screws are tightened securely, but don’t overtighten, as this can damage the casing. Take your time and make sure everything is properly aligned before closing up the console.
- 6. With the console reassembled, it’s time to test it out – plug it in, turn it on, and make sure everything is working as it should. If you’ve replaced any components, now is the time to test them out and make sure they’re functioning properly. Don’t be afraid to troubleshoot any issues that arise – it’s all part of the process of bringing an old console back to life.
- 7. Finally, let’s talk about adding some custom touches – now that we’ve restored the console to its former glory, it’s time to think about how we can improve its performance or add some custom features. This could be anything from upgrading the RAM to installing a custom cooling system – the possibilities are endless, and it’s up to you to decide how you want to modify your console.
Rebels Guide to Old Consoles

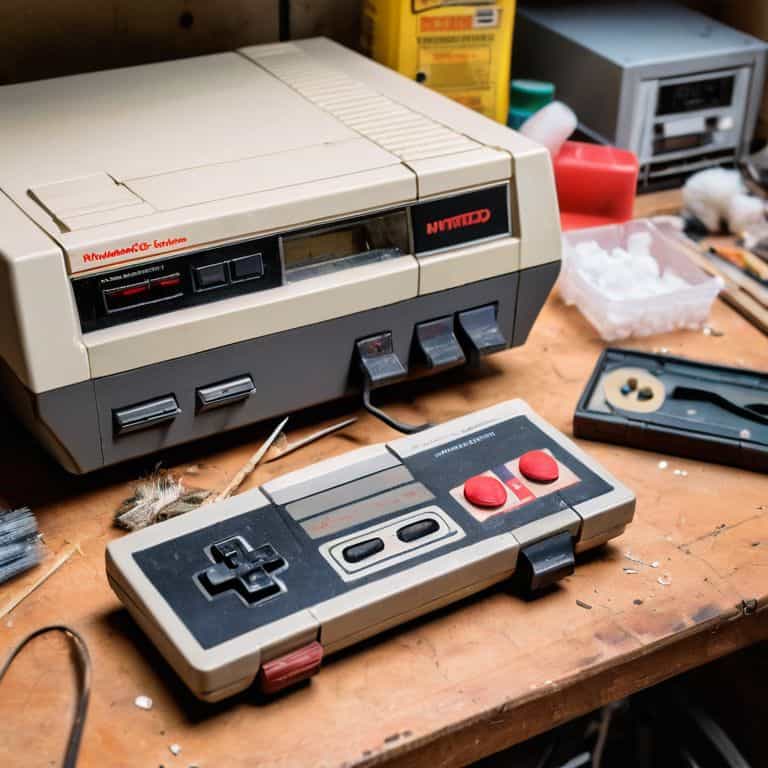
As I delve deeper into the world of vintage game console maintenance, I’ve learned that it’s not just about cleaning and restoring – it’s about preserving the original charm of these retro beauties. When it comes to restoring original console finish, I always say that a little elbow grease goes a long way. From scrubbing away grime to applying a fresh coat of paint, the process can be therapeutic and rewarding.
When working with retro console electronics cleaning, it’s essential to be gentle yet thorough. I’ve found that using a soft-bristled brush and a can of compressed air can work wonders in removing dust and debris from those hard-to-reach areas. And, of course, a diy console repair kit can be a lifesaver when you need to replace a faulty component or two.
In terms of classic game console storage tips, I always recommend keeping your consoles in a cool, dry place, away from direct sunlight. This will help prevent damage to the electronics and ensure that your consoles remain in good working condition for years to come. By following these simple tips and using the right console screen restoration methods, you can keep your retro gaming rigs in top shape and enjoy them for generations to come.
Restoring Retro Console Finish
To get that retro console looking like new, we need to focus on restoring the finish. I’m talking about scraping off old stickers, sanding down rough edges, and applying a fresh coat of paint or varnish. It’s amazing how a little TLC can make a worn-out console look like it just rolled off the assembly line. I like to use a combination of gentle cleaning products and elbow grease to remove grime and stains. For tougher cases, I break out the big guns: a Dremel for precision sanding and a can of retro-themed spray paint to match the original color scheme.
With the right tools and a bit of patience, you can make your old console look better than ever. Just remember, the goal is to restore it to its former glory, not to make it look like a brand-new, mass-produced device. The imperfections and battle scars are what give these retro consoles character, so don’t be afraid to get creative and add your own personal touch.
Void Warranty With Diy Repair
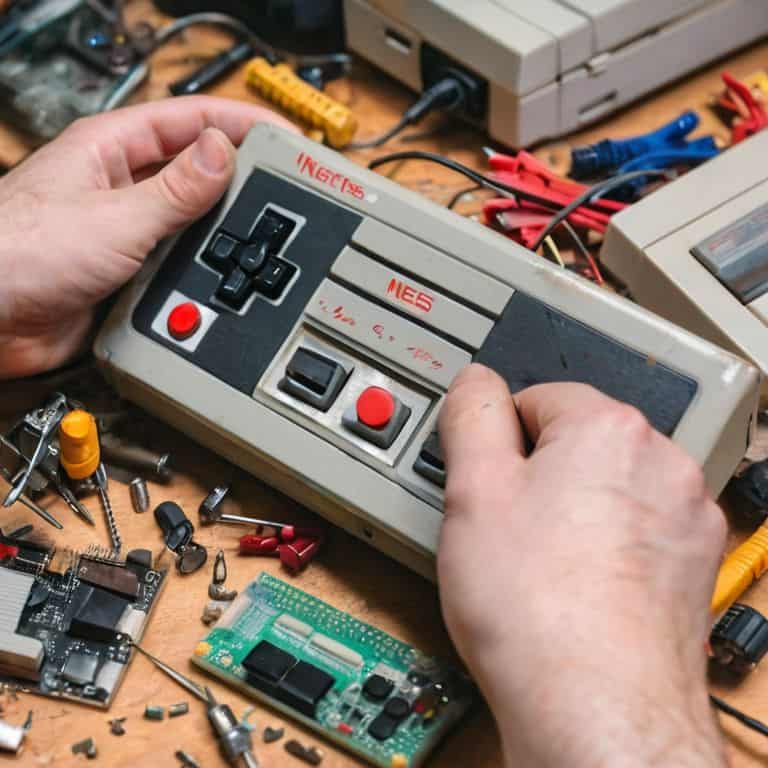
Now that we’ve got our consoles cleaned up, it’s time to get our hands dirty with some DIY repairs. I love the thrill of cracking open a case and figuring out what’s going on inside. Those “void warranty” stickers? They’re like a challenge to me. I’ve got a whole drawer full of spare parts from past projects, and I’m always on the lookout for new ones to add to the collection. Whether it’s replacing a faulty capacitor or upgrading the RAM, I’ll show you how to give your old console a new lease on life.
From soldering new connections to 3D printing custom parts, we’ll dive into the world of DIY console repair. I’ll share some of my favorite tips and tricks for troubleshooting common issues and getting your console up and running like new.
5 Essential Tips for Bringing Your Retro Consoles Back to Life
- Use compressed air to blast out dust and debris from vents and crevices, but be careful not to push it further into the console
- Apply a gentle cleaning solution to the exterior with a soft-bristled brush, and avoid harsh chemicals that can damage the finish
- When restoring the finish, use a high-quality wood or plastic restoration product specifically designed for the type of material your console is made of
- Don’t be afraid to get inside and replace old capacitors or fuses, as these are common failure points in older consoles – just make sure to take plenty of photos and notes as you disassemble
- Test your console thoroughly after cleaning and restoration, and don’t be discouraged if it takes a few tries to get everything working perfectly – it’s all part of the DIY journey
Key Takeaways for the Fearless Tinkerer
By embracing the DIY spirit and voiding that warranty, you can breathe new life into old game consoles and make them truly yours
Restoring retro console finishes requires patience, the right tools, and a willingness to experiment – but the end result is well worth the effort
With the right mindset and a bit of technical know-how, you can turn outdated gaming rigs into unique, functional pieces of art that are as much a testament to your skills as they are to the games they play
Restoring the Classics
The only thing more satisfying than beating Contra without the Konami code is bringing a retro console back from the dead with your own two hands – it’s not just a repair, it’s a rebellion against disposable tech.
Frankie Miller
Bringing New Life to Retro Gaming Rigs
We’ve covered the basics of cleaning and restoring old game consoles, from gently scrubbing away grime to replacing worn-out parts. By following these steps, you’ve not only given your retro console a new lease on life, but you’ve also voided that warranty and taken the first step towards becoming a true DIY master. Whether you’re looking to restore a classic NES or breathe new life into a vintage PlayStation, the sense of satisfaction you get from bringing these old rigs back online is hard to match. Remember, it’s all about experimentation, patience, and a willingness to get your hands dirty.
As you put your restored console back together and plug it in for the first time, you’ll be filled with a sense of pride and accomplishment. You’ve taken something old and made it new again, and that’s a feeling that’s hard to beat. So don’t be afraid to keep tinkering, to keep pushing the boundaries of what’s possible with your retro gaming rigs. Who knows what other amazing projects you’ll discover, what other hidden talents you’ll uncover? The world of DIY tech is full of endless possibilities, and with a little bit of courage and a lot of curiosity, you can unleash your inner maker and create something truly amazing.
Frequently Asked Questions
What are the most common issues that can arise when cleaning and restoring old game consoles?
When digging into old consoles, I’ve found the most common issues are corroded contacts, stuck buttons, and grime-clogged vents. You’ve also got to watch out for damaged solder joints and worn-out capacitors. Don’t worry, these are all fixable with the right tools and a bit of patience – I’ve got some tricks up my sleeve to share!
How can I prevent damaging the internal components of my retro console during the restoration process?
When restoring your retro console, handle the internals with care – static electricity and rough handling are your enemies. Ground yourself, use an anti-static wrist strap, and gently remove components to avoid damage. I’ve learned this the hard way, trust me, it’s worth the extra caution to avoid frying those precious circuits.
Are there any specific cleaning products or materials that should be avoided when restoring old game consoles?
When it comes to cleaning old consoles, I’m super careful about what I use. Avoid harsh chemicals like bleach or ammonia, and never use abrasive materials like scrubbers or rough cloths. Instead, stick to gentle cleaners like 50/50 water and white vinegar, and soft brushes to get the job done without damaging those retro finishes.