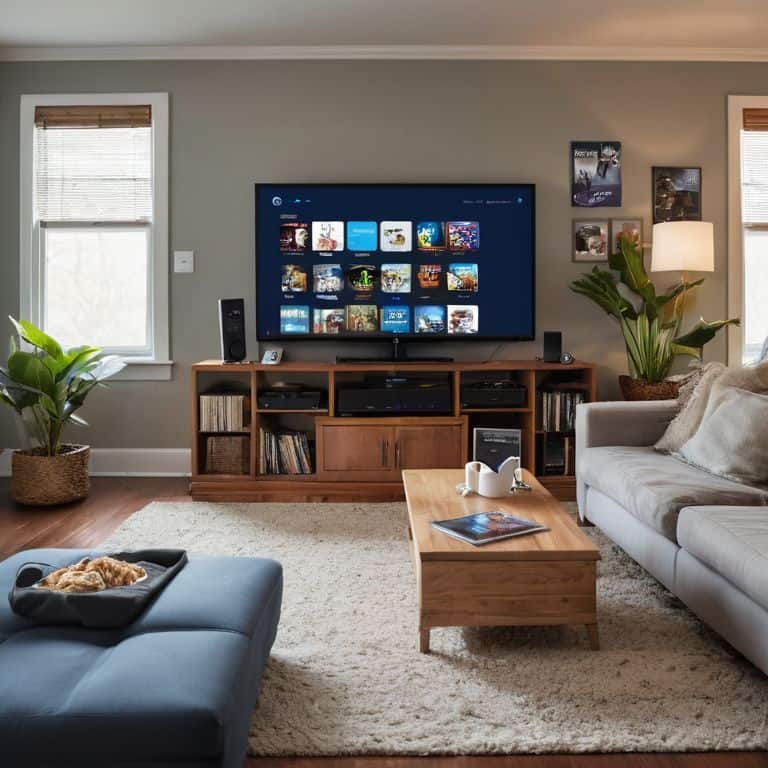
I still remember the first time I tried to set up a media server – it was a frustrating experience, to say the least. Everyone told me it was complicated, that I needed to be a tech expert to get it right. But I didn’t believe it. I was on a mission to create the ultimate entertainment hub, and a guide to setting up a plex media server was my top priority. I dove head-first into the world of Plex, and what I found was surprising – it wasn’t as hard as everyone made it out to be. In fact, with the right approach, it’s downright easy.
So, what will you learn from this article? You’ll get a step-by-step guide on how to set up your very own Plex media server, without any of the confusing jargon or technical mumbo-jumbo. I’ll walk you through the process, from start to finish, and share some of my own tips and tricks for getting the most out of your setup. By the end of this article, you’ll be streaming your favorite movies and TV shows like a pro, and you’ll have the confidence to customize and improve your media server to your heart’s content. Whether you’re a tech newbie or a seasoned veteran, this guide is designed to be accessible and fun, so let’s get started and make your media server dreams a reality!
Table of Contents
Guide Overview: What You'll Need

Total Time: 1 hour 30 minutes
Estimated Cost: $50 – $100
Difficulty Level: Intermediate
Tools Required
- Computer or NAS device with internet connection
- External hard drive for media storage
- Router for network connectivity
- Internet connection with sufficient bandwidth
Supplies & Materials
- Plex media server software free download
- Media files movies, TV shows, music, etc.
- Network cables for connecting devices
- Power strip for powering devices
Step-by-Step Instructions
- 1. First, let’s get started by downloading the Plex media server software from the official website. I’ll walk you through this process like we’re tinkering in my own garage, so don’t worry if you’re not tech-savvy. We’ll get this up and running in no time, and I’ll show you how to make it truly yours.
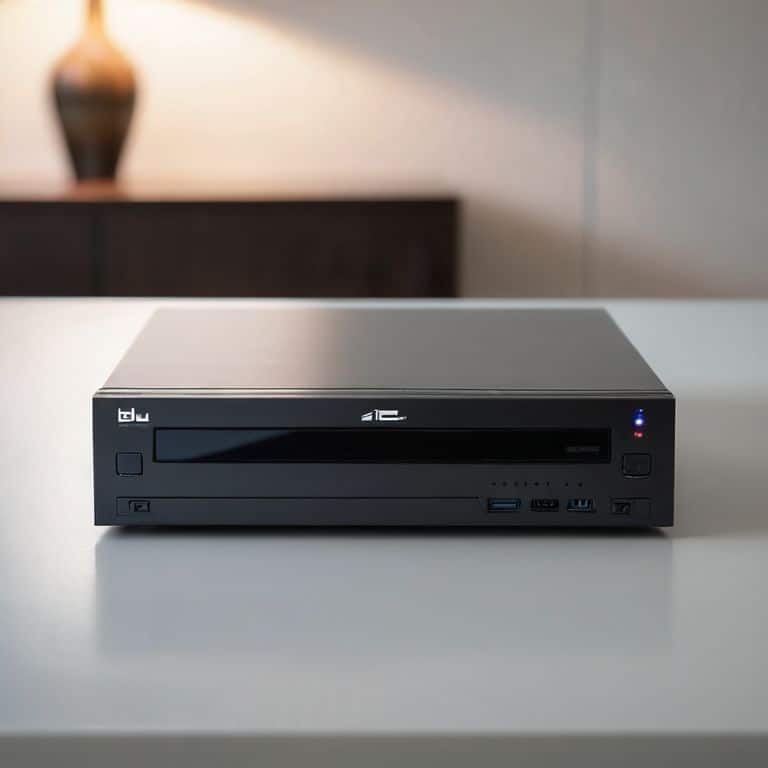
- 2. Next, we need to choose the right device to run our Plex media server on. This could be an old computer, a Raspberry Pi, or even a dedicated NAS device. I’m a fan of repurposing old hardware, so let’s breathe new life into that old computer you’ve got collecting dust in the corner. Make sure it’s got a decent processor, some RAM, and a hard drive with plenty of storage space.
- 3. Now that we’ve got our device, let’s get our hands dirty and start installing the Plex media server software. This is usually a straightforward process, but I’ll guide you through it step-by-step to ensure we don’t encounter any issues. Download the software, run the installer, and follow the prompts to get Plex up and running.
- 4. With Plex installed, it’s time to add your media. This is the fun part – gathering all your movies, TV shows, music, and photos, and adding them to your Plex library. Make sure your files are organized, as this will make it easier for Plex to scan and catalogue your media. I like to keep my files in separate folders for each type of media, and I’ll show you how to set up a robust folder structure.
- 5. Once you’ve added your media, it’s time to set up your Plex library. This involves telling Plex where to find your media files, and how to organize them. Don’t worry if this sounds complicated – it’s actually quite intuitive, and I’ll walk you through it. We’ll set up libraries for each type of media, and configure the settings to get the best possible experience.
- 6. Now that our library is set up, let’s configure the settings to get the best possible performance out of our Plex media server. This includes setting up transcoding, which allows Plex to convert your media files into formats that can be played on different devices. We’ll also set up remote access, so you can access your Plex library from anywhere.
- 7. Finally, let’s test everything out to make sure our Plex media server is working as expected. We’ll test playback on different devices, make sure remote access is working, and check that our media is being transcoded correctly. If we encounter any issues, don’t worry – we’ll troubleshoot them together, and I’ll show you how to fix common problems.
Rebels Guide to Plex

Now that we’ve got our Plex media server up and running, let’s talk about how to take it to the next level. When it comes to optimizing plex media server performance, it’s all about finding the right balance between hardware and software. I’ve found that using a dedicated machine with a decent CPU and plenty of RAM makes all the difference. Plus, it’s a great excuse to repurpose an old computer or build a custom rig.
As we explore the world of media servers, it’s natural to wonder about the plex vs Kodi for streaming debate. From my experience, both have their strengths and weaknesses, but Plex is definitely the way to go if you’re looking for a more user-friendly interface. That being said, if you’re feeling adventurous, you could always try setting up a Kodi system and see which one you prefer. Just remember to keep an eye on those system requirements to ensure smooth playback.
To get the most out of your Plex media server, you’ll want to configure plex media server for 4k playback. This might require some tweaks to your settings and possibly even an upgrade to your hardware, but trust me, it’s worth it. With 4k playback, you’ll be able to enjoy your favorite movies and shows in stunning high definition. And if you’re feeling really rebellious, you could even try setting up plex media server remote access to stream your content from anywhere.
Optimize for 4k Streaming
Now that we’ve ripped open our Plex media server, let’s talk about optimizing it for 4K streaming. I mean, who doesn’t want crystal-clear video, right? To get started, you’ll want to make sure your server’s hardware can handle the demands of 4K. I recommend checking your CPU and GPU specs to ensure they’re up to the task. For me, upgrading to a dedicated graphics card made all the difference.
I’ve also found that tweaking the server’s settings can help streamline 4K playback. Disabling unnecessary transcoding options and adjusting the buffer size can work wonders. Trust me, I’ve spent hours tinkering with these settings to get my own Plex server running smoothly. With a few simple adjustments, you can enjoy seamless 4K streaming and take your media experience to the next level.
Rip Open Plex Media Server
Now that we’ve got our Plex media server up and running, it’s time to take it to the next level. I’m talking about ripping open the ecosystem and making it truly our own. For me, that means customizing the server to stream my favorite retro games, or tweaking the settings to get the perfect 4K playback. I’ve got a few tricks up my sleeve to share with you, from modifying the Plex web interface to integrating it with other DIY projects, like my Raspberry Pi-powered home automation system. Let’s void that warranty and unlock the full potential of our media server!
Tinkerer's Tips: 5 Essential Tweaks for a Turbocharged Plex Media Server
- Choose the right hardware: Don’t skimp on the specs, or your 4K streams will be buffering like it’s 1999
- Organize your library like a pro: Use collections, tags, and playlists to make your media manageable and discoverable
- Optimize your network for seamless streaming: Wired connections are your friend, and a decent router can make all the difference
- Get the most out of your Plex settings: Experiment with transcoding, buffering, and bitrate limits to find the perfect balance for your setup
- Keep it updated, keep it secure: Regularly update your Plex software and operating system to ensure you’ve got the latest features and security patches
Rebel's Recap: 3 Key Takeaways
By following this guide, you’ve successfully set up your own Plex media server, giving you the power to stream your favorite content across all your devices
Optimizing your Plex media server for 4K streaming has opened up a new world of high-definition entertainment, and with the right tweaks, you can enjoy seamless video playback
Remember, the true spirit of DIY tech is about experimentation and customization – don’t be afraid to rip open, modify, and improve your Plex media server to make it truly yours
Empowering Your Media
The true power of a Plex media server lies not in its ease of use, but in its ability to be tweaked, modified, and made your own – it’s a rebellion against the ordinary, and I’m excited to be your guide on this journey.
Frankie Miller
Embracing the Rebel Spirit: Conclusion
As we conclude this journey of setting up and optimizing your Plex media server, remember that the key to unlocking its full potential lies in embracing the DIY spirit. We’ve covered the basics of setting it up, dived into the Rebel’s Guide to Plex, and even explored how to rip open and optimize your server for 4k streaming. These steps are designed to be a foundation, a starting point for your own experiments and customizations. The world of DIY tech is all about pushing boundaries and exploring what’s possible, so don’t be afraid to void that warranty and make your technology truly yours.
As you move forward, always keep in mind that the true power of technology lies not in its sleek designs or proprietary ecosystems, but in its ability to be hacked, modified, and improved. So, go ahead, grab your screwdriver, and join the ranks of those who believe in the right to repair and modify. The journey to creating the ultimate Plex media server is just the beginning of a larger adventure in DIY tech, and I’m excited to see what custom creations you’ll come up with next. Remember, it’s not just about the tech – it’s about the freedom to create and the joy of making something with your own hands.
Frequently Asked Questions
What are the minimum system requirements for a smooth Plex media server experience?
For a silky-smooth Plex experience, you’ll want at least an Intel Core i3 or AMD equivalent, 4GB of RAM, and a decent storage drive – I recommend an SSD for optimal performance. Don’t worry if you’re not sure, we can troubleshoot and upgrade as needed, I’ll walk you through it.
How do I ensure my Plex media server is properly secured and accessible only to authorized users?
Alright, security is key! To lock down your Plex server, head to Settings, then Server, and enable ‘Secure Connections.’ You’ll also want to set up a strong password and consider enabling two-factor authentication. I’ll show you how to do all this in my next post, ‘Plex Server Lockdown.’
Can I use an old or refurbished computer as a Plex media server, and if so, what are the best options?
Absolutely, you can breathe new life into an old computer as a Plex media server. I’ve done it with old desktops and even laptops. Look for something with a decent dual-core processor, at least 4GB of RAM, and a 64-bit operating system. Refurbished options like older Mac Minis or PCs with Intel Core i3 or i5 processors are great candidates.