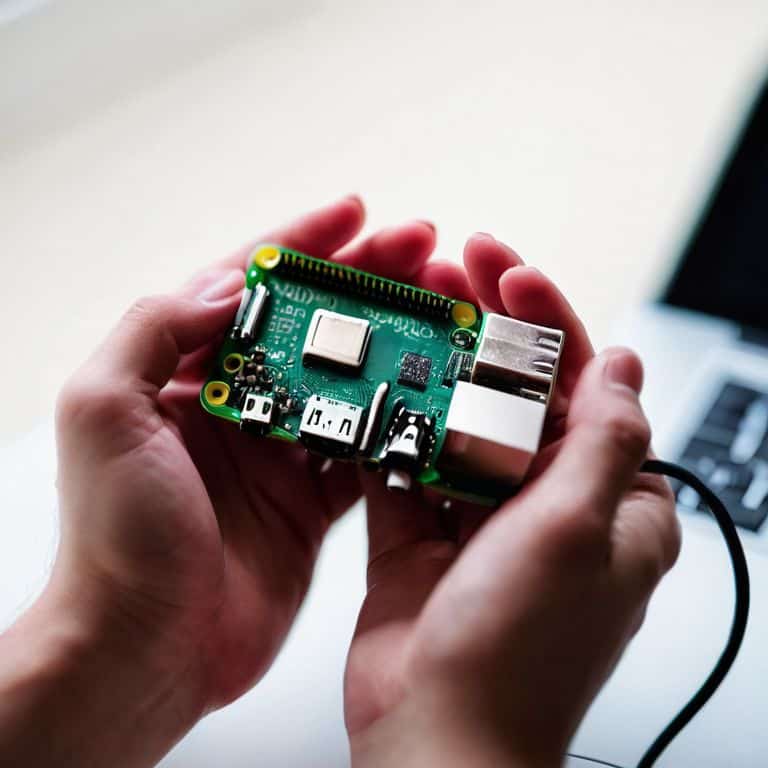
I still remember the first time I cracked open a Raspberry Pi – it was like unlocking a treasure chest of possibilities. The common myth is that setting up one of these tiny powerhouses is a daunting task, reserved for the tech elite. But I’m here to tell you that’s just not true. With a guide to setting up a raspberry pi, you can unleash your creativity and bring your projects to life. I’ve been there, done that, and have the scratched circuits to prove it – and I’m excited to share my journey with you.
So, what can you expect from this hands-on guide? I’ll walk you through the entire process, from unboxing to booting up your Raspberry Pi, and show you how to avoid common pitfalls along the way. You’ll learn how to configure your microSD card, connect your peripherals, and get started with your first project. My goal is to empower you with the knowledge and confidence to take your Raspberry Pi to the next level, and to make you realize that setting up this amazing device is easier than you think. By the end of this article, you’ll be well on your way to creating something truly amazing with your Raspberry Pi.
Table of Contents
Guide Overview: What You'll Need
Total Time: 1 hour 30 minutes
Estimated Cost: $50 – $100
Difficulty Level: Intermediate
Tools Required
- MicroSD card reader (for computer)
- HDMI cable (for monitor connection)
- Keyboard (for setup)
- Mouse (for setup)
- Internet connection (for software updates)
Supplies & Materials
- Raspberry Pi board
- MicroSD card (at least 8 gigabytes)
- Power supply (specific to Raspberry Pi model)
- Heatsink (optional, for cooling)
- Case (for protecting the board)
Step-by-Step Instructions
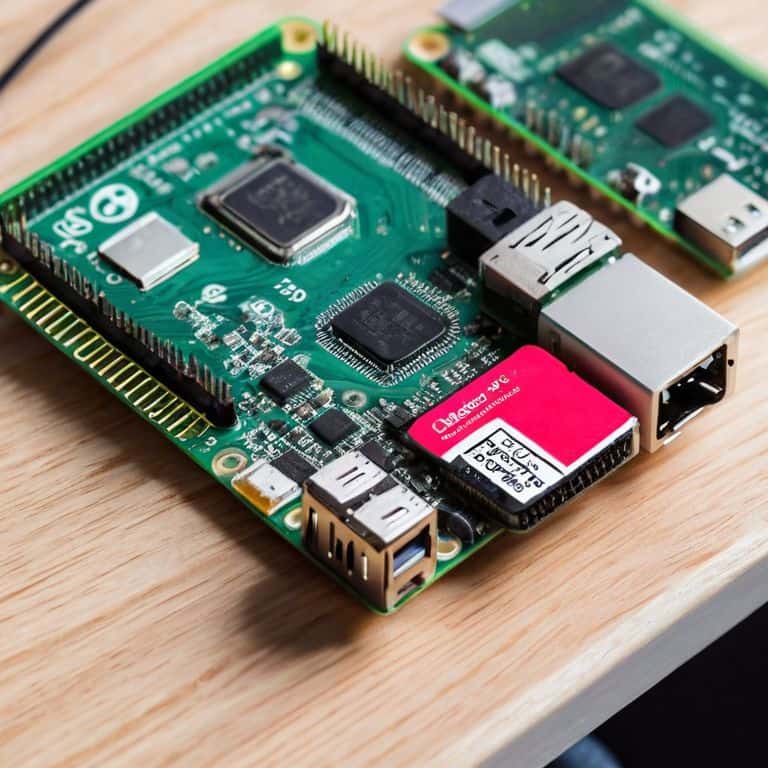
- 1. First, let’s get started with the basics – we need to gather our materials. You’ll need a Raspberry Pi, a microSD card (at least 8GB), a power supply, a computer with an internet connection, and a microSD card reader. Don’t worry if you don’t have all of these things, we can improvise as we go along.
- 2. Next, we need to download the operating system for our Raspberry Pi. I recommend using the official Raspberry Pi OS, but feel free to experiment with other options like Ubuntu or LibreELEC. Download the OS image from the official Raspberry Pi website and save it to your computer.
- 3. Now it’s time to flash the OS image onto our microSD card. You’ll need a piece of software like Etcher or Win32DiskImager to do this. Follow the instructions provided with the software to flash the OS image onto the microSD card. This step can be a bit tricky, so take your time and make sure you’re doing it correctly.
- 4. With our microSD card ready, let’s assemble our Raspberry Pi. Take the Raspberry Pi board and insert the microSD card into the slot on the bottom. Make sure it’s securely in place, then connect the power supply, HDMI cable, and any other peripherals you want to use.
- 5. Now we’re ready to boot up our Raspberry Pi for the first time. Plug in the power supply and turn it on. You should see the Raspberry Pi OS boot screen appear on your TV or monitor. Follow the on-screen instructions to complete the initial setup, including setting up your language and keyboard layout.
- 6. Once we’ve completed the initial setup, let’s connect to Wi-Fi. Click on the Wi-Fi icon in the top right corner of the screen and select your network from the list. Enter your Wi-Fi password and click connect. This will give us access to the internet and allow us to install any additional software we need.
- 7. Finally, let’s update our Raspberry Pi to the latest version. Open a terminal window and type `sudo apt update` followed by `sudo apt full-upgrade`. This will ensure we have the latest security patches and features. From here, the possibilities are endless – we can use our Raspberry Pi as a media center, a retro game console, or even a home automation hub.
Unleash Raspberry Pi Power
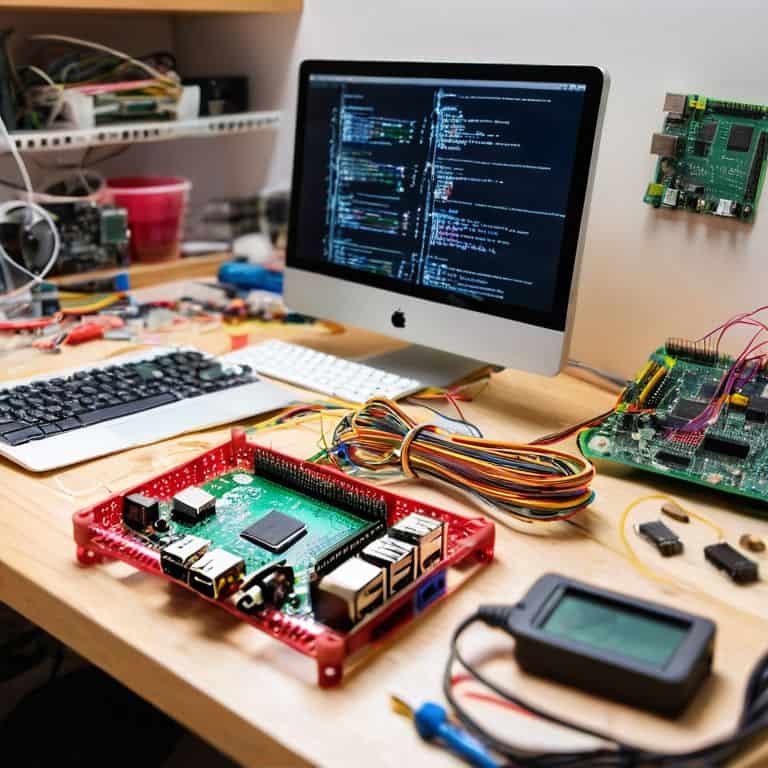
Now that we’ve got our Raspberry Pi up and running, it’s time to unleash its full potential. One of the coolest things about this tiny computer is its versatility – with the right projects, you can turn it into a home automation hub, a retro game console, or even a media center. For beginners, raspberry pi zero projects are a great way to get started, as they’re often small, fun, and easy to complete.
As we explore the world of Raspberry Pi, we’ll also want to consider installing linux on raspberry pi, which can open up a whole new world of possibilities. From there, we can start thinking about setting up wifi on raspberry pi, which will allow us to access our device from anywhere in the house. This is especially useful if we want to use our Raspberry Pi as a media center or home automation hub.
With our Raspberry Pi now connected to the internet, we can start exploring more advanced topics, such as raspberry pi remote access. This will allow us to control our device from another computer or even our smartphone, giving us a whole new level of flexibility and convenience. Whether you’re a seasoned maker or just starting out, there are plenty of beginner friendly raspberry pi ideas out there to get you started – so don’t be afraid to experiment and see what you can come up with.
Rebel Linux Installing for Beginners
Now that we’ve got our Raspberry Pi up and running, it’s time to unleash its full potential with a Linux installation. I know what you’re thinking – “Linux” sounds intimidating, but trust me, it’s easier than you think. We’ll be using a beginner-friendly distribution that’s perfect for our tiny powerhouse. First, we’ll need to download the OS image and flash it onto our microSD card. Don’t worry if you’ve never done this before; I’ll walk you through it step by step. With Linux on our side, we’ll be able to tap into the Raspberry Pi’s full capabilities and start building some amazing projects.
Void Warranty Raspberry Pi Zero Projects
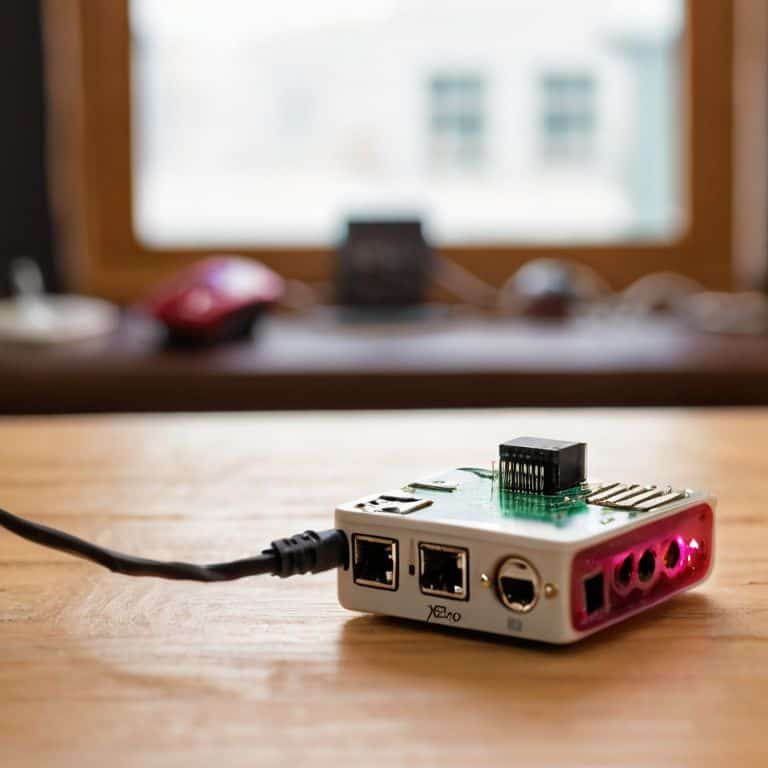
Now that we’ve unleashed the power of our Raspberry Pi, let’s take it to the next level with some Raspberry Pi Zero projects. I’m talking about pushing the limits, voiding that warranty, and making our own rules. With its tiny form factor and low power consumption, the Pi Zero is the perfect candidate for some seriously cool, yet ridiculously small, projects.
Think retro game consoles, hidden media centers, or even a portable retro arcade machine – the possibilities are endless. I’ll show you how to breathe new life into old devices, and create something entirely new from scratch. Get ready to break free from the constraints of traditional computing and join the DIY revolution.
Raspberry Pi Rebel: 5 Tips to Get You Started
- Always use a high-quality power supply to avoid overheating and damage to your Raspberry Pi
- Make sure to handle the Raspberry Pi’s pins with care, as they can be easily damaged
- Use a reputable operating system like Raspberry Pi OS for a smooth and secure experience
- Keep your Raspberry Pi cool by using a case with good airflow or a heatsink for intense projects
- Experiment with different distributions of Linux to find the one that best fits your needs and skill level
Key Takeaways for Raspberry Pi Rebels
By following this guide, you’ve successfully set up your Raspberry Pi and unlocked its full potential, from media centers to home automation systems
With the right mindset and a willingness to void that warranty, you can breathe new life into old devices and create custom projects that showcase your ingenuity, like turning a Raspberry Pi Zero into a retro game console
Whether you’re a beginner installing Linux for the first time or a seasoned maker looking to push the boundaries of what’s possible, remember that the true power of DIY tech lies in experimentation, troubleshooting, and the freedom to modify and improve your creations
Empowering Your DIY Spirit
The moment you plug in your Raspberry Pi is the moment you unlock a world of limitless possibilities, and the only thing standing between you and innovation is the fear of voiding that warranty – so let’s get rid of that fear and unleash the maker within!
Frankie Miller
Empowering Your DIY Spirit
We’ve covered a lot of ground in this guide to setting up a Raspberry Pi, from the initial steps of getting it up and running to unleashing its full potential through various projects and modifications. One of the key takeaways should be the importance of embracing the DIY spirit, where the journey of learning and creating is just as valuable as the end product. Whether you’re looking to build a media center, automate parts of your home, or simply experiment with coding, the Raspberry Pi is an incredibly versatile tool that can help you achieve your goals. By following the steps outlined and being willing to void that warranty, you’re not just setting up a device – you’re opening the door to a world of possibilities and projects that can enhance your daily life and foster a sense of accomplishment and pride in your work.
As you continue on your Raspberry Pi journey, remember that the true power of DIY technology lies not just in the devices themselves, but in the community and creativity they inspire. Don’t be afraid to experiment, to try new things, and to push the boundaries of what’s thought possible. The Raspberry Pi, with its accessible price point and vast potential, is more than just a piece of hardware – it’s a key to unlocking your full potential as a maker, a tinkerer, and an innovator. So, go ahead, get your hands dirty, and see where this incredible little device takes you. The world of DIY tech is full of surprises, and with the Raspberry Pi by your side, you’re ready to take on any project that comes your way.
Frequently Asked Questions
What are the minimum hardware requirements to get started with a Raspberry Pi project?
To get started with a Raspberry Pi project, you’ll need the bare essentials: a Raspberry Pi board, a microSD card with a minimum 8GB storage, a power supply, and an HDMI cable. Don’t worry, I’ll guide you through it – we’ll get this tiny powerhouse up and running in no time!
How do I troubleshoot common issues during the Raspberry Pi setup process?
Troubleshooting time! Don’t worry, I’ve been there too. Check your microSD card for proper insertion, ensure your power supply is sufficient, and verify that your HDMI connection is secure. If issues persist, try reinstalling the OS or checking for loose connections. Let’s get that Pi up and running!
Can I use a Raspberry Pi with an older operating system or is it limited to the latest versions of Linux?
Absolutely, you can breathe new life into older operating systems on your Raspberry Pi. While the latest Linux versions are recommended, you can still experiment with older ones like Raspbian Wheezy or even non-Linux options like RISC OS. Just be aware that you might miss out on some newer features and optimizations.