I still remember the first time I tried to set up a smart lighting system – it was a nightmare. I had heard that a guide to setting up philips hue smart lighting was a must, but all the technical jargon and complicated instructions had me feeling like I was in way over my head. The truth is, setting up Philips Hue smart lighting doesn’t have to be complicated. In fact, with the right guidance, it can be a breeze.
In this article, I’ll walk you through the simple, step-by-step process of setting up your Philips Hue smart lighting system. You’ll learn how to easily connect your lights, set up routines, and even integrate them with other smart devices in your home. My goal is to provide you with honest, no-hype advice that will have you enjoying the convenience and ambiance of smart lighting in no time. So, let’s get started and take the first step towards making your home a little smarter, and a lot more enjoyable.
Table of Contents
- Guide Overview: What You'll Need
- Step-by-Step Instructions
- A Guide to Setting Up Philips Hue
- Shining Bright: 5 Essential Tips for Setting Up Philips Hue Smart Lighting
- Key Takeaways for a Seamless Philips Hue Experience
- Smart Lighting Made Simple
- Bringing it All Together: Your Philips Hue Smart Lighting Journey
- Frequently Asked Questions
Guide Overview: What You'll Need

Total Time: 1 hour 30 minutes
Estimated Cost: $100 – $200
Difficulty Level: Easy
Tools Required
- Smartphone (for Philips Hue app)
- Tablet or Computer (for initial setup)
- Power strip or outlet (for powering bridge)
- Screwdriver (for installing light bulbs)
- Ladder (for reaching high ceilings)
Supplies & Materials
- Philips Hue Bridge
- Philips Hue Light Bulbs (at least 1)
- Internet router (for connecting bridge to internet)
- Ethernet cable (for connecting bridge to router)
- Power cable (for powering bridge)
Step-by-Step Instructions
- 1. Don’t Panic! Let’s start by unpacking your Philips Hue smart lighting system. Take out the bulbs, the bridge, and any other accessories that came with your kit. Make sure you have all the necessary components before proceeding, as this will save you time and frustration in the long run. It’s like checking your car’s dashboard before a road trip – you want to ensure everything is in working order.
- 2. Next, download and install the Philips Hue app on your smartphone or tablet. This app will be your control center for all your smart lighting needs, allowing you to easily adjust brightness and color with just a few taps. Create an account if you haven’t already, and log in to start setting up your system.
- 3. Now, connect the Philips Hue bridge to your router using the Ethernet cable provided. This is a crucial step, as the bridge acts as the brain of your smart lighting system, communicating with your bulbs and your app. Ensure the bridge is properly plugged into a power source and your router.
- 4. Open the Philips Hue app and follow the in-app instructions to connect your bridge to your Wi-Fi network. This process is straightforward and should only take a few minutes. You’ll know you’re on the right track when you see the bridge’s lights start to flash and stabilize, indicating a successful connection.
- 5. With your bridge online, it’s time to add your Philips Hue bulbs. Screw them into your desired fixtures, and turn on the power. The app will guide you through the process of discovering and pairing each bulb with your bridge. This might take a few minutes, depending on how many bulbs you have.
- 6. Once all your bulbs are connected, you can start customizing your lighting scenes. Use the app to create different scenarios for various times of the day or activities, such as a relaxing atmosphere for movie nights or a bright setup for reading. You can also explore the color palette to match your mood or decor.
- 7. To take your smart lighting to the next level, consider integrating it with other smart devices in your home. If you have an Amazon Alexa or Google Assistant, you can link your Philips Hue account to enable voice control. This allows you to turn your lights on or off, adjust brightness, or change colors with just your voice.
- 8. Finally, explore the advanced features of your Philips Hue system, such as scheduling and automation. You can set your lights to turn on or off at specific times of the day, or even geofence them to adjust when you leave or arrive home. These features can help you save energy and make your life more convenient.
A Guide to Setting Up Philips Hue
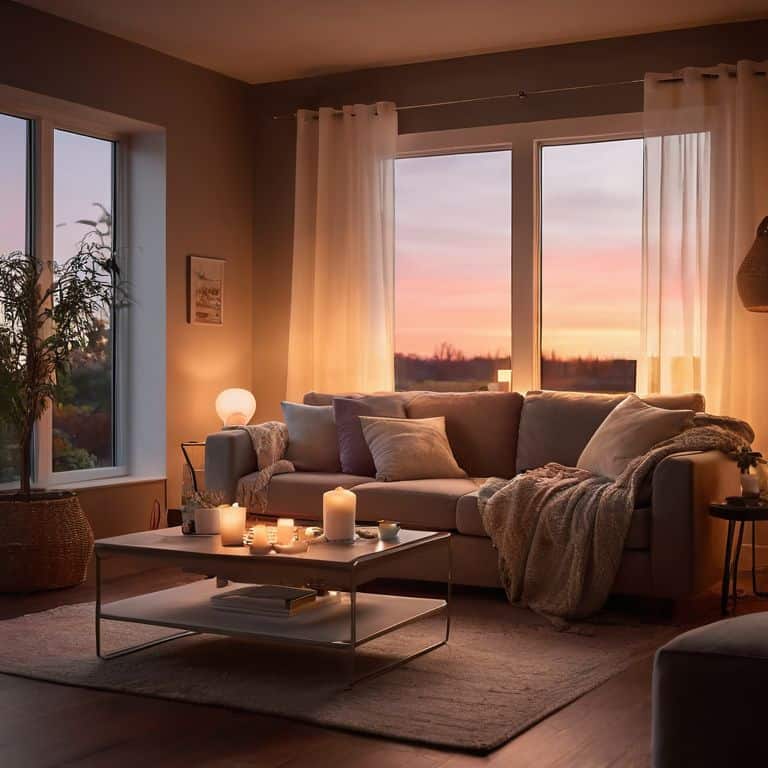
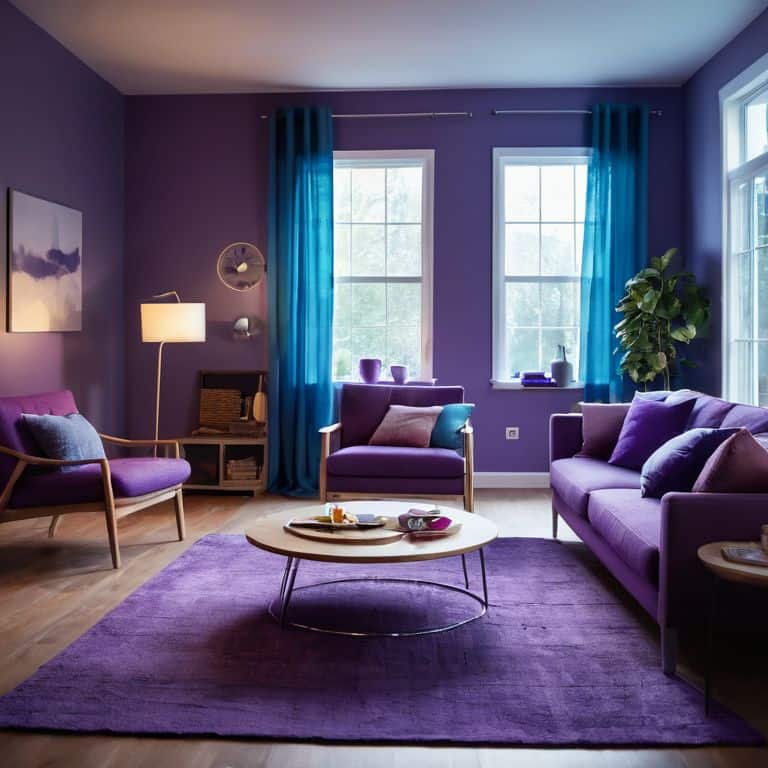
As you continue to explore the world of Philips Hue, you’ll discover a wide range of philips hue color palette options that can enhance the ambiance of your home. From soft pastels to vibrant hues, the possibilities are endless. When choosing your colors, consider the mood and atmosphere you want to create in each room. For example, warm whites can create a cozy atmosphere in your living room, while cool blues can stimulate productivity in your home office.
To take your smart lighting to the next level, consider exploring smart lighting automation ideas. By integrating your Philips Hue system with other smart devices, you can create customized scenes and schedules that adapt to your daily routine. For instance, you can set up your lights to automatically turn on when you enter a room or adjust their brightness based on the time of day. This not only adds convenience but also helps with optimizing philips hue for energy efficiency.
When setting up your Philips Hue system, it’s essential to ensure hue bulb compatibility issues are addressed. Make sure to check the compatibility of your bulbs with other devices, such as Alexa, to ensure seamless integration. By doing so, you can enjoy a hassle-free experience and make the most of your smart lighting investment. With a little creativity and experimentation, you can unlock the full potential of your Philips Hue system and enjoy a more convenient, energy-efficient, and enjoyable living space.
Mastering Philips Hue Color Palette Options
Now that you’ve got your Philips Hue system up and running, let’s dive into the fun part – exploring the color palette options. Think of it like tweaking the paint job on your car; you want to find the perfect shade that matches your style. With Philips Hue, you can choose from a wide range of colors to set the mood for any occasion. From warm whites to vibrant blues, the options are endless.
To get started, simply open the Philips Hue app and navigate to the “Color” tab. Here, you’ll find a variety of pre-set color options, as well as the ability to create your own custom colors. Don’t worry, it’s easier than tuning a car’s engine – just play around with the sliders until you find the perfect hue.
Troubleshooting Hue Bulb Compatibility Issues
Don’t Panic! If you’re having trouble with Hue bulb compatibility, let’s break it down. Think of your smart lighting system like a car – just as you need the right fuel, your Hue system needs the right bulbs. First, ensure you’re using genuine Philips Hue bulbs, as they’re specifically designed to work seamlessly with the system. If you’re still experiencing issues, try resetting the bulb by turning it on and off five times – this can often resolve connectivity problems.
If the issue persists, check the Hue app for any firmware updates, as these can sometimes resolve compatibility issues. You can also try removing and re-adding the bulb to your system, which can help sync everything up. Remember, troubleshooting is like checking your car’s dashboard – you need to methodically go through each possible cause to find the solution.
Shining Bright: 5 Essential Tips for Setting Up Philips Hue Smart Lighting
- Don’t Panic! Start by ensuring your Philips Hue bridge is properly connected to your router to avoid any connectivity issues
- Use the Philips Hue app to seamlessly discover and connect your bulbs – it’s like tuning into your favorite radio station, easy and straightforward
- Experiment with different color palette options to find the perfect ambiance for your space, just like finding the right gear for a smooth drive
- Regularly update your Philips Hue software to prevent compatibility issues and keep your smart lighting system running smoothly, like keeping your car’s engine well-tuned
- Remember, setting up Philips Hue smart lighting is a process, so take your time, and don’t hesitate to consult the user manual or online resources if you get stuck – you got this!
Key Takeaways for a Seamless Philips Hue Experience
Always start by updating your Philips Hue bridge and bulbs to the latest firmware to ensure compatibility and optimal performance
Experiment with the Philips Hue color palette options to find the perfect ambiance for your space, and don’t hesitate to reach out if you encounter any bulb compatibility issues
Remember, setting up and troubleshooting your Philips Hue smart lighting system is easier than changing a car’s oil – take it one step at a time, and don’t panic if you encounter any bumps along the way
Smart Lighting Made Simple
With Philips Hue, the journey to smart lighting is not about replacing bulbs, but about rediscovering the ambiance and convenience of your home – one gentle glow at a time.
David Fletcher
Bringing it All Together: Your Philips Hue Smart Lighting Journey
As we conclude this guide to setting up Philips Hue smart lighting, let’s take a moment to review the key steps we’ve covered. From the initial setup to mastering the Philips Hue color palette options, and troubleshooting potential issues like Hue bulb compatibility, we’ve broken down the process into simple, manageable tasks. Remember, the goal is to make your life easier and more enjoyable with smart lighting, so don’t hesitate to experiment and find the perfect ambiance for your home. Whether you’re looking to enhance your entertainment spaces or simply make your daily routines more convenient, Philips Hue offers a versatile and user-friendly solution.
Now that you’ve completed the setup and exploration of your Philips Hue smart lighting system, it’s time to enjoy the fruits of your labor. As you explore the vast possibilities of smart lighting, from scheduling lights to turn on before you wake up to creating mood-enhancing scenes for your favorite movies or games, keep in mind that the true power of technology lies in its ability to enhance your life without feeling overwhelming. So, go ahead, play around, and find out what works best for you. With patience and practice, you’ll be a smart lighting pro in no time, and I’m always here to help you along the way.
Frequently Asked Questions
Can I use Philips Hue smart bulbs with my existing dimmer switches?
Don’t Panic! Using Philips Hue bulbs with existing dimmer switches can be tricky. It’s like trying to put a high-performance engine in an old car – it might not work smoothly. You may experience flickering or inconsistent dimming. I recommend replacing traditional dimmers with Philips Hue-compatible dimmer switches for a seamless experience.
How do I reset a Philips Hue bulb if it's not connecting to my hub?
Don’t Panic! If your Philips Hue bulb won’t connect, try resetting it. Think of it like restarting your car – sometimes, it just needs a fresh start. To reset, turn the bulb on for 5 seconds, then off for 5 seconds, and repeat this process 5 times. This should reset the bulb, allowing it to reconnect to your hub.
Are Philips Hue smart lighting systems compatible with all smart home platforms, such as Alexa and Google Home?
Don’t Panic! Philips Hue smart lighting systems are compatible with most smart home platforms, including Alexa and Google Home. You can control your lights with voice commands or through their respective apps. However, it’s always a good idea to check the Philips Hue website for the most up-to-date list of compatible platforms to ensure seamless integration.