I still remember the first time I stumbled upon an Arduino board – it was like uncovering a treasure trove of possibilities. I was working on a project to restore an old gaming console, and I needed a way to bring it back to life with some modern features. That’s when I discovered the world of Arduino, and it changed everything. As I dove deeper into the world of microcontrollers, I realized that there’s a common myth surrounding a guide to arduino projects: that they’re only for experts or require a deep understanding of coding. But the truth is, with the right mindset and resources, anyone can start building amazing projects with Arduino.
In this article, I’ll share my personal experience and provide you with a step-by-step guide to getting started with Arduino projects. You’ll learn how to choose the right board, write your first sketch, and troubleshoot common issues. My goal is to empower you to take control of your projects and unlock the full potential of Arduino. Whether you’re a beginner or an experienced maker, this guide to arduino projects will give you the confidence to experiment, innovate, and push the boundaries of what’s possible. So, let’s get started and explore the exciting world of Arduino together!
Table of Contents
- Guide Overview: What You'll Need
- Step-by-Step Instructions
- A Guide to Arduino Projects
- Break Open Arduino Starter Kits for Beginners
- Build Diy Home Automation With Arduino Sensor Projects
- 5 Essential Tips to Supercharge Your Arduino Projects
- 3 Key Takeaways from Our Arduino Adventure
- Embracing the Maker's Spirit
- Conclusion: Empowering Your Maker Spirit
- Frequently Asked Questions
Guide Overview: What You'll Need
Total Time: 2 hours 30 minutes
Estimated Cost: $50 – $100
Difficulty Level: Intermediate
Tools Required
- Breadboard (for circuit building)
- Jumper Wires (assorted colors)
- Microcontroller (Arduino board)
- Power Supply (for Arduino board)
- Soldering Iron (for component soldering)
- Wire Cutters (for cutting jumper wires)
- Pliers (for gripping small components)
- Computer (for programming Arduino board)
Supplies & Materials
- Resistors (assorted values)
- LEDs (for simple projects)
- Pushbuttons (for user input)
- Sensor Modules (for advanced projects)
- Breadboard-friendly Components (e.g., capacitors, inductors)
- 6 inches of Copper Wire (for making connections)
- Arduino-compatible Shields (for expansion capabilities)
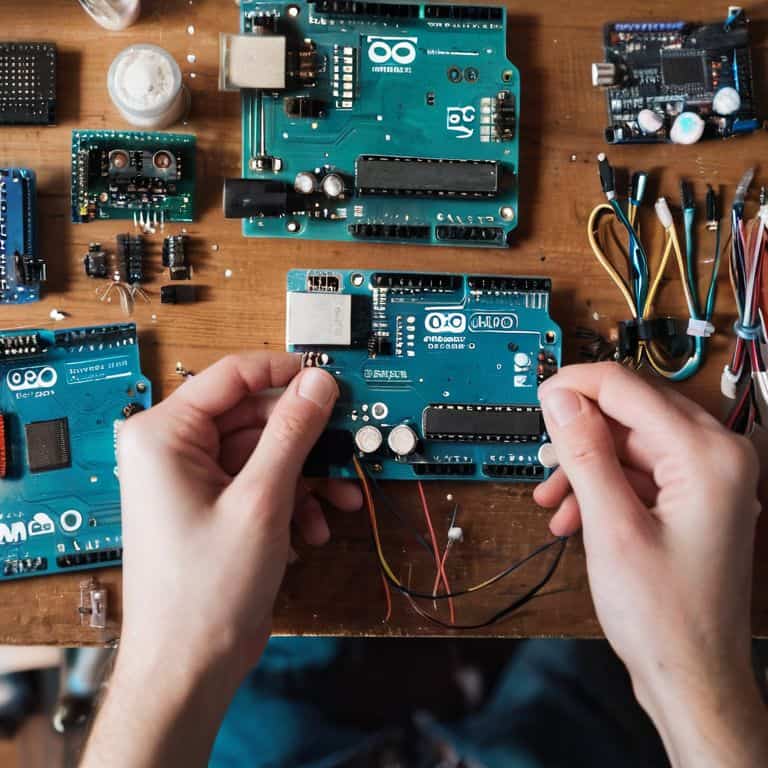
Step-by-Step Instructions
- 1. First, let’s get started with the basics – setting up our Arduino environment. To do this, we’ll need to download and install the Arduino IDE (Integrated Development Environment) from the official Arduino website. I like to think of this step as the foundation of our project, where we lay the groundwork for all the amazing things we’ll be building later on.
- 2. Next, we’ll need to choose our Arduino board. Now, I know what you’re thinking – “which one should I choose?” Well, my friend, it really depends on the type of project you want to build. If you’re a beginner, I recommend starting with the Arduino Uno, as it’s one of the most versatile and user-friendly boards out there. For more advanced projects, you may want to consider the Arduino Mega or even the Arduino Due.
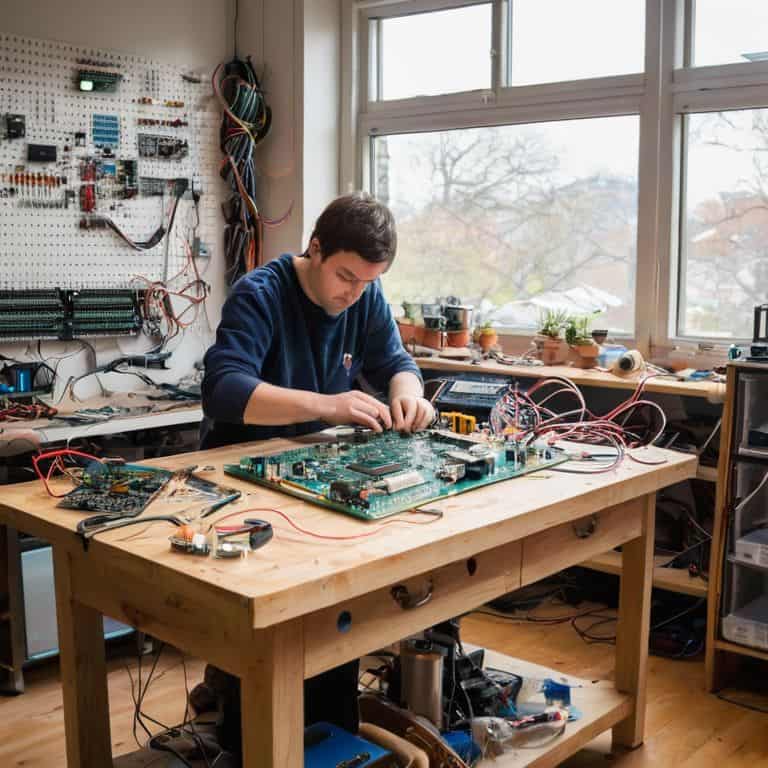
- 3. Now that we have our board, let’s talk about connecting the hardware. This is where things can get a little tricky, but don’t worry, I’ve got you covered. First, we’ll need to connect our Arduino board to our computer using a USB cable. Then, we’ll need to connect any additional hardware components, such as sensors or LEDs, to the corresponding pins on the board. It’s essential to double-check our connections to avoid any potential issues down the line.
- 4. With our hardware all set up, it’s time to start writing our code. This is where the magic happens, and we can bring our project to life. If you’re new to programming, don’t worry – the Arduino language is relatively simple and easy to learn. We’ll start with a basic “Hello World” sketch and then move on to more complex projects. Remember to save your work often, as you never know when you might need to go back and make changes.
- 5. Once we’ve written our code, it’s time to upload it to our Arduino board. This is a straightforward process that can be done directly from the Arduino IDE. Simply click the “Upload” button, and the IDE will take care of the rest. If you encounter any issues during the upload process, don’t panic – it’s usually just a matter of checking our connections or adjusting the board settings.
- 6. Now that our code is uploaded, let’s talk about troubleshooting and debugging. This is an essential part of the development process, and it’s where we iron out any wrinkles in our code. If something isn’t working as expected, we’ll need to use the Arduino IDE’s built-in debugging tools to identify the issue and make the necessary adjustments. Don’t be afraid to experiment and try new things – it’s all part of the learning process.
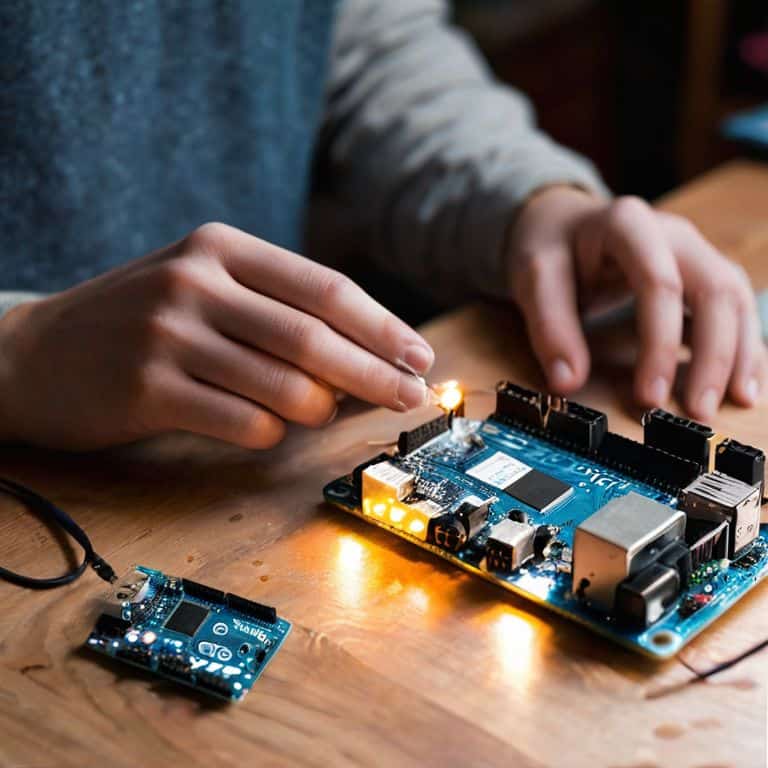
- 7. Finally, let’s put it all together and build our first project. For this example, we’ll create a simple LED circuit that blinks on and off. This may seem like a basic project, but it’s a great way to get our feet wet and understand the fundamentals of Arduino programming. As we work through this project, keep in mind that the possibilities are endless, and we can always add more complexity and features as we become more comfortable with the platform.
A Guide to Arduino Projects
As you dive deeper into the world of Arduino, you’ll discover a vast array of possibilities, from diy home automation to complex robotics projects. One of the most exciting aspects of Arduino is its ability to interact with various sensors, allowing you to create innovative projects that can sense and respond to their environment. For instance, you can explore arduino sensor projects for robotics and learn how to integrate sensors into your projects.
When it comes to programming your Arduino board, it’s essential to have a solid grasp of programming arduino with c++. This will enable you to unlock the full potential of your board and create complex projects that can interact with other devices. You can also experiment with arduino wifi shield projects, which allow you to connect your Arduino board to the internet and create arduino based iot devices.
To get started with Arduino, consider investing in one of the many arduino starter kits for beginners available on the market. These kits usually include everything you need to start building your first project, including a board, sensors, and other components. With the right tools and a bit of practice, you’ll be well on your way to creating innovative projects that showcase the true power of Arduino.
Break Open Arduino Starter Kits for Beginners
Let’s crack open those Arduino starter kits and see what’s inside. I’m talking about the ones specifically designed for beginners, usually packed with a bunch of components like LEDs, sensors, and breadboards. These kits are an awesome way to get started with Arduino, as they provide a solid foundation for learning the basics. I’ve worked with a few of these kits myself, and I can tell you that they’re a great way to dip your toes into the world of microcontrollers.
When you break open one of these starter kits, you’ll typically find a comprehensive guide to getting started with Arduino, including step-by-step tutorials and example projects. Don’t be afraid to experiment and try new things – that’s what these kits are all about. With a little patience and practice, you’ll be building your own Arduino projects in no time.
Build Diy Home Automation With Arduino Sensor Projects
Now that we’ve cracked open those starter kits, let’s dive into some serious DIY home automation with Arduino sensor projects. I’m talking about building systems that can automatically turn on the lights when you enter a room, or adjust the thermostat based on the temperature outside. It’s incredibly empowering to have this level of control over your home, and it’s easier than you think with Arduino.
I’ve built my own automated lighting system using Arduino and some simple sensors, and it’s been a game-changer. With just a few lines of code and some basic components, you can create a system that makes your life easier and more convenient. Plus, it’s a great way to get started with DIY home automation and see the potential for yourself.
5 Essential Tips to Supercharge Your Arduino Projects
- Start with the basics: Don’t be afraid to crack open that Arduino starter kit and get familiar with the boards, sensors, and coding environment
- Choose the right board for the job: From Uno to Mega, each Arduino board has its strengths and weaknesses – pick the one that fits your project’s needs
- Experiment with different sensors: Temperature, light, motion – the world of Arduino sensors is vast, and combining them can lead to some amazing DIY home automation projects
- Debugging is key: Don’t get discouraged by errors – use the serial monitor, check your wiring, and work through those pesky coding mistakes
- Join the community: Share your projects, learn from others, and get inspired by the incredible things people are building with Arduino – it’s a great way to stay motivated and avoid getting stuck
3 Key Takeaways from Our Arduino Adventure
By following the step-by-step guide outlined in this article, you’ll be well on your way to creating your own innovative Arduino projects, from simple circuits to complex home automation systems
With the right mindset and a willingness to experiment, you can unlock the full potential of Arduino and start building DIY projects that can make a real difference in your daily life, whether it’s automating tasks or creating something entirely new
Remember, the world of Arduino is all about exploration and creativity, so don’t be afraid to void that warranty, try new things, and push the boundaries of what’s possible with these incredible microcontrollers
Embracing the Maker's Spirit
Arduino projects aren’t just about coding and circuits – they’re about unlocking the doors of possibility and giving you the keys to a world where you can create, modify, and improve anything you can imagine.
Frankie Miller
Conclusion: Empowering Your Maker Spirit
We’ve covered a lot of ground in this guide to Arduino projects, from breaking open starter kits to building DIY home automation systems with Arduino sensor projects. The key takeaway is that Arduino is an incredibly versatile platform that can be used for a wide range of applications, from simple projects like blink circuits to complex systems that can automate your entire home. By following the step-by-step instructions and tips outlined in this guide, you should now have a solid foundation in Arduino and be ready to start building your own projects. Remember to always keep experimenting and pushing the boundaries of what’s possible with Arduino.
As you continue on your maker journey, keep in mind that the true power of Arduino lies not just in the technology itself, but in the community and resources that surround it. Don’t be afraid to void warranties and try new things – it’s often the best way to learn and come up with innovative solutions. With Arduino, the possibilities are endless, and I’m excited to see what you’ll create. So go ahead, get out there, and start building – your next project is just a solder joint away!
Frequently Asked Questions
What are some common mistakes to avoid when building Arduino projects?
Whoa, let’s talk mistakes! When building Arduino projects, I’ve learned to watch out for loose connections, incorrect wiring, and insufficient power supply. Double-check your circuit before powering up, and don’t be afraid to debug – it’s all part of the process, buddy!
How can I troubleshoot my Arduino board if it's not responding?
Whoa, don’t worry, buddy! If your Arduino board is being stubborn, first check your USB connection and power supply. Ensure you’ve got the right board selected in the IDE and try uploading a simple sketch, like Blink. If that doesn’t work, let’s dive deeper into troubleshooting – I’ve got a few tricks up my sleeve to get you back up and running!
Are there any specific Arduino boards or shields that are best suited for beginners?
Ah, great question! For beginners, I swear by the Arduino Uno or Nano – they’re super versatile and easy to work with. As for shields, the WiFi or sensor shields are awesome for DIY home automation projects. Trust me, you’ll be hooked once you start building with these bad boys!