I still remember the first time I tried to install a smart thermostat in my home – it was a daunting task that left me scratching my head. The instructions seemed to assume I was an electrician, and the online forums were filled with conflicting advice. But I was determined to make my home smarter, not harder to manage. That’s why I want to share my story and show you that how to install a smart thermostat is actually easier than you think. I’ve learned that with the right guidance, you can have a seamless and energy-efficient home without the hassle.
In this article, I’ll walk you through the simple, step-by-step process of installing a smart thermostat. You’ll learn how to prepare your home, choose the right thermostat for your needs, and troubleshoot common issues that may arise during the installation process. My goal is to provide you with honest and practical advice that cuts through the technical jargon and gives you the confidence to take control of your home’s temperature and energy usage. By the end of this guide, you’ll be able to enjoy the benefits of a smart thermostat, from energy savings to convenience and comfort.
Table of Contents
Guide Overview: What You'll Need
Total Time: 2 hours 30 minutes
Estimated Cost: $100 – $250
Difficulty Level: Intermediate
Tools Required
- Voltage Tester (to ensure power is off)
- Screwdriver (flathead and Phillips)
- Pliers (needle-nose for wire handling)
- Drill (with 1/8 inches drill bit for wall anchors)
- Level (to ensure straight mounting)
- Wire Strippers (for stripping insulation from wires)
Supplies & Materials
- Smart Thermostat Kit (including base plate, thermostat, and screws)
- Wall Anchors (for drywall or plaster)
- 20-gauge Wire (for connections between thermostat and HVAC, if needed)
- Wire Nuts or Connectors (for secure wire connections)
Step-by-Step Instructions
- 1. First, let’s get started with the basics – before you begin the installation, make sure you have all the necessary tools and equipment, including a screwdriver, a wire stripper, and the smart thermostat itself. It’s also a good idea to familiarize yourself with the thermostat’s manual and any specific instructions provided by the manufacturer.
- 2. Next, switch off the power to your heating and cooling system at the circuit breaker or fuse box – this is a crucial step for your safety, and it will prevent any accidental starts while you’re working on the installation. Verify that the system is completely off by checking the thermostat or the system’s main unit.
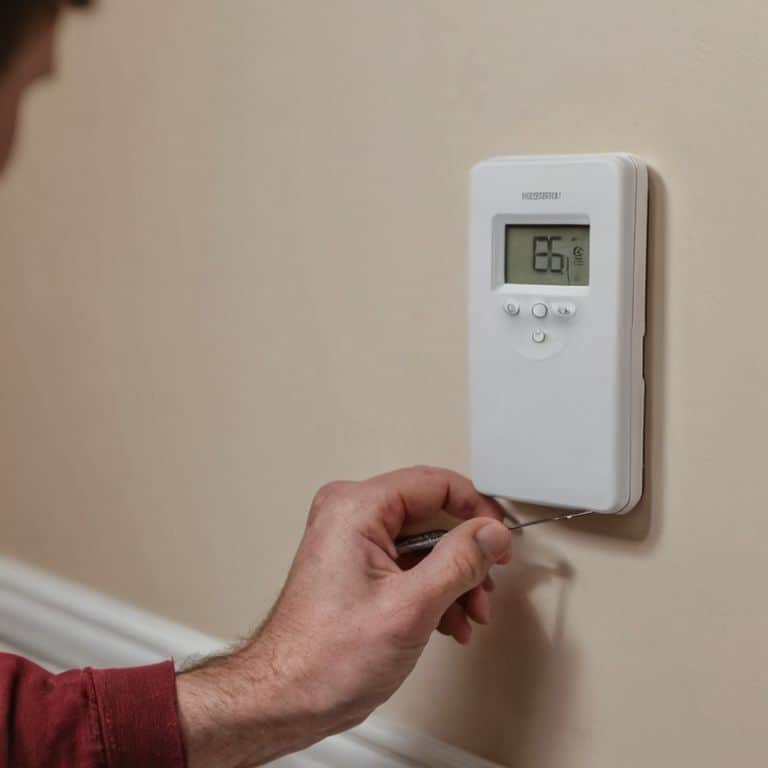
- 3. Now, remove the old thermostat – this usually involves taking out a few screws and gently pulling the device away from the wall. Be careful not to damage the wires, as you’ll need to use them to connect your new smart thermostat. If your old thermostat has a mercury switch, be extremely careful when handling it, and consider consulting a professional for its safe disposal.
- 4. The next step is to label the wires – this is where things can get a bit tricky, but don’t worry, it’s easier than it sounds. Use the labels provided with your smart thermostat or create your own using a marker and some stickers. The most common wires are the R (red), W (white), Y (yellow), G (green), and C (common) wires, but the specific wires you have may vary depending on your system.
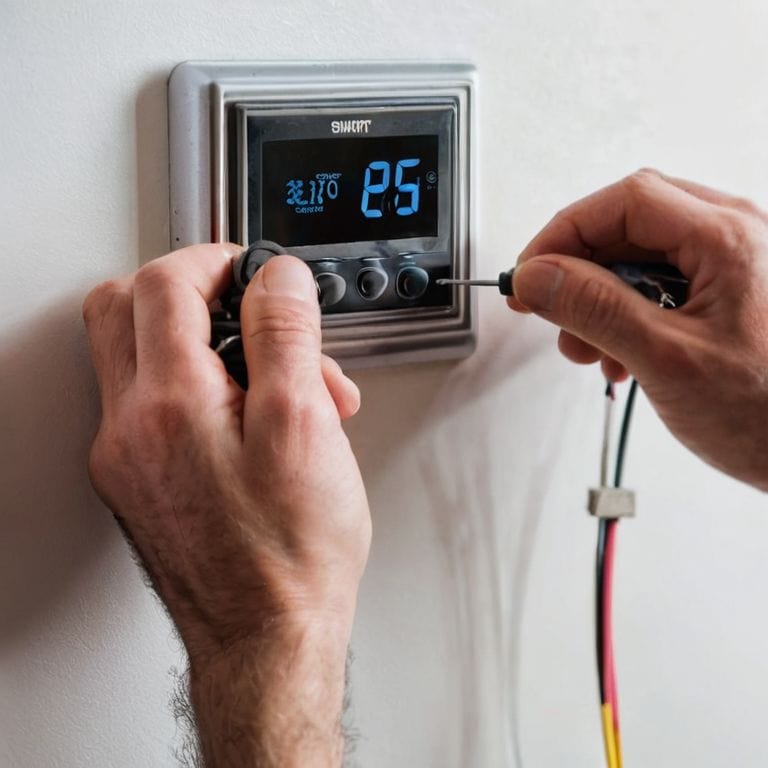
- 5. After labeling the wires, it’s time to mount the new thermostat – this usually involves attaching the mounting plate to the wall using screws, and then clicking the thermostat into place. Make sure it’s level and secure, as this will affect its accuracy and overall performance.
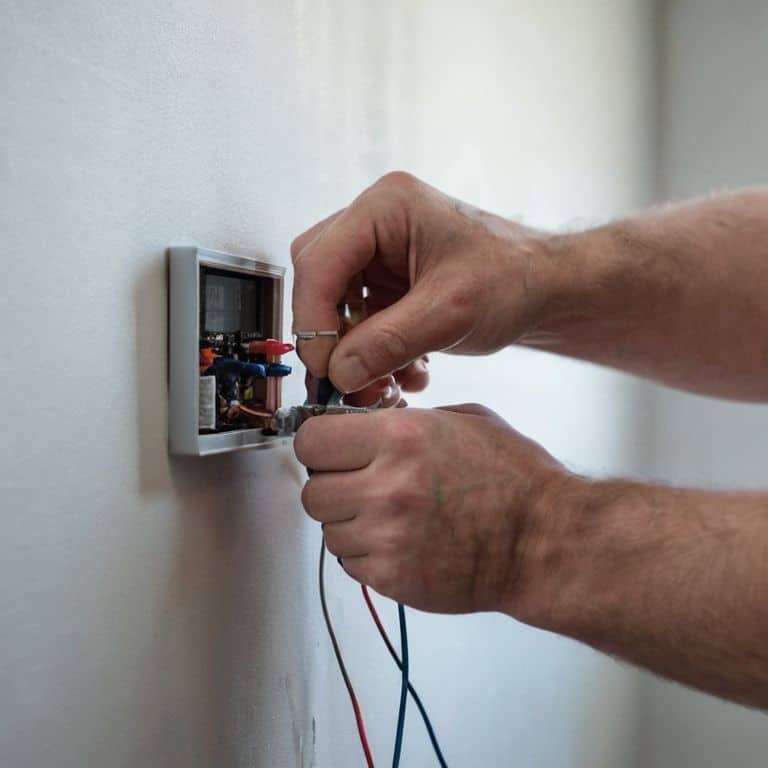
- 6. Now, connect the wires to the corresponding terminals on your smart thermostat – this is the part where you’ll use those labels you created earlier. Double-check your connections to ensure they’re secure and match the manufacturer’s instructions. If you’re unsure about any of the connections, consider consulting a professional electrician.
- 7. Finally, turn the power back on at the circuit breaker or fuse box, and test your new smart thermostat to make sure it’s working as expected. Go through the setup process, which usually involves connecting it to your Wi-Fi network, setting your temperature preferences, and exploring the various features and settings available on your device. If everything is working correctly, you should be able to control your heating and cooling system remotely using the thermostat’s app, and enjoy the benefits of a smarter, more energy-efficient home.
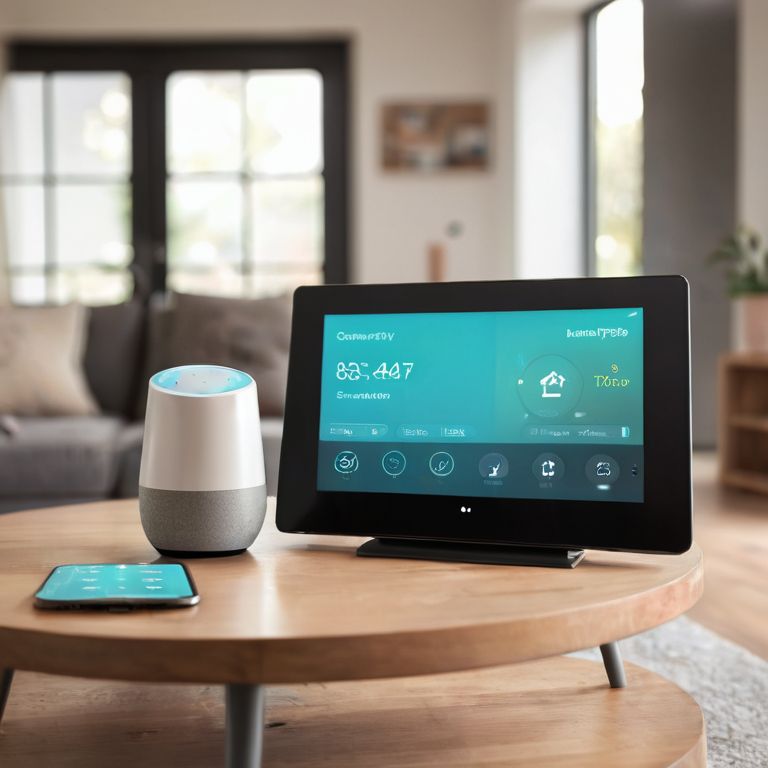
Smart Thermostat Setup Mastery
As you’ve completed the installation, it’s time to dive into smart thermostat setup mastery. This is where the real magic happens, and your new device starts learning your schedule and preferences. I like to think of it as training your thermostat to anticipate your needs, making your life easier and more energy-efficient.
When it comes to wireless smart thermostat installation, one crucial aspect to consider is geofencing thermostat setup. This feature allows your thermostat to detect when you’re leaving or arriving home, adjusting the temperature accordingly. It’s a game-changer for maintaining the perfect climate while saving energy.
To take your smart thermostat to the next level, focus on smart thermostat energy efficiency tips. Understanding how your device interacts with your existing systems, including smart thermostat compatibility with existing systems, is key. By optimizing these settings, you can unlock the full potential of your smart thermostat and enjoy a cozier, more efficient home.
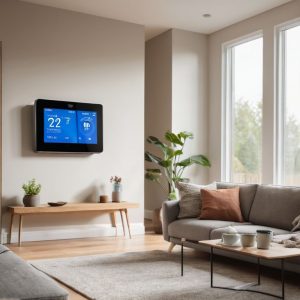
Geofencing for Energy Efficiency
Now that we’ve mastered the setup, let’s take it to the next level with geofencing. This genius feature allows your smart thermostat to detect when you’re leaving or arriving home, adjusting the temperature accordingly. I just love how it learns my daily routine and optimizes energy usage. By setting up geofencing, you can ensure your home is always at the perfect temperature, while saving energy when you’re not around.
To get started, simply enable location services on your smart thermostat app, and set a virtual fence around your home. Your thermostat will then use your phone’s location to determine when to switch to energy-saving mode or return to your preferred temperature. It’s incredibly easy and makes a huge difference in your energy bill.
Wireless Thermostat Compatibility Checks
When it comes to setting up your smart thermostat, one crucial step is ensuring it’s compatible with your home’s existing systems. I like to think of it as introducing a new member to the family – you want to make sure everyone gets along! Check if your thermostat supports your HVAC system type, whether it’s a heat pump, gas furnace, or something else. Also, verify if it’s compatible with other smart devices you already have, like Amazon Alexa or Google Assistant, to create a seamless experience.
Take a few minutes to review the manufacturer’s specs and compare them with your setup. This simple check can save you from potential headaches down the line, like limited functionality or, worse, a thermostat that just won’t work. Trust me, I’ve been there, and it’s not fun. By doing your due diligence, you’ll be enjoying a cozy, energy-efficient home in no time, all with the ease of a single tap on your smartphone.
Thermostat Installation Tips to Save You Time and Frustration
- Choose the right smart thermostat model for your HVAC system to ensure compatibility and optimal performance
- Plan the wiring carefully to avoid any electrical issues, and consider hiring a professional if you’re not comfortable with DIY electrical work
- Optimize your thermostat’s location to get accurate temperature readings and minimize interference from other devices
- Take advantage of geofencing and scheduling features to automate your temperature adjustments and save energy when you’re not home
- Regularly update your smart thermostat’s software to access new features, security patches, and improvements to its overall performance and efficiency
Smart Thermostat Installation Takeaways
By following the step-by-step guide, you can easily install a smart thermostat and start enjoying the benefits of a smarter, more energy-efficient home
Conducting wireless thermostat compatibility checks and setting up geofencing can help you maximize energy savings and automate your temperature controls
With a smart thermostat, you can achieve a seamless and intuitive home automation experience, making it easier to manage your comfort and energy usage with just the touch of a button
Thermostat Installation Wisdom
The key to a seamless smart thermostat installation isn’t just about following the manual, it’s about understanding how this one device can be the cornerstone of a smarter, more intuitive home – where technology serves you, not the other way around.
Jenna Gable
Wrapping Up Your Smart Thermostat Journey
You’ve made it through the step-by-step guide and have successfully installed your smart thermostat. Remember to double-check the wireless thermostat compatibility and to set up geofencing for energy efficiency to get the most out of your new device. By following the instructions and tips outlined in this article, you’re well on your way to enjoying a more energy-efficient and comfortable home. Don’t forget to explore the various features and settings of your smart thermostat to customize it to your needs and preferences.
As you settle into your newly upgraded smart home, take a moment to appreciate the seamless automation that’s now at your fingertips. With your smart thermostat working behind the scenes to optimize your energy usage and maintain a cozy atmosphere, you can focus on the things that matter most to you. So go ahead, relax, and enjoy the fruits of your labor – you’ve earned it! And if you’re feeling inspired, don’t be afraid to experiment with new automations and take your smart home to the next level.
Frequently Asked Questions
What if my existing thermostat wiring doesn't match the smart thermostat's wiring diagram?
Don’t worry, it’s easier than you think. If your existing thermostat wiring doesn’t match the smart thermostat’s diagram, just take a photo of your current setup and compare it to the smart thermostat’s wiring guide. You can also consult online resources or the manufacturer’s support for specific wiring scenarios – I’ve got a tutorial on my blog that covers common wiring hacks too.
Can I install a smart thermostat if I have a boiler heating system?
Absolutely, you can install a smart thermostat with a boiler heating system. Many smart thermostats are compatible with boiler systems, and some even have specific features for optimizing boiler performance. Just make sure to check the compatibility of your boiler system with the smart thermostat you choose, and consider consulting a professional if you’re unsure.
How do I ensure my smart thermostat integrates with my existing smart home devices and voice assistant?
To seamlessly integrate your smart thermostat with existing devices and voice assistants, I recommend checking compatibility before purchasing. Look for thermostats that support your voice assistant, such as Alexa or Google Assistant, and ensure it can connect with your smart home hub or bridge. This will enable effortless voice control and automated scenes, making your life easier and your home smarter.