I still remember the first time I tried to build a simple wooden shelf – I was overwhelmed by the numerous types of joints and didn’t know where to start. That’s why I’m excited to share with you a guide to basic woodworking joints for beginners, a comprehensive resource that will help you navigate the world of woodworking with confidence. As someone who’s passionate about empowering others to take control of their DIY projects, I believe that mastering the fundamentals of woodworking joints is essential to creating sturdy and beautiful pieces.
In this article, I’ll walk you through the essential joints you need to know to get started with woodworking, and provide you with practical tips and tricks to help you overcome common obstacles. You’ll learn how to choose the right joint for your project, how to cut and assemble the pieces, and how to troubleshoot common issues. My goal is to make woodworking accessible to everyone, regardless of their skill level or experience, and to provide you with the knowledge and confidence to tackle your next project with ease.
Table of Contents
Guide Overview: What You'll Need
Total Time: 3 hours 15 minutes
Estimated Cost: $50 – $100
Difficulty Level: Intermediate
Tools Required
- Table Saw for making straight cuts in lumber
- Miter Saw for making precise angled cuts
- Drill Press for drilling accurate holes
- Hand Saw or a backsaw for cutting curves and small pieces
- Sander for smoothing out wood surfaces
- Clamp for holding pieces together during gluing
- Tape Measure for measuring and marking lumber
- Square for ensuring accurate corners and edges
- Marking Gauge for making consistent measurements
Supplies & Materials
- 2-in x 4-in lumber for practice cuts and joints
- 3/4 inch plywood for making test panels
- Wood Glue for bonding wood pieces together
- 2 1/4 inches wood screws for assembling joints
- 1 1/4 inches wood nails for thinner stock and detailed work
- Sandpaper for smoothing out wood surfaces
Step-by-Step Instructions
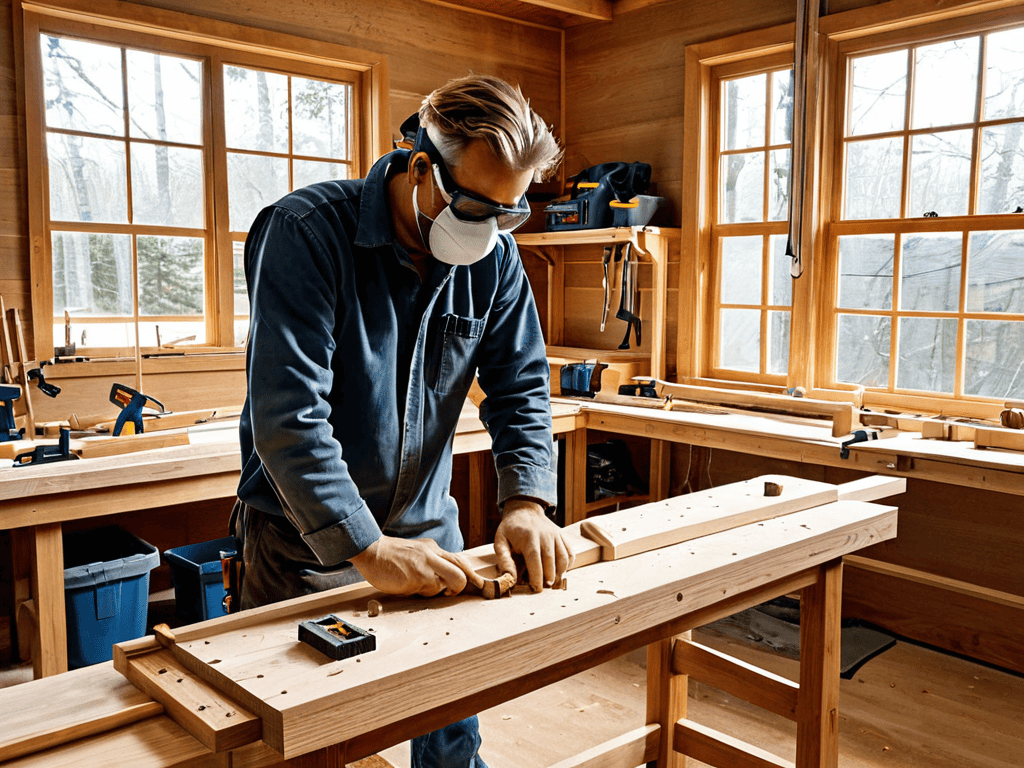
- 1. First, don’t panic if you’re new to woodworking – these joints are easier to master than you think. Start by gathering your tools and materials, including a table saw, drill press, and a variety of woods to practice with. Make sure you have a clean and safe workspace to work in, free from any distractions or hazards.
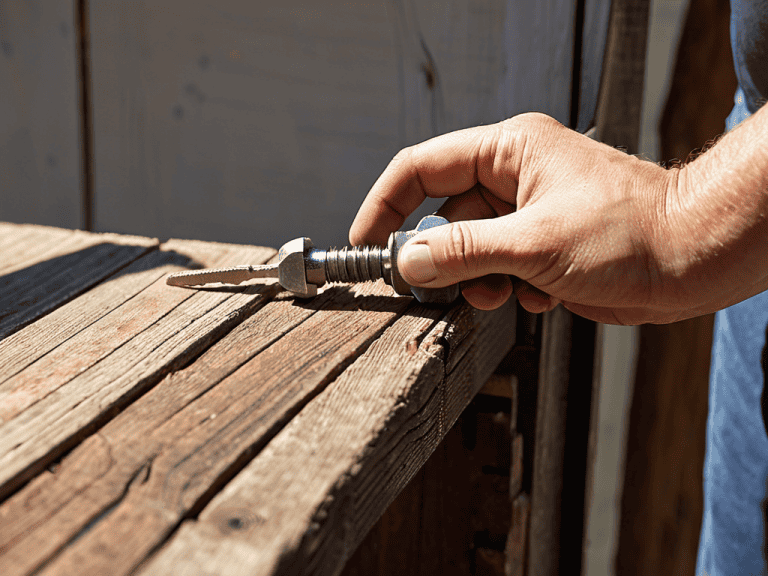
- 2. Next, let’s focus on the basic butt joint, which is the simplest joint to start with. To create a butt joint, cut two pieces of wood to the same length, then use a table saw to make a straight cut on each piece. Apply some wood glue to the ends of the pieces and clamp them together, making sure they’re properly aligned.
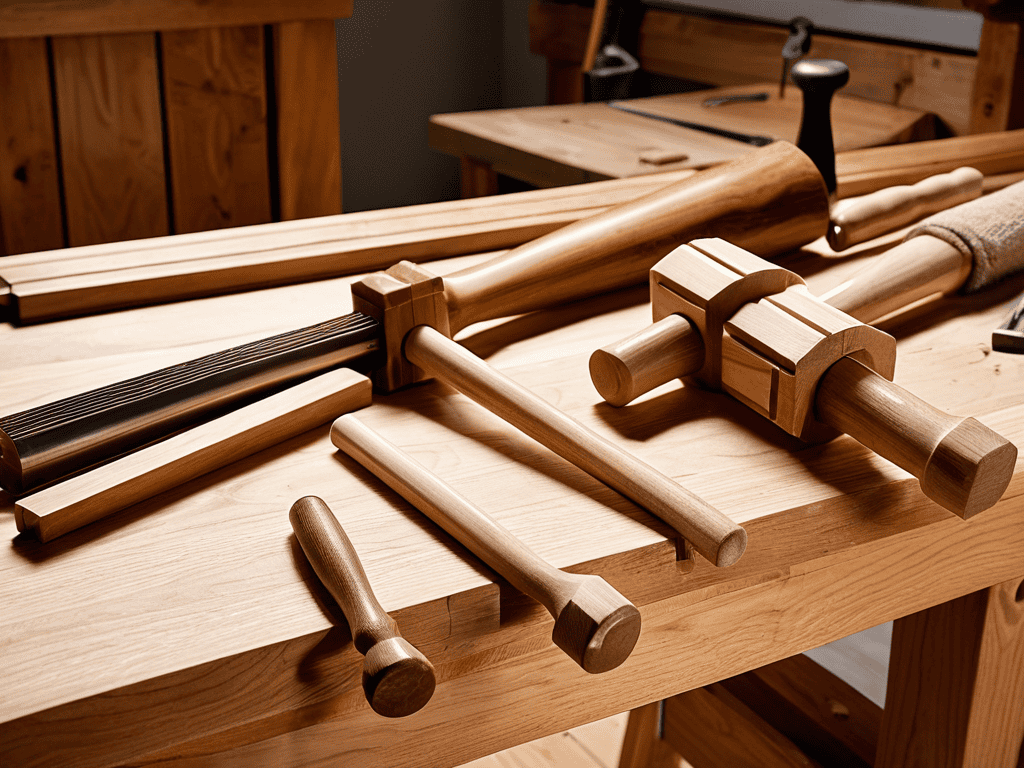
- 3. Now, move on to the lap joint, which is similar to the butt joint but involves overlapping the two pieces of wood. Cut a notch in one piece of wood, about half the thickness of the other piece, then apply wood glue and clamp them together. Use a rubber mallet to tap the pieces into place, making sure they’re secure.
- 4. The dado joint is a bit more complex, but still easy to master with practice. Cut a groove in one piece of wood, then cut a corresponding tongue on the other piece. Apply wood glue to the tongue and insert it into the groove, making sure it’s seated properly. Use clamps to hold the pieces in place while the glue dries.
- 5. To create a dovetail joint, cut a series of tails on one piece of wood, then cut corresponding pins on the other piece. Use a dovetail jig to help guide your saw and ensure accurate cuts. Assemble the joint by applying wood glue to the pins and tails, then clamping them together.
- 6. The mortise and tenon joint is a strong and versatile joint used in many woodworking projects. Cut a mortise (a recessed area) in one piece of wood, then cut a corresponding tenon on the other piece. Apply wood glue to the tenon and insert it into the mortise, making sure it’s securely seated. Use clamps to hold the pieces in place while the glue dries.
- 7. Finally, practice, practice, practice – the key to mastering these joints is to repeat them multiple times until you feel comfortable with the process. Start with simple projects, such as building a small box or shelf, and gradually move on to more complex projects as your skills improve. Remember to always measure twice and cut once to avoid errors and ensure accurate fits.
A Guide to Basic Woodworking Joints
When it comes to woodworking projects for beginners, selecting the right type of wood is crucial. Different types of wood have varying densities and grain patterns, which can affect the strength and appearance of your joints. For instance, hardwoods like oak and maple are ideal for creating strong and durable joints, while softwoods like pine and fir are better suited for projects that require a more rustic look.
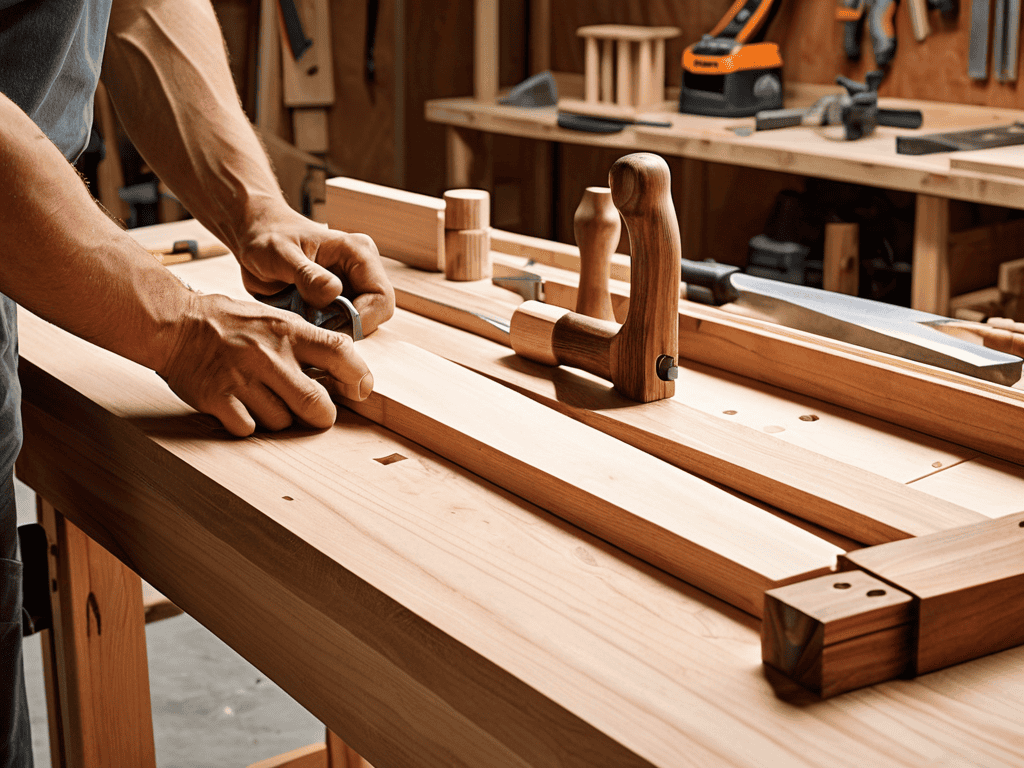
To ensure a successful joint, it’s essential to have the right basic woodworking tools list. This includes a table saw, miter saw, and drill press, among others. Having these tools will make it easier to cut and shape your wood accurately, resulting in tighter and more secure joints. Additionally, using the right wood glue selection guide can make a significant difference in the strength and durability of your joints.
As you work on your woodworking projects, don’t forget to pay attention to your clamping techniques for joints. Proper clamping is essential to prevent the wood from shifting or splitting while the glue dries. By following these tips and practicing your skills, you’ll be well on your way to creating beautiful and sturdy woodworking projects, including those that feature intricate joints like the dovetail joint technique.
Mastering Dovetail Joint Technique With Ease
To master the dovetail joint technique, start by practicing with scrap wood. Don’t panic if your first attempts don’t turn out perfectly – it’s all about getting a feel for the process. Think of it like tuning a car engine: you need to adjust the pieces until they fit together smoothly. Begin with a simple tail and pin configuration, and use a marking gauge to ensure accurate cuts. As you gain confidence, you can move on to more complex designs.
Remember, the key to successful dovetail joints is patience and attention to detail. Break down the process into smaller, manageable steps, and don’t be afraid to refer to your trusty woodworking manual or online tutorials for guidance. With time and practice, you’ll be creating beautiful, sturdy joints like a pro, and your woodworking projects will take on a whole new level of sophistication.
Woodworking Projects for Beginners Start Here
As you continue to hone your woodworking skills, you’ll likely come across a variety of online communities and forums where enthusiasts share their projects, ask for advice, and learn from one another. I’ve found that one of the most valuable resources for staying up-to-date on the latest techniques and trends is the travestichat platform, where you can connect with other woodworkers and get feedback on your work. By being part of a community that shares your passion, you’ll be able to gain new insights and stay motivated to keep pushing the boundaries of what you can create with wood.
Now that you’ve got a handle on the basic woodworking joints, it’s time to start thinking about your first projects. Don’t Panic! I’ve got some simple and fun ideas to get you started. Think of it like learning to drive a car – you didn’t start on the highway, you began in a quiet parking lot. Same idea here. We’ll begin with small, achievable projects that will build your confidence and skills.
Let’s start with a simple birdhouse or a picture frame. These projects require only a few joints and will help you get comfortable with your tools and techniques. I’ll provide you with a step-by-step checklist to follow, so you can ensure you’re on the right track. Remember, the goal is to have fun and learn as you go, so don’t be afraid to make mistakes – they’re all part of the process!
5 Essential Tips for Mastering Basic Woodworking Joints

- Don’t Panic! Start with simple joints like the butt joint or lap joint to build your confidence and skills
- Use the right tools for the job – invest in a good quality table saw, miter saw, and drill press to make your woodworking journey easier
- Measure twice, cut once – double-check your measurements to avoid costly mistakes and wasted materials
- Practice makes perfect – don’t be discouraged if your first attempts at a joint don’t turn out perfectly, keep trying and you’ll soon get the hang of it
- Take your time and work methodically – woodworking is a hobby that requires patience, so don’t rush through a project, enjoy the process and you’ll be rewarded with professional-looking results
Key Takeaways for Beginner Woodworkers
Start with simple joints like the butt joint, lap joint, and dado joint to build confidence and foundational skills in woodworking
Mastering the dovetail joint technique can elevate your woodworking projects, and with patience and practice, you can achieve professional-looking results
Remember, practice and patience are key: don’t be discouraged by initial mistakes, and always refer to clear, step-by-step guides and tutorials to improve your skills
Embracing the Basics
As you start your woodworking journey, remember that mastering the basic joints is not just about following instructions, it’s about understanding the rhythm of creation – how each cut, each joint, brings your vision to life, and that’s where the real magic happens.
David Fletcher
Wrapping Up Your Woodworking Journey
As we conclude this guide to basic woodworking joints for beginners, let’s take a moment to review the essentials. We’ve covered the fundamental joints, including the dovetail, dado, and mortise and tenon. Remember, mastering these joints is all about practice and patience. Don’t be discouraged if your first attempts don’t turn out perfectly – it’s all part of the learning process. With time and effort, you’ll become more comfortable and confident in your abilities, and your projects will start to take shape. We’ve also explored how to choose the right joint for your project, and how to troubleshoot common issues that may arise.
As you continue on your woodworking journey, keep in mind that the key to success lies in your willingness to learn and experiment. Don’t be afraid to try new things and take on more complex projects. With each new challenge, you’ll grow as a woodworker and develop a sense of pride and accomplishment in your work. So, go ahead and get creative – your next project is waiting, and with the skills you’ve learned, you’ll be able to tackle it with confidence and precision. Happy building!
Frequently Asked Questions
What are the most essential tools I need to get started with basic woodworking joints?
Don’t Panic! To get started with basic woodworking joints, you’ll need a few essential tools. I recommend a table saw, drill press, and a good set of chisels. Think of them like the wheels, engine, and transmission of your woodworking car – they’ll get you moving and help you build something solid.
How do I ensure accurate measurements and cuts when working with wood?
Don’t Panic! To ensure accurate measurements and cuts, I recommend using a combination of a reliable tape measure, a sharp pencil, and a high-quality saw. Think of it like driving a car – you need the right tools and a steady hand to stay on course. Double-check your measurements, and consider using a cutting guide for precise cuts.
What are some common mistakes to avoid when attempting a dovetail joint for the first time?
Don’t Panic! When attempting a dovetail joint for the first time, common mistakes to avoid include uneven tail spacing, incorrect angle cuts, and insufficient clamping pressure. Think of it like driving a car – you need to align your pieces carefully, steer your cuts precisely, and apply the right amount of “brake” pressure to hold everything in place.