I still remember the first time I tried soldering without flux – it was a disaster. The joint was weak, and the whole thing fell apart as soon as I touched it. That’s when I learned that understanding what is flux and why do you need it for soldering is crucial for any DIY electronics project. It’s amazing how something as simple as a soldering flux can make all the difference between a successful build and a failed one. I’ve seen too many people struggle with soldering, only to realize that they were missing this one essential component.
In this article, I’ll cut through the hype and give you the no-nonsense truth about flux and its role in soldering. I’ll share my personal experience, tips, and tricks for choosing the right flux for your project, and how to use it effectively. Whether you’re a beginner or an experienced maker, you’ll learn how to solder like a pro and avoid common mistakes that can ruin your project. My goal is to empower you with the knowledge and confidence to take on any DIY electronics project, and to show you that with the right tools and techniques, soldering can be easy and fun.
Table of Contents
What Is Flux
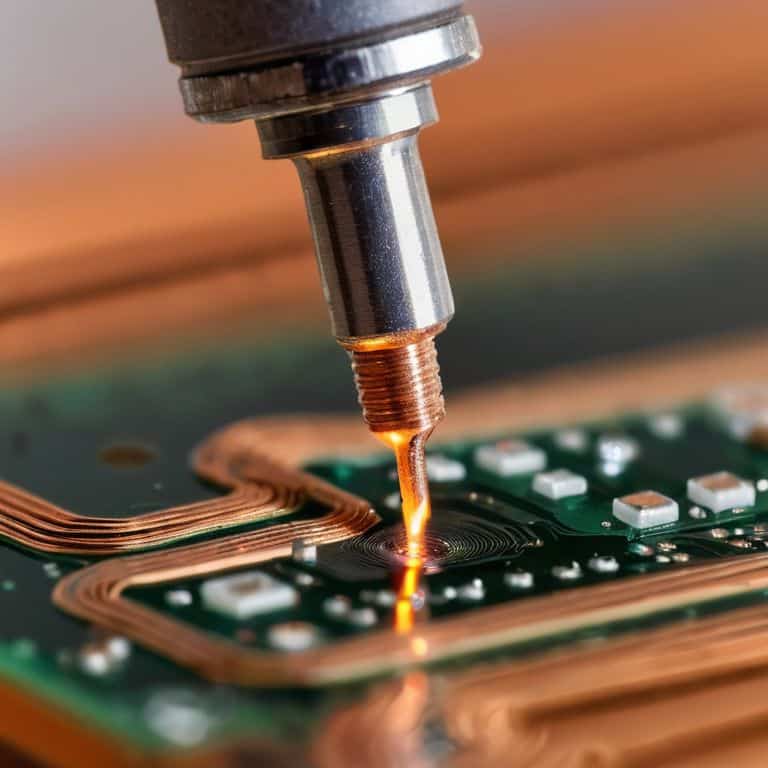
So, you’re wondering what makes flux so special? In a nutshell, flux is a magical substance that helps your solder flow smoothly and evenly, preventing those pesky oxidation layers from forming on your metal surfaces. When you’re working with electronics, you want to ensure a strong, reliable connection, and that’s where flux comes in – it’s the unsung hero of soldering.
As you delve into the world of soldering, you’ll discover that there are various soldering flux types, each with its own unique characteristics and applications. From no-clean fluxes to water-soluble ones, the choices can be overwhelming, but don’t worry, we’ll get into the nitty-gritty of flux application techniques later on. For now, just remember that flux is the key to a successful soldering experience, and it’s essential to choose the right type for your project.
When applied correctly, flux helps to optimize solder joint strength, ensuring a durable and long-lasting connection. It’s also a crucial component in desoldering with flux, making it easier to remove old solder and start fresh. By understanding the role of flux in your soldering workflow, you’ll be well on your way to becoming a master electronics tinkerer, capable of tackling even the most complex projects with confidence.
Flux Application Techniques Exposed
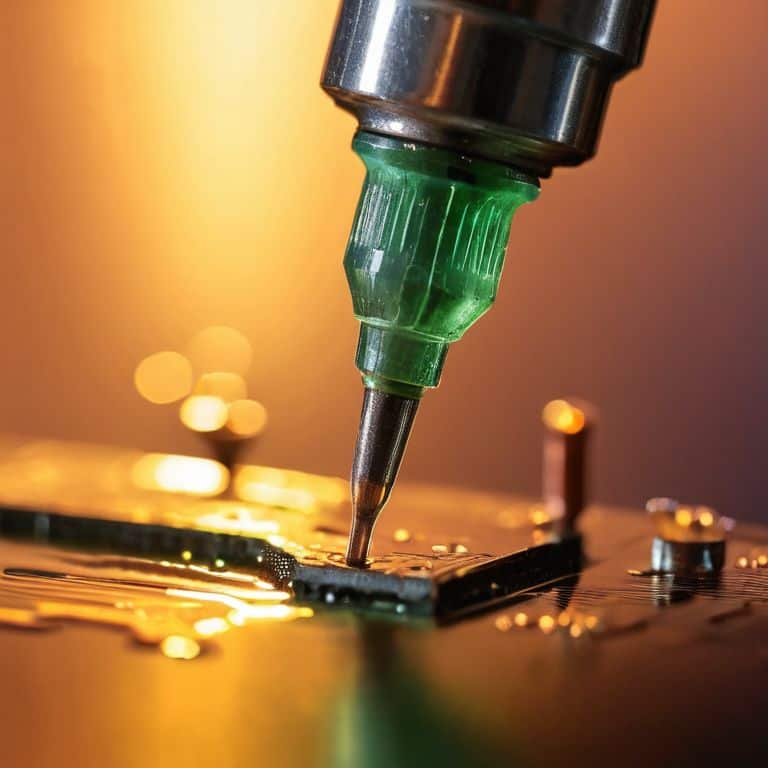
When it comes to applying flux, the key is to use the right amount and technique. I’ve found that a small brush is perfect for applying a thin layer of flux to the area you’re about to solder. This helps prevent any excess from getting in the way and makes the soldering process much smoother.
To get the best results, try dabbing the flux onto the surface rather than brushing it on in broad strokes. This will give you more control over the amount of flux you’re applying and help you avoid any messy overflow.
Soldering Flux Types Unleashed
When it comes to soldering flux, there are several types to choose from, each with its own unique characteristics. You’ve got your organic fluxes, which are great for most soldering jobs, but I’m excited to dive into the world of rosin-based fluxes. These are a popular choice among DIYers and pros alike, and for good reason – they offer a great balance of performance and ease of use.
For more demanding projects, you may want to consider acidic fluxes, but I’ve found that no-clean fluxes are often the way to go. They’re a bit more expensive, but the convenience factor is huge – no messy cleanup required, and they’re generally gentler on your components.
Why You Need Flux for Soldering
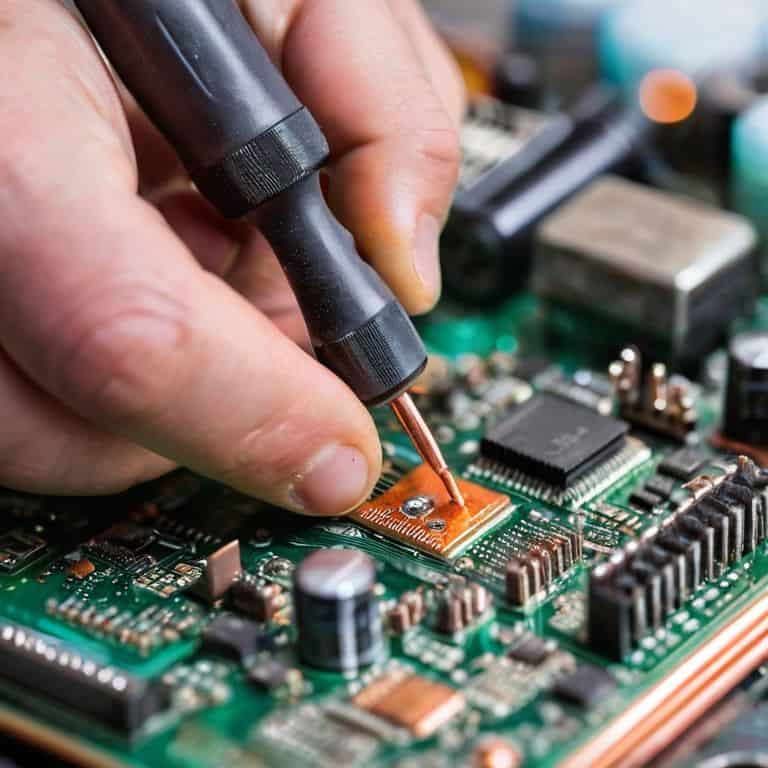
When it comes to soldering, having the right tools and techniques is crucial, and that’s where soldering flux types come into play. I’ve found that using the right flux can make all the difference in achieving a strong and reliable solder joint. By applying flux to the area, you’re able to reduce oxidation and ensure a clean connection. This is especially important when working with delicate electronics, where a weak solder joint can be disastrous.
In my experience, mastering flux application techniques is key to successful soldering. By applying the right amount of flux to the right area, you can avoid common issues like solder bridges and weak joints. It’s also important to consider the type of flux you’re using, as some are better suited for certain types of soldering. For example, when working with a soldering iron, you’ll want to use a flux that’s designed to optimize solder joint strength.
By using flux effectively, you’ll not only improve the quality of your solder joints, but also make the soldering process itself easier and more efficient. This is especially important when it comes to desoldering with flux, as the right flux can make it much simpler to remove old solder and start fresh. With the right flux and techniques, you’ll be able to tackle even the most complex soldering projects with confidence.
Desoldering With Flux Made Easy
When it comes to desoldering, having the right tools and techniques is crucial. One often overlooked aspect is the use of flux to make the process smoother. By applying a small amount of flux, you can significantly reduce the risk of damaging the surrounding components. This is especially important when working with delicate electronics.
To take your desoldering game to the next level, try using flux in combination with a desoldering wick or pump. This will allow you to remove excess solder with ease, making it a breeze to repair or replace components.
Optimizing Solder Joint Strength With Flux
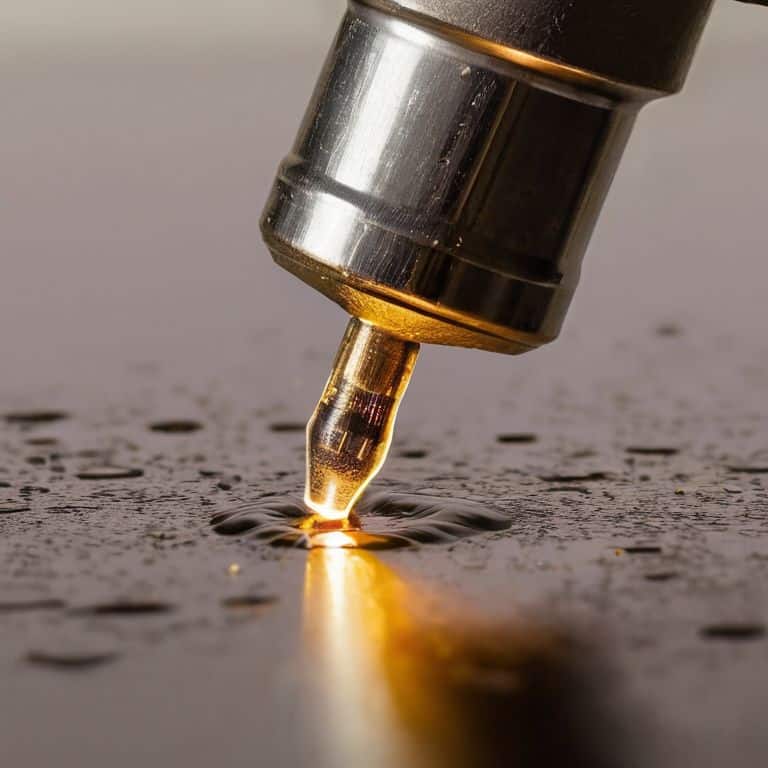
When it comes to creating strong solder joints, flux plays a crucial role in removing oxidation and promoting a clean bond between the metal surfaces. By applying the right amount of flux, you can ensure a reliable connection that withstands the test of time and use.
To maximize joint strength, it’s essential to choose the right type of flux for your specific soldering project. This involves considering factors such as the type of metal being soldered, the desired flow characteristics, and the operating temperature of the final product.
Flux Like a Pro: 5 Essential Tips to Revolutionize Your Soldering
- Choose the right flux for the job: match your flux type to the metal you’re working with for a stronger bond
- Apply flux like a master: use a small brush to paint flux onto the joint, and make sure to cover all surfaces evenly
- Cleanliness is key: remove any oxidation or debris from the metal surface before applying flux for optimal results
- Don’t overdo it: use the right amount of flux – too little and the joint won’t form properly, too much and you’ll end up with a mess
- Practice makes perfect: experiment with different flux types and application techniques to find what works best for you and your projects
Key Takeaways for Mastering Soldering with Flux
Flux is a crucial component in soldering, coming in various types such as rosin, no-clean, and water-soluble, each with its own application techniques and benefits
Using flux can significantly simplify desoldering processes and optimize solder joint strength, leading to more reliable and durable electronic connections
By understanding and effectively utilizing soldering flux, individuals can enhance their DIY electronics projects, troubleshooting, and repair capabilities, unlocking a world of creative possibilities and empowerment
The Flux Factor
Flux is the unsung hero of soldering – it’s the secret ingredient that turns a messy, frustrating process into a smooth, seamless one, and trust me, once you’ve experienced the power of flux, you’ll never go back to soldering without it!
Frankie Miller
Soldering with Flux: The Key to Unlocking Your Full Potential
As we’ve explored the world of flux and its importance in soldering, it’s clear that understanding the different types of flux and how to apply them is crucial for any DIY enthusiast or professional. From soldering flux types to flux application techniques, and from desoldering with flux to optimizing solder joint strength, we’ve covered it all. By grasping these concepts, you’ll be well on your way to creating strong, reliable solder joints that will make your projects stand out.
So, the next time you’re about to tackle a soldering project, remember that flux is your friend. Don’t be afraid to experiment, try new things, and push the boundaries of what’s possible. With flux by your side, you’ll be unleashing a world of creative possibilities, and that’s what DIY is all about – taking control, being innovative, and having fun while doing it.
Frequently Asked Questions
What are the most common types of flux used in soldering and their applications?
Alright, let’s dive into the most common flux types! You’ve got your rosin flux, perfect for thru-hole and SMD components, then there’s water-soluble flux for delicate surfaces, and no-clean flux for when you want minimal residue. Each has its own strengths, so choose wisely depending on your project’s needs!
How do I properly clean and remove flux residue after soldering?
Cleaning up flux residue is a breeze! I use a mix of 90% isopropyl alcohol and a soft-bristled brush to gently scrub away the excess. For tougher spots, a dedicated flux remover does the trick. Just be sure to rinse with distilled water and dry thoroughly to prevent any corrosion or damage.
Can I make my own flux at home or is it better to buy a commercial product?
Hey, making your own flux at home is definitely doable, but I’d recommend buying commercial for consistency and reliability. That being said, if you’re feeling adventurous, you can try mixing your own using rosin, isopropyl alcohol, and a few other ingredients – just be sure to research a trusted recipe and test it out on a small project first.