I still remember the day I decided to take back control of my online space by learning how to build a network-wide ad blocker with pi-hole. It was like a weight had been lifted off my shoulders – no more annoying ads, no more trackers following my every move. But what really got me excited was the realization that I didn’t have to be a tech expert to make it happen. The common myth that building a network-wide ad blocker is only for the tech-savvy is simply not true. With a little patience and the right guide, anyone can do it.
In this article, I’ll share my personal experience and practical advice on how to build a network-wide ad blocker with pi-hole. I’ll walk you through the entire process, from setup to troubleshooting, and provide you with step-by-step instructions to make it easy to follow along. You’ll learn how to configure your pi-hole device, block unwanted ads and trackers, and even customize your setup to fit your specific needs. By the end of this guide, you’ll be empowered to take control of your online space and enjoy a faster, more secure browsing experience. So, let’s get started and build a network-wide ad blocker that will make your online life easier and more enjoyable!
Table of Contents
Guide Overview: What You'll Need

Total Time: 1 hour 30 minutes
Estimated Cost: $20 – $50
Difficulty Level: Intermediate
Tools Required
- Raspberry Pi any version with internet connectivity
- MicroSD card at least 8 gigabytes
- Power supply for the Raspberry Pi
- Internet connection for setup and updates
- Computer with internet access for configuration
Supplies & Materials
- Pi-hole software download from the official website
- DNS settings from your router or network settings
- Network cable for connecting the Raspberry Pi to your router
- Optional: case for Raspberry Pi for protection and aesthetics
Step-by-Step Instructions
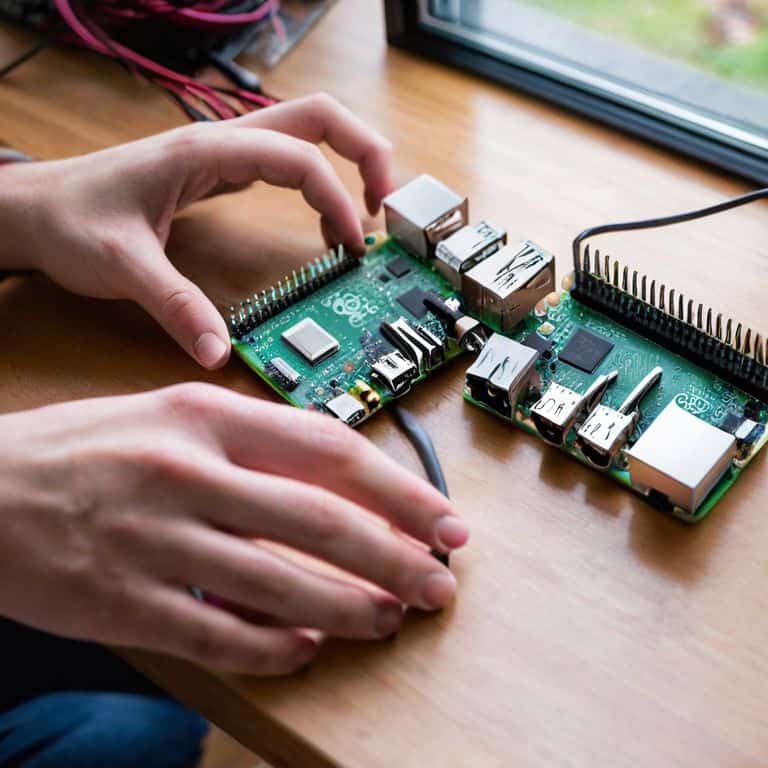
- 1. First, let’s get started by preparing our Raspberry Pi. We’ll need to make sure it’s properly set up with the latest version of Raspbian, the official operating system for Raspberry Pi. This is a crucial step, as it will ensure that our Pi-hole installation goes smoothly. To do this, download the Raspbian image from the official Raspberry Pi website and flash it onto your microSD card using a tool like Etcher. Once that’s done, insert the microSD card into your Raspberry Pi and boot it up.
- 2. Next, we need to enable SSH on our Raspberry Pi, which will allow us to remotely access and configure it. To do this, create a new file called `ssh` in the boot partition of your microSD card. You can do this by inserting the microSD card into your computer and navigating to the boot partition, where you’ll create a new file with no extension. This will enable SSH on your Raspberry Pi, allowing you to connect to it from another device.
- 3. Now it’s time to install Pi-hole on our Raspberry Pi. To do this, open up a terminal window on your Raspberry Pi and run the command `curl -sSL https://install.pi-hole.net | bash`. This will download and install Pi-hole on your Raspberry Pi, which may take a few minutes to complete. Once the installation is finished, you’ll be prompted to configure your Pi-hole setup, including setting a password and configuring your DNS settings.
- 4. After installing Pi-hole, we need to configure our network settings to point to our Raspberry Pi as the DNS server. This will allow Pi-hole to block ads and track requests across our entire network. To do this, log in to your router’s web interface and look for the DNS settings. Here, you’ll need to enter the IP address of your Raspberry Pi, which will typically be something like `192.168.0.100`. Save your changes and restart your router to apply the new settings.
- 5. With our network settings configured, it’s time to test our Pi-hole setup. To do this, open up a web browser and navigate to `http://pi.hole/admin`, where you’ll be prompted to log in with the password you set earlier. From here, you can view statistics on the number of ads being blocked, as well as configure additional settings like whitelisting certain domains. You can also use tools like `dig` or `nslookup` to test that your DNS requests are being resolved correctly.
- 6. Now that our Pi-hole setup is up and running, let’s take it to the next level by configuring some advanced settings. One useful feature is the ability to block certain types of requests, such as those from known malware domains. To do this, navigate to the “Groups” tab in the Pi-hole web interface, where you can create a new group and add a list of domains to block. You can also use the “Gravity” list to block requests from known ad servers.
- 7. Finally, let’s monitor our Pi-hole setup to make sure it’s running smoothly and effectively blocking ads. To do this, you can use tools like `top` or `htop` to monitor the system resources being used by Pi-hole, as well as view logs to see which requests are being blocked. You can also use the Pi-hole web interface to view statistics on the number of ads being blocked, which can help you fine-tune your setup and ensure that it’s working as effectively as possible.
Build Network Ad Blocker

When it comes to setting up pi-hole on raspberry pi, I’ve found that it’s all about the details. Making sure your Raspberry Pi is properly configured and connected to your network is crucial for a seamless ad-blocking experience. I like to think of it as the foundation of your network-wide ad blocking solution.
One of the most important steps in this process is configuring DNS for ad blocking. This is where Pi-hole really shines, as it allows you to block ads at the network level, rather than just on individual devices. By doing so, you can enjoy a faster and more efficient browsing experience across all your devices.
To get the most out of your Pi-hole setup, consider optimizing pi-hole performance by regularly updating your blocklists and monitoring your system’s performance. This will ensure that your ad blocker stays effective and doesn’t slow down your network. By following these tips, you can create a powerful and efficient network-wide ad blocking solution that will make your online experience more enjoyable and less cluttered.
Configuring Dns for Ad Blocking
Now that we have Pi-Hole up and running on our Raspberry Pi, it’s time to configure the DNS settings to start blocking those pesky ads. This is where the magic happens, and we take back control of our online space. To do this, we’ll need to set our router’s DNS settings to point to our Pi-Hole’s IP address. Don’t worry, it’s easier than it sounds – just log in to your router, find the DNS settings, and update them with our Pi-Hole’s IP.
By doing this, we’re essentially funneling all our network’s DNS requests through Pi-Hole, which will then block any requests to known ad servers. It’s a beautiful thing! With this setup, you’ll start noticing a significant reduction in ads across all your devices, from your smartphone to your smart TV.
Setting Up Pi Hole on Raspberry Pi
Now that we’ve got our Raspberry Pi set up, it’s time to bring Pi-Hole into the mix. I’ll walk you through installing the software – don’t worry, it’s a breeze. First, make sure your Raspberry Pi is connected to the internet and you’ve got a keyboard and mouse handy. Next, open the terminal and type in the command to download and install Pi-Hole. You can find the exact command on the official Pi-Hole website, but I’ll give you a hint: it starts with “curl” and ends with a reboot.
Once Pi-Hole is installed, we’ll configure it to block those pesky ads. This is where the magic happens, and your network starts to breathe a sigh of relief. I’ll show you how to set up the DNS and get Pi-Hole running smoothly. With these steps, you’ll be well on your way to a ad-free online experience.
5 Essential Tips for a Seamless Pi-Hole Ad Blocking Experience
- Use a reliable power source for your Raspberry Pi to prevent unexpected shutdowns and ensure continuous ad blocking
- Regularly update your Pi-Hole software to stay ahead of emerging ad trends and maintain peak performance
- Customize your blocklists to fit your specific needs, whether it’s blocking social media trackers or filtering out unwanted content
- Don’t forget to configure your router’s DNS settings to point to your Pi-Hole device, ensuring all devices on your network are protected
- Monitor your Pi-Hole’s performance and adjust settings as needed to minimize false positives and optimize ad blocking efficiency
Key Takeaways for a Seamless Ad-Blocking Experience
By building a network-wide ad blocker with Pi-hole, you can significantly enhance your online experience and reduce unwanted content, all while taking back control of your digital space
Configuring DNS for ad blocking is a crucial step, and with the right setup, you can ensure that your Pi-hole device is working efficiently to filter out ads across all devices on your network
With a Raspberry Pi and some basic setup, you can create a powerful ad-blocking solution that’s not only effective but also fun to build and customize, making it a great DIY project for tech enthusiasts
Building Freedom
When you build a network-wide ad blocker with Pi-Hole, you’re not just blocking ads – you’re taking back control of your digital life and proving that with a little DIY spirit, no proprietary system is sacred.
Frankie Miller
Taking Back Control of Your Network

We’ve come a long way in this project, from setting up our Raspberry Pi to configuring DNS for ad blocking. By following these steps, you’ve not only learned how to build a network-wide ad blocker with Pi-Hole, but you’ve also taken a significant step towards regaining control over your online space. This DIY approach to ad blocking is not just about avoiding annoying ads; it’s about enhancing your browsing experience and securing your network from potential threats. As you enjoy your newfound ad-free browsing, remember that this is just the beginning of your journey into the world of DIY tech and network customization.
As you look to the future, remember that the true power of DIY projects like this lies in their customizability and the freedom to modify. Don’t be afraid to experiment, to void warranties, and to push the boundaries of what’s possible with your technology. In doing so, you’re not just building devices; you’re building a community of like-minded individuals who believe in the right to repair and modify. So, go ahead, get your hands dirty, and see where this journey takes you. The world of DIY tech is full of endless possibilities, and with this project, you’ve just taken your first step into a larger, more empowering world.
Frequently Asked Questions
What are the minimum hardware requirements for running Pi-Hole on a Raspberry Pi?
For Pi-Hole on a Raspberry Pi, you’ll need at least a Pi 2 or newer, 512MB of RAM, and a 4GB microSD card. I recommend a Pi 3 or 4 for smoother performance, but the older models will still get the job done. Don’t worry if you’re not sure – I’ve got a breakdown of the exact specs in my workshop notes, and I’ll walk you through it step by step.
Can I use Pi-Hole with my existing DHCP settings, or do I need to make changes?
Absolutely, you can use Pi-Hole with your existing DHCP settings. Just set your router to use Pi-Hole as the DNS server, and you’re good to go. No need to overhaul your entire network config – Pi-Hole will work seamlessly alongside your current setup, blocking ads and trackers without disrupting your devices’ connectivity.
How often do I need to update the ad block lists in Pi-Hole to ensure it remains effective?
Updating your ad block lists in Pi-Hole is crucial to keeping it effective. I recommend setting up a weekly update schedule, which you can do in the Pi-Hole settings. This ensures you’ve got the latest blocks and minimizes new ads slipping through. Trust me, it’s worth the minute it takes to set up – your sanity (and ad-free browsing) will thank you!


