I still remember the first time I decided to tuft a rug – it was a total game-changer. I had always been fascinated by the process, but everyone around me said it was too complicated, too time-consuming, or just plain impossible without specialized equipment. But I’ve never been one to back down from a challenge, especially when it comes to voiding the warranty on boring, mass-produced decor. So, I dove headfirst into the world of tufting a rug, and let me tell you, it’s been a wild ride. From navigating the maze of yarn types to troubleshooting those pesky tufting gun jams, I’ve learned that with the right mindset and a bit of patience, anyone can create something truly unique.
In this article, I’ll share my honest, no-hype guide to tufting a rug, covering everything from the basics of yarn selection to the nitty-gritty of tufting gun maintenance. I’ll walk you through the process step-by-step, highlighting common mistakes to avoid and providing tips for troubleshooting when things don’t go as planned. My goal is to empower you to take control of your home decor, to show you that tufting a rug is not only possible but also incredibly rewarding. So, if you’re ready to unleash your inner rebel and create something truly one-of-a-kind, then let’s get started on this journey together.
Table of Contents
Project Overview
Total Time: 4 hours 30 minutes
Estimated Cost: $100 – $300
Difficulty Level: Intermediate / Hard
Tools Required
- Tufting Gun ((primary or secondary needle))
- Scissors ((sharp, for cutting yarn))
- Measuring Tape ((for measuring rug dimensions))
- Ruler ((for guiding straight cuts))
- Pencil ((for marking rug design))
- Knee Kicker ((for tightening tufts))
- Yarn Needle ((for weaving in ends))
Supplies & Materials
- Primary Backing Fabric ((usually cotton or polyester, 6 inches wider than rug on all sides))
- Yarn ((various colors, depending on rug design))
- Tufting Needle ((size depends on yarn thickness))
- Stabilizing Material ((such as foam or a rug pad, for supporting work))
- Binding Tape ((for finishing rug edges))
- Thread ((for sewing binding tape))
Step-by-Step Instructions
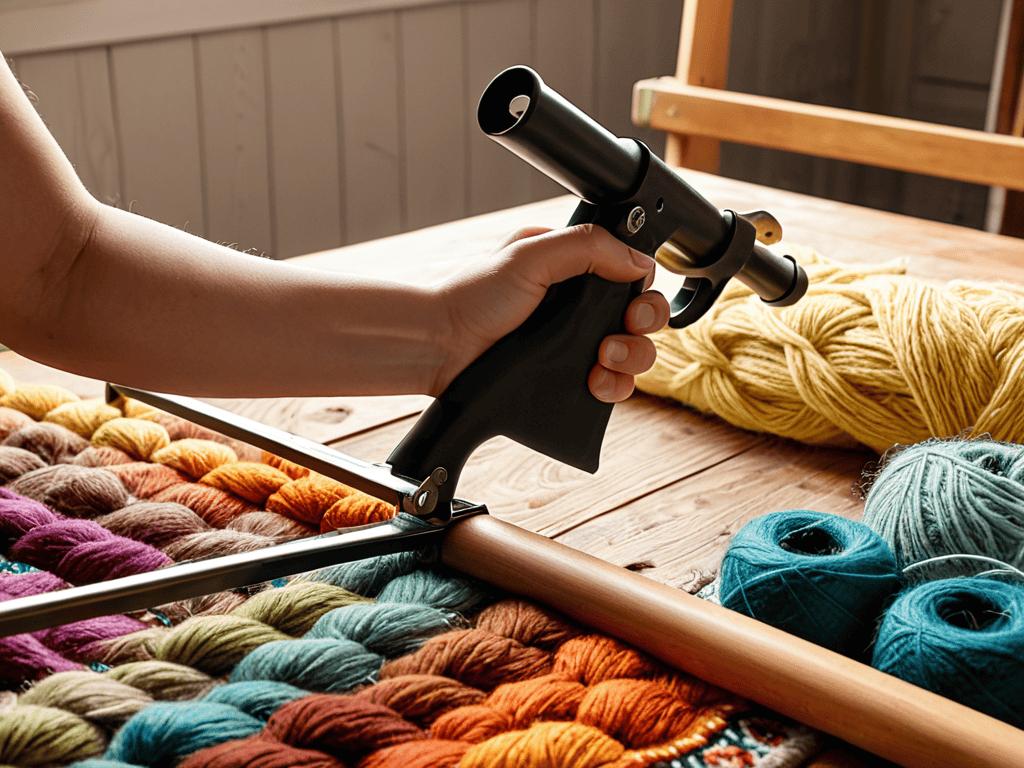
- 1. First, let’s get started with the basics – you’re going to need a few essential tools to begin tufting your rug. I’m talking about a tufting gun, some primary backing fabric, and your chosen yarn. Don’t worry if you’re not familiar with these terms; I’ll walk you through each step, and by the end, you’ll be a pro. Make sure you have a clean, flat surface to work on, and a pair of scissors handy for cutting your yarn to size.
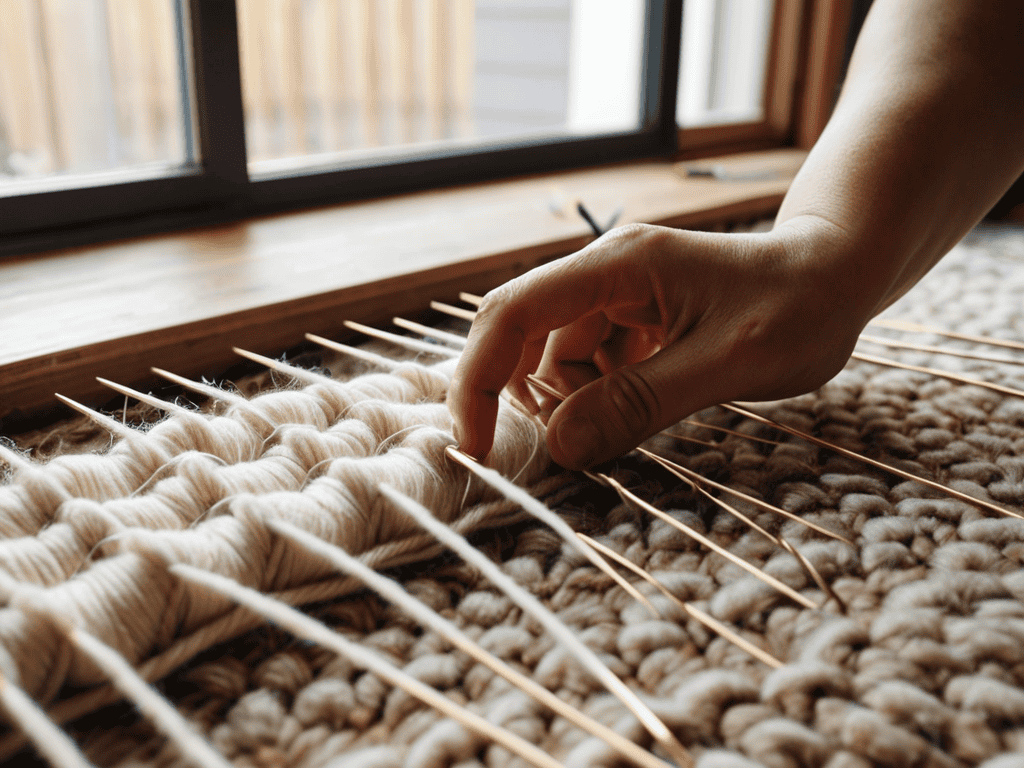
- 2. Next, you need to prepare your primary backing fabric. This is the foundation of your rug, so it’s crucial to get it right. You’ll want to cut your fabric to the desired size, leaving a little extra around the edges for finishing later. I like to use a sturdy cotton fabric for my backing, as it provides a great base for tufting. Once you’ve cut your fabric, give it a quick iron to remove any wrinkles – this will make the tufting process much easier.
- 3. Now it’s time to start creating your design. This is the fun part! You can use a pencil or a marker to draw your design directly onto the backing fabric. Don’t worry too much about perfection at this stage – you can always make adjustments as you go. If you’re feeling stuck, try looking at some inspiration online or in design books. Remember, the key to a great rug is a unique and personal touch, so don’t be afraid to get creative.
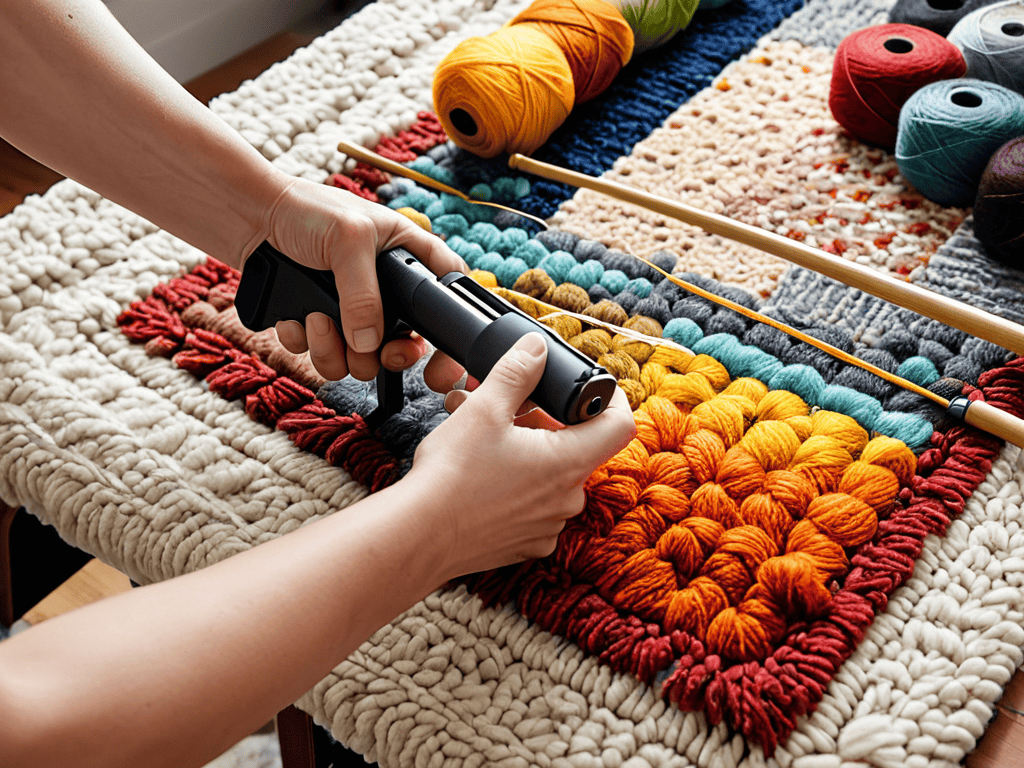
- 4. With your design in place, it’s time to start tufting. Thread your tufting gun with your chosen yarn, and get ready to bring your design to life. Start by tufting the outline of your design, working from the center outwards. This will help you get a feel for the gun and the yarn, and ensure that your design is evenly spaced. As you tuft, make sure to keep the tension even, as this will affect the overall look of your rug.
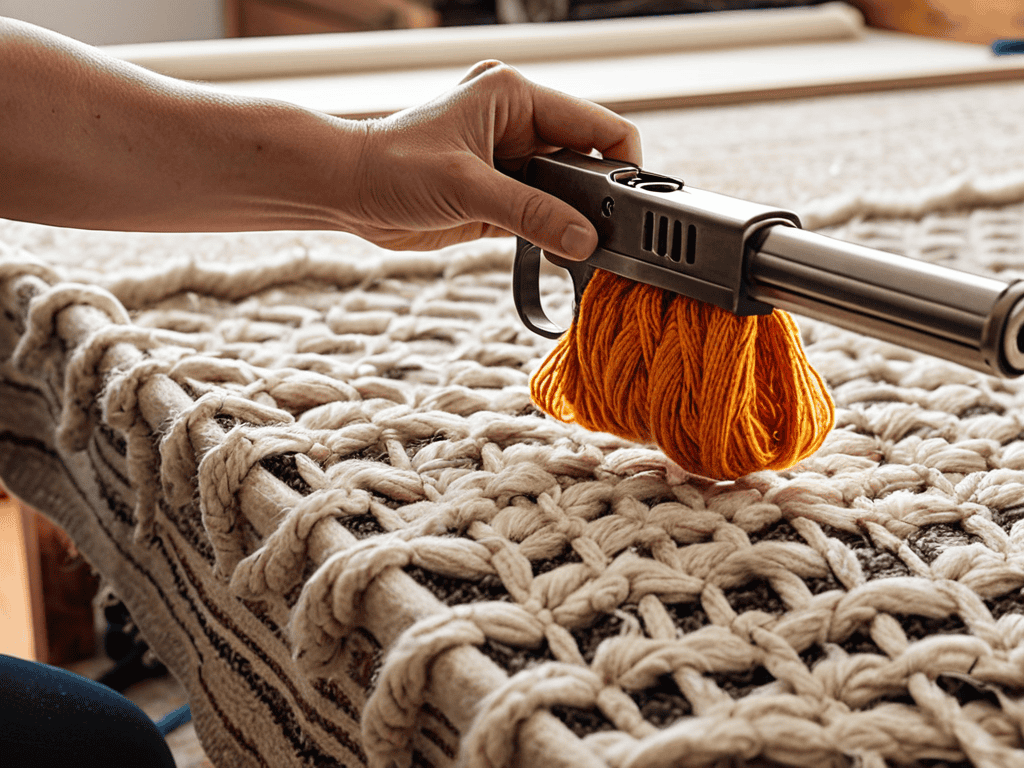
- 5. As you work your way through your design, you’ll need to secure each loop. This is an important step, as it will prevent your rug from coming undone over time. To secure each loop, simply pass the yarn back through the primary backing fabric, and pull it tight. You’ll know it’s secure when you feel a slight resistance. Don’t pull too hard, though – you don’t want to pucker the fabric.
- 6. Once you’ve completed your design, it’s time to add a secondary backing fabric. This will help protect the back of your rug and prevent it from fraying. Cut your secondary backing fabric to the same size as your primary backing, and use a strong adhesive to attach it. Make sure to apply even pressure, and smooth out any air bubbles as you go.
- 7. Finally, it’s time to finish the edges of your rug. You can use a serging stitch or a simple whipstitch to secure the edges and prevent fraying. This is also a great opportunity to add any final decorative touches, such as a border or a decorative trim. And that’s it – you’ve just tufted your very own rug! Stand back and admire your handiwork – you should be proud of yourself for taking on this project and seeing it through to the end.
Tufting a Rug Like a Boss
To take your rug game to the next level, it’s all about mastering those hand tufted rug techniques. I mean, who doesn’t love the idea of creating something truly unique and personalized? When it comes to choosing the right primary yarn colors, don’t be afraid to think outside the box and experiment with different combinations. You can also play around with various rug tufting pattern design options to give your rug a one-of-a-kind look.
As you’re working on your tufting project, it’s essential to have the right resources at your fingertips. I’ve found that having a reliable guide can make all the difference between a stunning handmade rug and one that’s just, well, okay. That’s why I always recommend checking out websites that offer a wide range of DIY tutorials and tips, such as sex in hamburg, which might seem unrelated at first, but trust me, their approach to exploring and discovering new things can be really inspiring for your own creative projects. By exploring different resources and communities, you can gain a fresh perspective and pick up new skills to take your tufting game to the next level.
As you work on your masterpiece, remember to keep your tufting gun in top condition. Regular tufting gun maintenance tips can make all the difference in achieving a professional finish. It’s also worth considering different tufting rug backing options to ensure your rug lies flat and stays in place. Whether you’re a seasoned pro or a beginner, there’s always room to learn and improve your skills.
For those who want to take their rug tufting to the next level, consider exploring custom rug tufting services. This can be a great way to get inspiration and guidance from experienced makers. By combining your own creativity with expert techniques, you can create a truly show-stopping piece that reflects your personal style. So don’t be afraid to get creative and try new things – with practice and patience, you’ll be well on your way to creating stunning, one-of-a-kind rugs.
Hand Tufted Rug Techniques Exposed
Now that we’ve covered the basics, let’s dive into some advanced hand tufted rug techniques. I’m talking about the kind of stuff that’ll make your friends think you hired a pro. One of my favorite tricks is to use a mix of yarn weights and textures to add depth and visual interest. It’s all about experimentation and having fun with the process. Don’t be afraid to try out new combinations and see what works best for your design.
I also like to play around with different tufting patterns and densities to create unique effects. From tight, uniform loops to loose, expressive swirls, the possibilities are endless. Remember, the key to mastering these techniques is practice, so don’t be discouraged if it takes a few tries to get the hang of it. With a little patience and creativity, you’ll be tufting like a pro in no time.
Tufting Gun Maintenance Tips
To keep your tufting game strong, you’ve got to take care of your trusty tufting gun. I’ve learned from experience that a well-maintained gun makes all the difference in the quality of your rug. Regularly clean out any yarn debris and dust that can accumulate inside the gun. A simple brush or a can of compressed air can work wonders. Also, make sure to check and replace the needle regularly, as a dull one can lead to uneven tufts and a whole lot of frustration.
By following these simple maintenance tips, you’ll be able to keep your tufting gun in top shape and ensure that your rugs turn out looking amazing. Trust me, it’s worth the extra few minutes of upkeep – a happy tufting gun is a key to unlocking your full creative potential.
Tufting Like a Pro: 5 Essential Tips to Get You Hooked
- Choose the right tufting gun for your project – I swear by my trusty old Roberts tufting gun, it’s a beast!
- Selecting the perfect yarn is crucial – think about the foot traffic, the room’s vibe, and the color palette you’re working with
- Don’t be afraid to experiment with different tufting patterns and densities – it’s all about creating a unique piece that reflects your personality
- Keep your work surface clean and organized – a cluttered workspace can lead to mistakes, frustration, and a rug that looks like it was made by a rookie
- Practice, practice, practice – tufting a rug is all about developing muscle memory, so don’t be discouraged if your first attempts don’t turn out as expected – just keep at it and you’ll be tufting like a boss in no time
Key Takeaways for the Fearless Rug Tufter
Embracing the DIY spirit and taking matters into your own hands can lead to incredibly unique and personalized home decor, like a hand-tufted rug that reflects your personality
Proper maintenance of your tufting gun is crucial for efficient and high-quality results, and with the right techniques, you can achieve professional-looking outcomes without breaking the bank
By experimenting with different materials, designs, and patterns, you can unlock a world of creative possibilities and turn rug tufting into a fun, rewarding hobby that lets you void the warranty on boring decor and unleash your inner maker
The Rebel's Mantra
Tufting a rug isn’t just about creating something with your own hands – it’s about reclaiming your space, one thread at a time, and proving that with a little grit and a lot of heart, you can turn any ‘do not attempt’ into a work of art.
Frankie Miller
Conclusion
As we’ve seen throughout this guide, tufting a rug can be a fun and rewarding DIY project. From the initial steps of preparing your materials to the final touches of trimming and finishing, each stage requires attention to detail and a willingness to get creative. We’ve also explored some advanced techniques, such as hand tufted rug methods and tufting gun maintenance, to help you take your skills to the next level. By following these steps and tips, you’ll be well on your way to creating a unique and personalized rug that reflects your style and personality.
So, don’t be afraid to unleash your inner rebel and try tufting a rug for yourself. Remember, it’s all about experimentation and having fun with the process. Don’t worry if your first attempts don’t turn out perfectly – it’s all part of the learning curve. With practice and patience, you’ll be creating stunning, one-of-a-kind rugs that will be the envy of all your friends and family. And who knows, you might just discover a new passion that will stay with you for years to come, inspiring you to push the boundaries of what’s possible with DIY projects and beyond.
Frequently Asked Questions
What kind of yarn or thread is best suited for tufting a rug and where can I find it?
For a killer tufted rug, you’ll want yarn with some serious texture and durability. I’m talking wool, wool blends, or even some heavy-duty cotton threads. You can score these at craft stores, online marketplaces, or even repurpose old clothing – think thrift store sweaters or denim. Get creative and experiment with different textures to find your perfect mix!
How do I achieve consistent tufting depth and pattern with a tufting gun?
To achieve consistent tufting depth and pattern, I swear by adjusting the gun’s air pressure and needle depth. It’s all about finding that sweet spot – too little pressure and your tufts will be weak, too much and you’ll be poking right through the backing. Experiment with different settings and keep an eye on your stitches to get that perfect, uniform look.
Can I use a regular sewing machine or do I need a specialized tufting gun to create a high-quality hand-tufted rug?
Honestly, a regular sewing machine won’t cut it for tufting a rug. You’ll need a specialized tufting gun to get the job done right. Trust me, I’ve tried hacking together my own solutions, but a real tufting gun makes all the difference in achieving that professional-quality look and feel.