


I still remember the first time I decided to take apart my old laptop to upgrade the RAM. The manufacturer’s warning label that said “void warranty if opened” only sparked my curiosity. As I dug deeper, I realized that knowing what tools do you need to repair a laptop is the first step to unlocking its true potential. The myth that you need expensive, specialized tools to repair a laptop is simply not true. With the right mindset and a few essential tools, you can breathe new life into your old device.
In this article, I’ll share my personal favorite tools and techniques for laptop repair, and I’ll guide you through the process with step-by-step instructions and high-quality photos. You’ll learn how to diagnose common issues, replace faulty parts, and even upgrade your laptop’s performance. My goal is to empower you with the knowledge and confidence to take matters into your own hands, so you can stop relying on expensive repair services and start enjoying the satisfaction of fixing things yourself. By the end of this guide, you’ll be well on your way to becoming a laptop repair master, and you’ll never look at a “void warranty” label the same way again.
Table of Contents
Guide Overview: What You'll Need
Total Time: 1 hour 30 minutes
Estimated Cost: $20 – $100
Difficulty Level: Intermediate
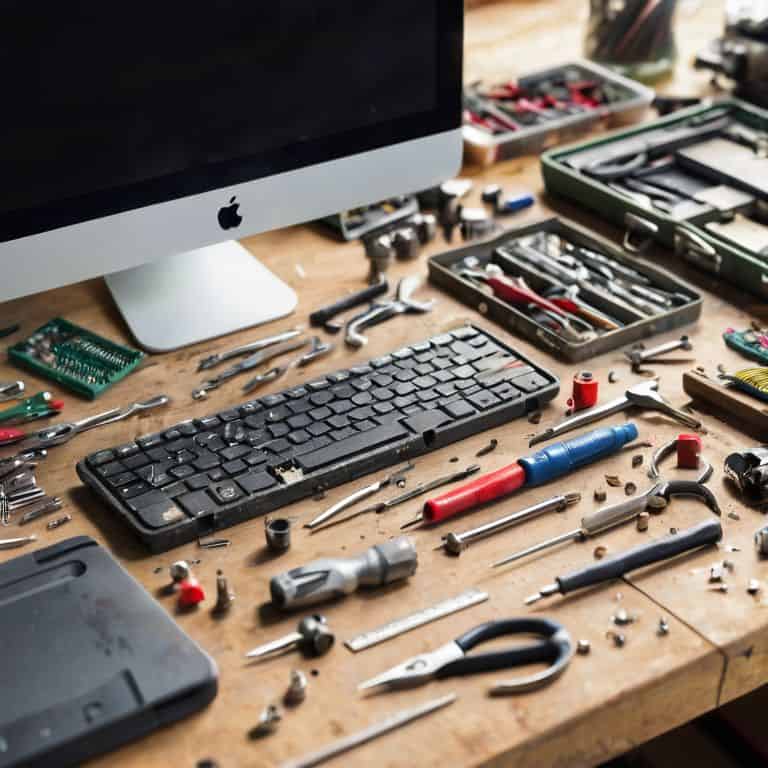
Tools Required
- Screwdriver Set (including Phillips and flathead tips)
- Torx Driver (for certain laptop models)
- Prying Tool (for carefully opening the laptop case)
- Anti-static Wrist Strap (for protecting components from static electricity)
- Tweezers (for handling small parts)
- Plastic Spudger (for gently prying open connectors)
- Wire Cutters (for trimming wires to size)
Supplies & Materials
- Thermal Paste (for reapplying to the CPU or GPU)
- Laptop Screws (for replacing any that are damaged or missing)
- Electrical Tape (for insulating wires)
- Cable Ties (for organizing cables)
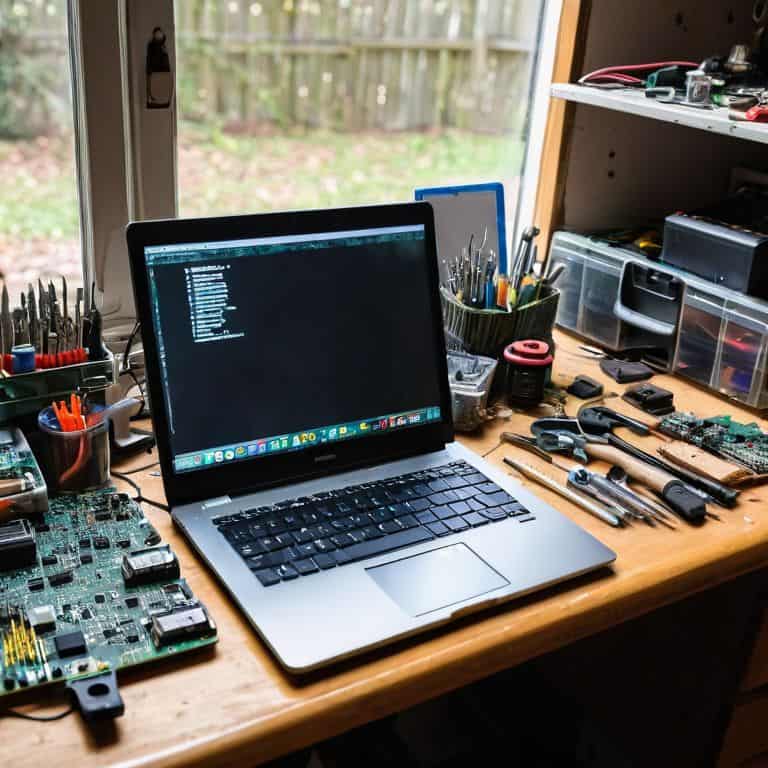
Step-by-Step Instructions
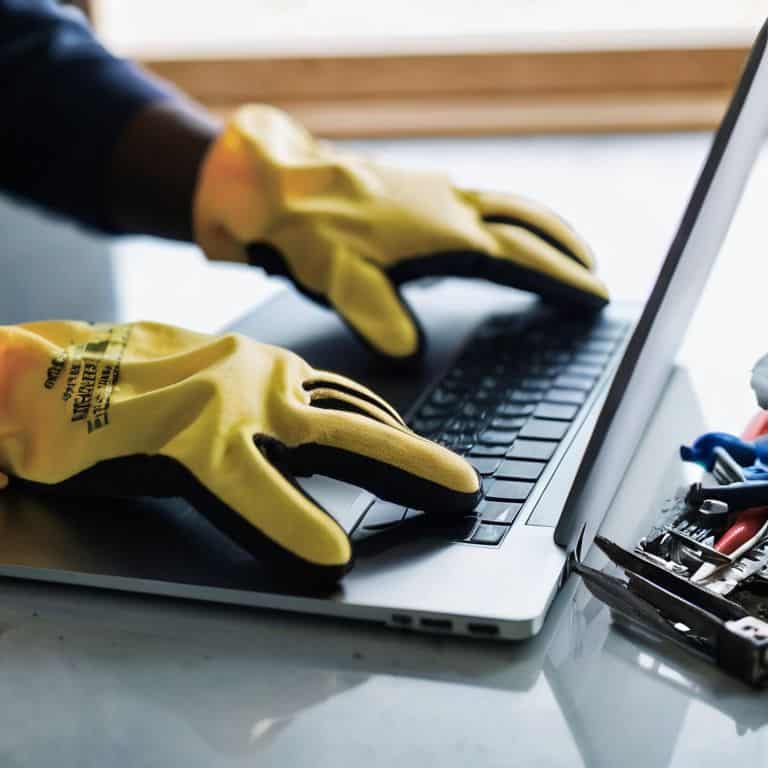
- 1. First, let’s start with the essential toolkit that every laptop repair enthusiast should have. This includes a set of precision screwdrivers, such as a Phillips #000 and a flathead screwdriver, which will help you remove the outer casing and access the internal components. I like to use a screwdriver set with a magnetic tip to prevent screws from getting lost.
- 2. Next, you’ll need a plastic spudger or a similar tool to help you pry open the laptop’s casing without damaging any of the internal components. This is a delicate process, so be sure to use a gentle touch to avoid applying too much pressure. I’ve found that using a spudger with a curved edge can be particularly helpful in this step.
- 3. Now it’s time to add some specialized tools to your kit, such as a Torx driver (T5 or T6) and a nut driver. These will come in handy when working with specific laptop models that require these types of screws. I recommend investing in a driver set with interchangeable tips to make it easier to switch between different screw types.
- 4. To protect your workspace and prevent damage to your laptop’s components, you’ll need a static-safe mat or an anti-static wrist strap. This will help prevent static electricity from building up and damaging your laptop’s sensitive electronics. I like to use a mat with a built-in grounding strap for added protection.
- 5. When working with internal components, it’s often necessary to clean out dust and debris. A can of compressed air can be a lifesaver in this situation, allowing you to blow away dust and dirt without damaging any of the components. Be sure to use the can in short bursts and hold it upright to prevent liquid from coming out.
- 6. As you delve deeper into the laptop’s internals, you may need to remove and replace components such as the hard drive or RAM. To do this, you’ll need a thermal paste remover and some new thermal paste to apply to the replacement component. I recommend using a remover specifically designed for electronics to avoid damaging any of the surrounding components.
- 7. Finally, to keep track of all the screws and components you’ll be removing, it’s a good idea to have a small parts organizer or a set of ziplock bags on hand. This will help you stay organized and ensure that you don’t lose any important screws or components. I like to use a magnetic parts tray to keep all the screws and components within easy reach.
What Tools Do You Need
When it comes to laptop disassembly techniques, having the right tools is crucial. I always say, a good set of tools is like having a good recipe – it makes all the difference in the outcome. For laptop maintenance, you’ll need a combination of screwdrivers, pliers, and spudgers. My personal favorite is a set of precision screwdrivers, which can help you navigate even the toughest laptop components.
As you progress with your laptop repair, you’ll realize that essential tools for laptop maintenance go beyond just the basics. You’ll need to consider things like thermal management, which is critical for maintaining your laptop’s performance and longevity. Applying thermal paste, for instance, requires a bit of finesse, but with the right tools and techniques, it’s a breeze. I recommend investing in a good thermal paste applicator to ensure a smooth and even application.
In my experience, one of the most common mistakes people make when repairing their laptops is not having the right tools for the job. This can lead to common laptop repair mistakes, such as stripped screws or damaged components. To avoid this, make sure you have a well-stocked toolkit and take your time when working on your laptop. With patience and practice, you’ll become a pro at laptop repair in no time, and you’ll be able to tackle even the most complex laptop troubleshooting steps with confidence.
Essential Tools for Laptop Maintenance
When it comes to laptop maintenance, having the right tools is crucial. I’m talking about the essentials that’ll help you diagnose and fix issues without breaking the bank. For me, it all starts with a good set of precision screwdrivers – you know, the ones that can handle those tiny screws that hold everything together. A plastic spudger is also a must-have, as it helps with prying open the laptop’s casing without damaging any of the internal components.
I also swear by my trusty multimeter for troubleshooting electrical issues, and a can of compressed air for cleaning out dust and debris from the vents and fans. These tools have saved me from more than a few headaches over the years, and I’m confident they’ll do the same for you. With these essentials in your toolbox, you’ll be well on your way to becoming a laptop repair master.
Laptop Disassembly Techniques Exposed
Now that we’ve covered the essential tools, let’s dive into the fun part – disassembly. I’m talking screws, clips, and all the hidden gotchas that’ll make you wonder how it all fits together. My approach is all about patience and a gentle touch, because let’s face it, you don’t want to damage any of those delicate components. I’ve learned from experience that a plastic spudger is your best friend when it comes to prying open those tight spaces without causing any damage.
When you’re disassembling your laptop, take your time and work methodically. Remove screws in a pattern to avoid stripping the heads, and keep track of which screws go where – trust me, it’s a lifesaver when it’s time to put everything back together.
Warranty Warriors: 5 Essential Tool Tips for Laptop Repair
- Always invest in a good set of precision screwdrivers, as they’ll be your best friends when dealing with tiny screws and delicate components
- A can of compressed air is a lifesaver for cleaning out dust and debris from fans, heat sinks, and other sensitive areas
- A plastic spudger is a must-have for safely prying open your laptop’s casing without causing damage to the surrounding material
- Don’t underestimate the importance of a reliable soldering iron and some quality solder – they’ll help you repair or replace faulty components like a pro
- Keep a set of tweezers handy for gripping small parts, like screws or jumpers, and for navigating the tight spaces within your laptop’s innards
Key Takeaways for the Fearless Laptop Repair Enthusiast
Laptop repair isn’t rocket science, but having the right tools for the job can make all the difference – think screwdrivers, pliers, and a trusty spudger
Mastering laptop disassembly techniques is an art that requires patience, the right guidance, and a willingness to void that warranty (just kidding, it’s a challenge, not a warning!)
From upgrading your RAM to replacing a faulty keyboard, understanding what tools you need and how to use them will empower you to take control of your laptop’s maintenance and repairs, saving you time, money, and the frustration of being at the mercy of a repair shop
The Right Toolbox
The tools you need to repair a laptop aren’t just about the gadgets in your kit, they’re about the willingness to dive in, get your hands dirty, and reclaim your tech as your own.
Frankie Miller
Empowering Your Inner Tech Wizard
We’ve covered the essential tools you need to repair a laptop, from screwdrivers to spudgers, and dived into the world of laptop disassembly techniques. It’s clear that with the right mindset and a handful of must-have tools, you can breathe new life into your old laptop or even upgrade it to meet your current needs. Remember, the key to successful DIY repairs is not just about having the right tools, but also about understanding the process and being willing to learn from your mistakes. Don’t be afraid to void that warranty and take control of your technology.
As you embark on your laptop repair journey, keep in mind that it’s not just about fixing a device, it’s about empowering yourself to take control of your tech. Every screw you remove, every component you replace, is a step towards a deeper understanding of how things work and a sense of accomplishment that’s hard to find elsewhere. So, don’t hesitate to get started, and remember, the right to repair is not just a movement, it’s a fundamental part of being a tech enthusiast. With every successful repair, you’ll be one step closer to becoming a master of your digital domain.
Frequently Asked Questions
What are the must-have tools for a beginner to repair a laptop?
Alright, beginner friend! To get started with laptop repair, you’ll need the basics: a trusty screwdriver set, plastic spudgers, and a can of compressed air. Don’t forget a Torx driver for those pesky star-shaped screws. These essentials will get you inside and fixing in no time!
Can I use regular screwdrivers to disassemble a laptop or do I need specialized ones?
Honestly, regular screwdrivers can damage your laptop’s screws, so it’s best to use specialized ones like a Torx or Pentalobe driver, depending on the model. I always say, invest in a good set of precision drivers, it’s worth it to avoid stripping those tiny screws and making the repair process a whole lot smoother.
Are there any specific tools that I'll need to purchase for repairing a laptop that can't be found in a standard toolbox?
Ah, great question! Yeah, there are a few specialty tools you’ll want to grab, like a plastic spudger, Torx drivers, and a laptop screwdriver set. These will make disassembly a whole lot easier and help prevent damage to those tiny screws and fragile components.


