I still remember the first time I stumbled upon a 3D printing community forum – it was like discovering a treasure trove of creativity and innovation. The idea that I could create anything I wanted, from custom phone cases to functional robot parts, was exhilarating. But what really drew me in was the sense of empowerment that came with it – no longer was I limited by the constraints of mass-produced products. I was about to embark on a journey to learn a beginner’s guide to 3d printing, and I was eager to share my experiences with others.
As you read this article, you’ll get a no-nonsense, hands-on approach to learning the basics of 3D printing. I’ll walk you through the process of setting up your first printer, choosing the right materials, and troubleshooting common issues. My goal is to make a beginner’s guide to 3d printing accessible to anyone, regardless of their technical background. By the end of this guide, you’ll be well on your way to creating your own amazing projects and joining the thriving community of makers and innovators who are pushing the boundaries of what’s possible with 3D printing.
Table of Contents
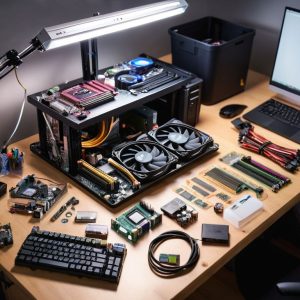
Guide Overview: What You'll Need
Total Time: 5 hours 30 minutes
Estimated Cost: $500 – $1000
Difficulty Level: Intermediate
Tools Required
- Computer with internet connection
- 3D Printer entry-level model
- Filament various colors and types
- Calipers for measuring objects
- Level for ensuring printer is level
- Pliers for removing objects from print bed
- Screwdriver for assembling and adjusting printer
Supplies & Materials
- 3D Modeling Software free or paid versions available
- Slicing Software for preparing 3D models for printing
- Print Bed Adhesive for improving print adhesion
- Support Material for creating support structures
- 6 inches of wire for connecting printer components
- 2 inches x 4 inches lumber for creating a printer enclosure
Step-by-Step Instructions
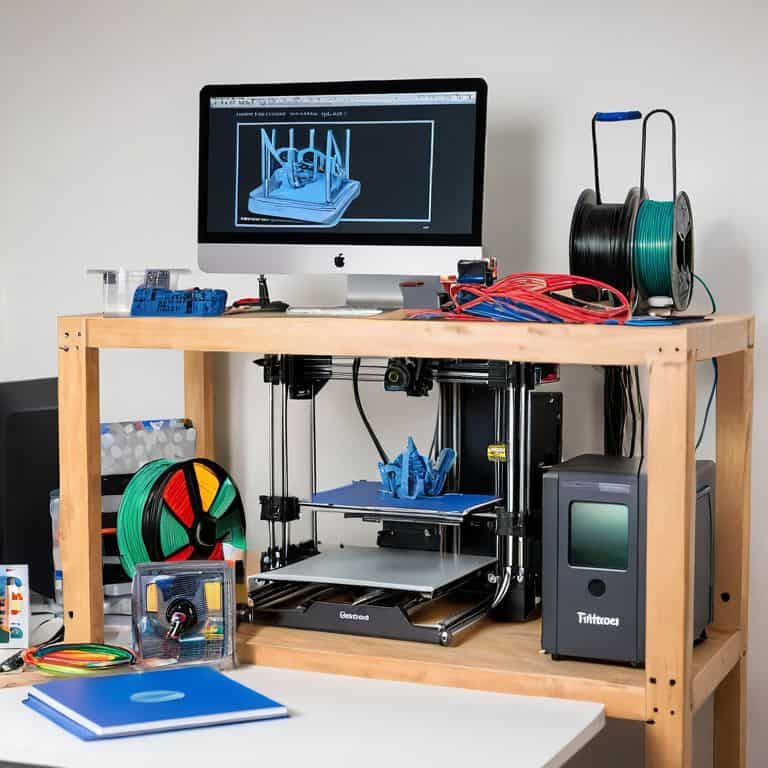
- 1. First, let’s get started with the basics of 3D printing. You’ll need a few essential tools, including a 3D printer, a computer, and some 3D modeling software. Don’t worry if you’re not familiar with these terms – I’ll walk you through each step. Begin by researching different types of 3D printers, such as FDM, SLA, or SLS, and choose the one that best fits your needs and budget.
- 2. Next, you’ll need to assemble and calibrate your 3D printer. This can be a bit of a challenge, but don’t worry, it’s a great opportunity to learn about the inner workings of your machine. Make sure to follow the manufacturer’s instructions carefully, and don’t hesitate to reach out to online communities or forums if you encounter any issues.
- 3. Now that your printer is up and running, it’s time to learn about 3D modeling software. There are many options available, both free and paid, so take some time to explore and find the one that works best for you. Some popular choices include Tinkercad, Fusion 360, and Blender. Start with simple tutorials and projects, and gradually work your way up to more complex designs.
- 4. With your 3D modeling software, you can start designing your own models. Begin with simple shapes and objects, such as cubes, spheres, or cylinders, and gradually move on to more complex designs. Don’t be afraid to experiment and try new things – it’s all part of the learning process.
- 5. Once you’ve created your 3D model, it’s time to slice and prepare it for printing. This involves converting your model into a format that your 3D printer can understand, such as G-code. You’ll also need to choose the right printing settings, such as layer height, infill density, and support material.
- 6. Now it’s time to start printing your model. Make sure your printer is properly calibrated, and the printing area is clear of any debris or obstacles. Start with a small test print to ensure everything is working correctly, and then move on to your full-scale model.
- 7. As your print job is underway, keep an eye on it to ensure everything is going smoothly. You may need to adjust the printing settings or intervene if something goes wrong. Don’t worry if your first few prints don’t turn out perfectly – it’s all part of the learning process, and you’ll soon get the hang of it.
- 8. Finally, once your print is complete, it’s time to post-process and finish your model. This may involve removing support material, sanding, or applying a coat of paint. Take pride in your creation, and don’t be afraid to show it off to friends and family. You’ve earned it!
Break Into 3d Printing
As you break into 3D printing, it’s essential to understand the basics of 3D modeling software. This will enable you to design and create your own unique prints. I recommend starting with a user-friendly program like Tinkercad or Fusion 360, which offer extensive tutorials and resources for beginners. When choosing the right 3D printer kit, consider factors like print resolution, build volume, and compatibility with various filaments.
Calibrating your 3D printer is crucial for achieving optimal results. This involves adjusting the printer’s settings to ensure precise temperature control, proper bed leveling, and accurate extrusion. Don’t worry if it takes some trial and error – common 3D printing issues and fixes are all part of the learning process. Be sure to consult your printer’s manual and online forums for troubleshooting tips and advice from experienced makers.
To ensure a safe and enjoyable 3D printing experience, always follow 3D printing safety precautions. This includes wearing protective gear like gloves and goggles, keeping the printing area well-ventilated, and avoiding overheating or electrical hazards. By being mindful of these precautions and taking the time to properly calibrate your printer, you’ll be well on your way to creating amazing prints and unlocking the full potential of 3D printing.
Intro to 3d Modeling Software Hacks
Now that you’ve got your 3D printer up and running, it’s time to dive into the world of 3D modeling software. I like to think of it as the secret sauce that brings your prints to life. You’ll find plenty of options out there, but I’m a fan of free and open-source software like Blender and Tinkercad. These tools will let you create custom models from scratch or modify existing ones to fit your needs. Don’t worry if it seems overwhelming at first – with a little practice, you’ll be designing like a pro in no time.
I’ve got a few hacks up my sleeve to get you started. For instance, did you know you can use online repositories like Thingiverse to find and modify existing models? It’s a great way to learn from others and speed up your design process. I’ll show you how to navigate these tools and troubleshoot common issues, so you can focus on bringing your ideas to life.
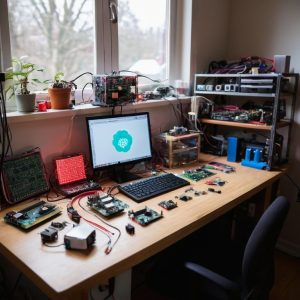
Void Warranty 3d Printing for Beginners Tutorial
Now that we’ve broken into the world of 3D printing, it’s time to get hands-on. I’m talking about taking your printer apart, tweaking settings, and pushing it to its limits. Don’t worry, I’ve been there – I’ve voided my fair share of warranties, and I’m still standing. In fact, that’s where the real fun begins. By experimenting and troubleshooting, you’ll gain a deeper understanding of how your printer works and what it’s capable of. Remember, the ‘void warranty’ sticker is just a challenge, not a warning. Let’s dive in and start modifying our printers to unlock their full potential.
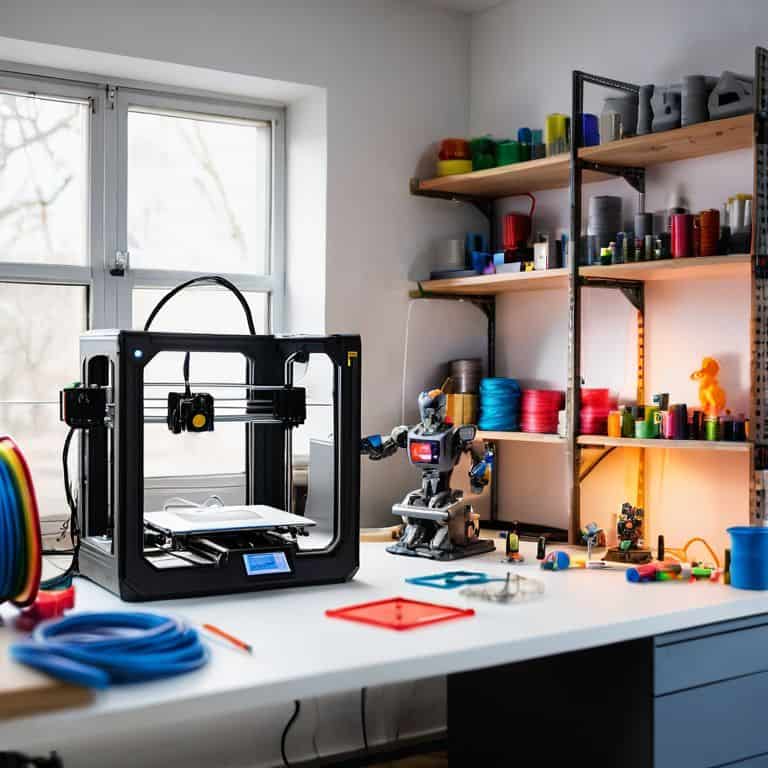
5 Essential Tips to Supercharge Your 3D Printing Journey
- Start with the basics: Invest in a good quality 3D printer and familiarize yourself with its components and settings
- Choose the right filament: Understand the differences between various types of filaments, such as PLA, ABS, and PETG, and select the one that suits your project needs
- Master the art of 3D modeling: Learn to use software like Tinkercad, Fusion 360, or Blender to create your own 3D models, or download pre-made models from online repositories
- Calibrate and maintain your printer: Regularly calibrate your printer’s bed and extruder, and perform routine maintenance tasks to ensure optimal printing performance
- Don’t be afraid to experiment and fail: 3D printing is all about trial and error, so don’t be discouraged by failed prints – use them as an opportunity to learn and improve your skills
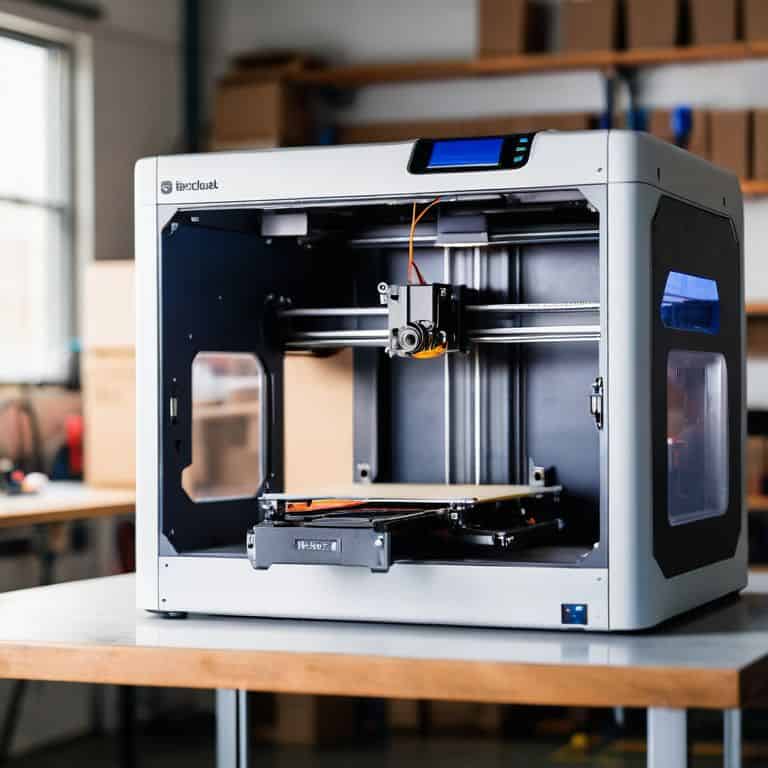
3D Printing Essentials to Get You Started
Always calibrate your 3D printer before starting a new project to ensure precise prints and prevent costly mistakes
Mastering 3D modeling software is key – don’t be afraid to experiment and try out different tools to find what works best for your projects
Remember, practice makes perfect – start with simple prints and gradually move on to more complex designs to hone your skills and build confidence
Breaking Free with 3D Printing
The moment you hit print is the moment you unlock a world of limitless possibility, where the only chains are the ones you design yourself.
Frankie Miller
Conclusion: Empowered to Create
As we wrap up this beginner’s guide to 3D printing, let’s recap the key takeaways: we’ve covered the basics of 3D printing, dived into the world of 3D modeling software, and even explored some essential hacks to get you started. From understanding the different types of 3D printing technologies to learning how to design and print your own models, we’ve tackled it all. Remember, the world of 3D printing is all about experimentation and continuous learning, so don’t be afraid to try new things and push the boundaries of what’s possible.
As you embark on your 3D printing journey, keep in mind that the true power of this technology lies in its ability to empower you to create, innovate, and bring your ideas to life. Don’t be limited by what’s available on the market – think outside the box and design something that solves a problem or makes your life easier. With 3D printing, the possibilities are endless, and I’m excited to see what you’ll create next.
Frequently Asked Questions
What are the basic materials and tools I need to get started with 3D printing?
Alright, let’s get started! For basics, you’ll need a 3D printer, filament, a computer, and some software. I recommend starting with PLA or ABS filament and a user-friendly printer like the Prusa i3. Don’t forget a spool holder, cutting tools, and a caliper for precise measurements. Trust me, these essentials will get you printing like a pro in no time!
How do I choose the right 3D modeling software for my skill level and project goals?
Choosing the right 3D modeling software can be overwhelming, but don’t worry, I’ve got you covered. For beginners, I recommend starting with Tinkercad or Fusion 360 – they’re user-friendly and packed with tutorials. As you grow, you can explore more advanced options like Blender. Consider your project goals and skill level, and don’t be afraid to try out a few options to see what works best for you.
What are some common mistakes or issues that beginners encounter when trying to print their first 3D models?
Alright, let’s troubleshoot! Common mistakes I see are incorrect bed leveling, wrong filament temps, and poor model orientation. Don’t worry, we’ve all been there! Check your printer’s manual, and I’ll show you some tips to avoid these common pitfalls and get your first prints dialed in.