


I still remember the day I voided my first warranty by swapping out the switches on my old keyboard. It was a revelation – suddenly, I had a device that truly felt like mine. That’s what sparked my passion for exploring a guide to different keyboard switches (red, blue, brown). I dove headfirst into the world of custom keyboards, and let me tell you, it’s been a wild ride. From the clicky feedback of blue switches to the smooth feel of browns, I’ve tried them all. And I’m here to share my honest, no-hype advice with you.
In this article, I’ll take you through the process of choosing and installing the perfect switches for your keyboard. You’ll learn how to upgrade your typing experience with red, blue, and brown switches, and what to look out for when making your selection. I’ll share my personal favorite switches, and give you the lowdown on how to avoid common pitfalls. Whether you’re a gamer, a writer, or just someone who loves tinkering with tech, this guide is for you. So, let’s get started and take control of your keyboard – it’s time to make it truly yours!
Table of Contents
Guide Overview: What You'll Need
Total Time: 1 hour 15 minutes
Estimated Cost: $20 – $50
Difficulty Level: Easy
Tools Required
- Keyboard Switch Puller (for safely removing switches)
- Tweezers (for handling small switch parts)
Supplies & Materials
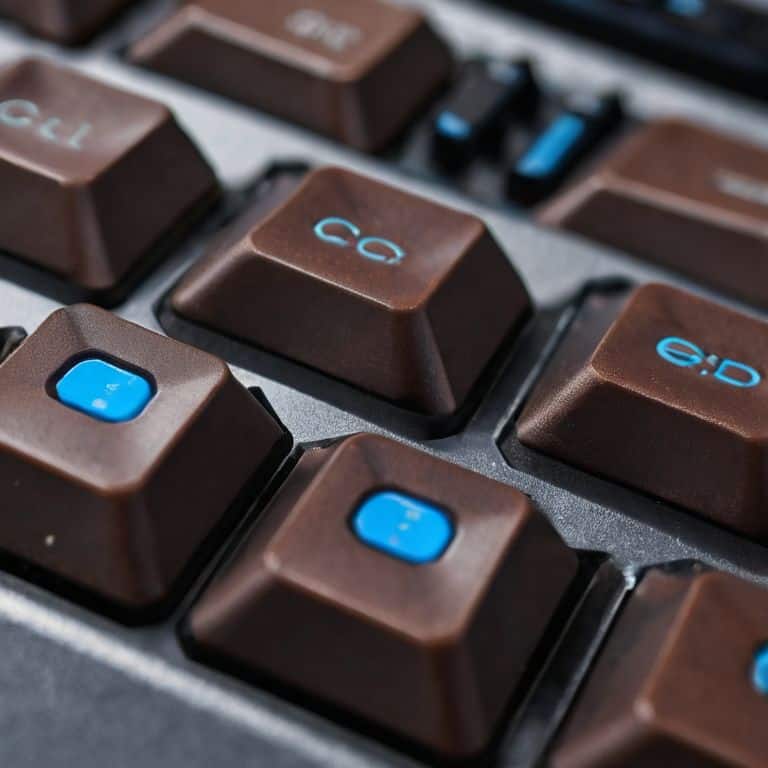
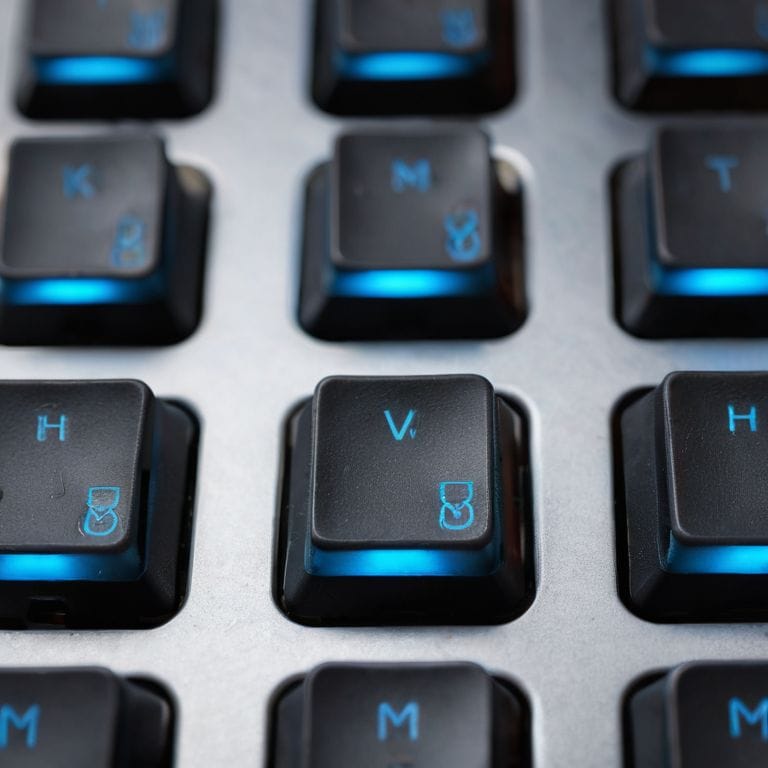
- Red Keyboard Switches (linear, 45g actuation force)
- Blue Keyboard Switches (tactile, 50g actuation force)
- Brown Keyboard Switches (tactile, 45g actuation force)
Step-by-Step Instructions
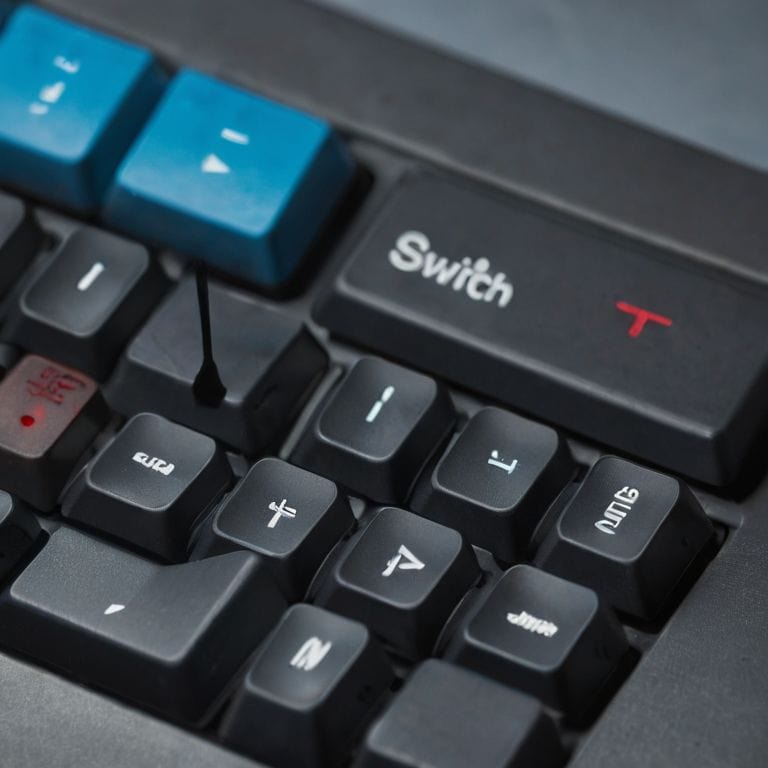
- 1. First, let’s get familiar with the different types of keyboard switches out there. We’re focusing on red, blue, and brown switches, but it’s essential to understand what sets them apart. Red switches are known for their linear feel, blue switches have a tactile bump, and brown switches offer a smooth, tactile experience.
- 2. To start swapping out your keyboard switches, you’ll need to prepare your tools. This includes a switch puller, which is a small device that helps you remove the switches from the keyboard without damaging them. You can find switch pullers online or at your local electronics store. Make sure you also have a pair of tweezers and a screwdriver handy.
- 3. Next, disassemble your keyboard by removing the screws from the back. This will give you access to the switch matrix. Be careful not to touch any of the internal components to avoid static electricity damage. Once you have the keyboard open, take a moment to inspect the switch layout and plan which switches you want to replace.
- 4. Now it’s time to remove the old switches. Use your switch puller to gently pry the switches out of their sockets. Be careful not to bend or damage the switch pins. If a switch is stubborn, don’t force it – instead, try wiggling it back and forth while pulling upwards.
- 5. With the old switches removed, it’s time to install the new ones. Take your replacement switches (red, blue, or brown) and align them with the switch sockets. Make sure the pins are properly seated, then use your switch puller to gently push the switch into place. Repeat this process for each switch you want to replace.
- 6. Once you’ve replaced all the switches, reassemble your keyboard by screwing the back panel back on. Make sure everything is securely fastened, but avoid overtightening the screws. Now, plug in your keyboard and test out the new switches to ensure they’re working properly.
- 7. To fine-tune your typing experience, you may need to adjust your typing technique or the keyboard’s settings. Some keyboards allow you to customize the key repeat delay or repeat rate, which can help you get the most out of your new switches. Experiment with different settings to find what works best for you.
Hack Your Keyboard
When it comes to customizing your typing experience, the type of switch you choose can make all the difference. I’ve found that mechanical keyboard switch types can be overwhelming, but once you understand the basics, it’s easy to get started. For instance, if you’re looking for a more tactile feedback, consider opting for a switch with a higher actuation point.
As you delve into the world of custom keyboard switches, you’ll likely come across gaming keyboard switch recommendations. These can be helpful, but remember that the best switch for you will depend on your personal preferences. Don’t be afraid to experiment and try out different switches to see what works best for you. When installing your new switches, be sure to follow proper custom keyboard switch installation techniques to avoid damaging your keyboard.
One thing to keep in mind when choosing a switch is the sound comparison between different types. If you’re someone who types in a shared space, you may want to opt for a switch with a quieter sound profile. On the other hand, if you’re looking for a more immersive typing experience, you may prefer a switch with a more pronounced sound. Additionally, consider the difference between optical vs mechanical switches, as this can also impact your overall typing experience.
Custom Switch Installation Guide
Now that we’ve got a solid grasp on mechanical switches, let’s dive into the fun part – installing custom switches. This is where things can get a bit tricky, but trust me, it’s worth it. You’ll need a few basic tools like a screwdriver and some switch pullers. Start by removing the keycaps and taking out the old switches. Be gentle, as you don’t want to damage the PCB.
Take your new switches and align them with the sockets, making sure they’re properly seated. Use your switch pullers to secure them in place. Repeat this process for each switch you want to replace. Don’t worry if it takes a few tries to get the hang of it – with a little patience, you’ll be a pro in no time. Remember to test each switch as you go to ensure they’re working smoothly.
Mechanical Switches Explained
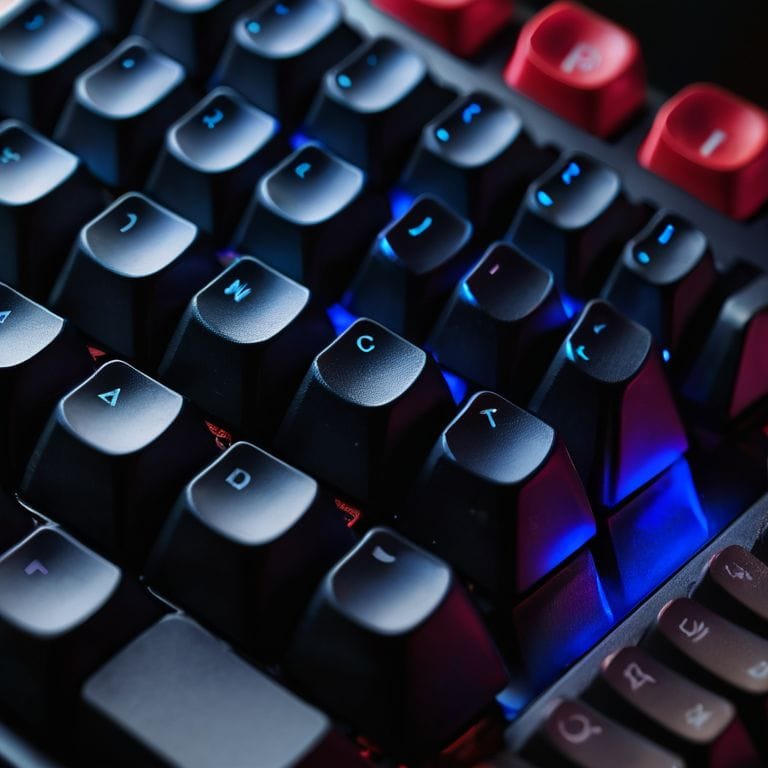
Now that we’ve got our hands dirty hacking our keyboard, let’s dive deeper into the magic behind mechanical switches. At their core, mechanical switches are the heart of your keyboard, determining how each key press feels and sounds. They’re made up of a few key components: the switch itself, the stem, and the spring. When you press a key, the stem moves down, triggering the switch to register the keystroke. The spring then pushes the stem back up, returning the switch to its resting state.
I love tinkering with different switch types, like red, blue, and brown, to see how they change the typing experience. Each has its own unique feel and sound, from the smooth, linear motion of red switches to the tactile bump of brown switches. Understanding how mechanical switches work is key to customizing your keyboard to fit your typing style.
5 Essential Tips for Choosing the Perfect Keyboard Switches
- Know Your Switch Types: Understand the differences between red, blue, and brown switches to find the perfect fit for your typing style
- Switch Force: Consider the actuation force required for each switch type, as it can greatly impact your typing experience and fatigue
- Sound Check: If you’re particular about noise levels, opt for switches with a reputation for being quiet, such as brown or red switches
- Customization is Key: Don’t be afraid to experiment with different switch combinations to create a unique typing experience tailored to your preferences
- Test Before You Invest: Try out different switches before committing to a full keyboard replacement to ensure you’ve found the perfect switch for your needs
Key Takeaways: Unlocking Your Keyboard's Potential
By understanding the differences between red, blue, and brown switches, you can customize your keyboard to fit your typing style and preferences, enhancing your overall computing experience
Mechanical switch installation can seem daunting, but with the right tools and a step-by-step guide, you can successfully hack your keyboard and give it a new lease on life
Empowering yourself to modify and repair your own technology, such as swapping out keyboard switches, not only saves you money but also fosters a sense of accomplishment and control over the devices you use daily
Switching It Up
The right keyboard switch can be the difference between a mediocre typing experience and a truly immersive one – it’s time to ditch the defaults and find your perfect click!
Frankie Miller
Switching to a Whole New Level
So, you’ve made it through the wild world of keyboard switches – from the clicky blues to the smooth browns, and even the linear reds. You’ve learned how to hack your keyboard and install custom switches to match your typing style. Whether you’re a gamer, a writer, or just someone who loves the feel of mechanical keys, this guide has given you the power to take control of your typing experience. Remember, it’s all about finding the right switch for you, and with this knowledge, you can upgrade your keyboard to a whole new level of awesomeness.
Now that you’ve voided that warranty (just kidding, or am I?), it’s time to think about what’s next. Will you mod your keyboard with custom keycaps, or maybe even build your own keyboard from scratch? The world of DIY tech is full of endless possibilities, and with the skills you’ve learned here, you’re ready to take on the next project. So, don’t be afraid to get creative, try new things, and always keep in mind that the best way to learn is by doing. Happy building, and I’ll catch you in the next tutorial!
Frequently Asked Questions
What are the main differences between red, blue, and brown keyboard switches?
So, you’re wondering about the main differences between red, blue, and brown switches? Here’s the lowdown: red switches are linear and smooth, blue switches are clicky and tactile, and brown switches are a mix of both – tactile but quiet. Think of it like a personality test for your keyboard!
How do I choose the right switch type for my typing style and preferences?
Choosing the right switch type is all about feel and sound. If you’re a heavy hitter, linear red switches might be your jam. But if you prefer a tactile bump, try brown switches. And if you’re all about that clicky life, blue switches are the way to go. Experiment, and find what works for you!
Can I mix and match different switch types on the same keyboard, or is it best to stick with one type?
Absolutely, you can mix and match switch types on the same keyboard. I’ve done it myself, and it’s a game-changer. Want a tactile escape key, but linear WASD keys? Go for it. Just keep in mind the switch heights and actuation forces to ensure a seamless typing experience.