


I still remember the first time I attempted to build my own gaming PC – it was a daunting task, to say the least. The void warranty stickers and warnings from friends and family only added to my anxiety. But, as I soon discovered, having a step-by-step guide to assembling a pc can make all the difference. The truth is, building a PC from scratch isn’t as complicated as it seems, and with the right guidance, anyone can do it. In fact, I believe that a well-written a step-by-step guide to assembling a pc is the key to unlocking a world of possibilities for DIY enthusiasts.
As someone who’s been in your shoes, I’m excited to share my knowledge and experience with you. In this article, I’ll provide you with honest and practical advice on how to assemble a PC from scratch. You’ll learn how to choose the right components, troubleshoot common issues, and avoid costly mistakes. My goal is to empower you with the knowledge and confidence to take on this project and create something truly amazing. By the end of this a step-by-step guide to assembling a pc, you’ll be well on your way to building a powerful and customized gaming PC that meets your specific needs and budget.
Table of Contents
Guide Overview: What You'll Need
Total Time: 2 hours 30 minutes
Estimated Cost: $500 – $2000
Difficulty Level: Intermediate
Tools Required
- Screwdriver (both flathead and Phillips)
- Torx driver (for certain CPU coolers)
- Pliers (for gripping small components)
- Wire cutters (for cable management)
- Anti-static wrist strap (for protecting components from static electricity)
Supplies & Materials
- CPU
- Motherboard
- RAM (at least 8 gigabytes)
- Storage drive (hard drive or solid state drive)
- Power supply (wattage depends on system requirements)
- Graphics card (optional)
- Case (with a size of 12 inches in width, 18 inches in height, and 20 inches in depth)
- Cooling system (CPU cooler and case fans)
- Operating system (on a USB drive or CD/DVD)
Step-by-Step Instructions
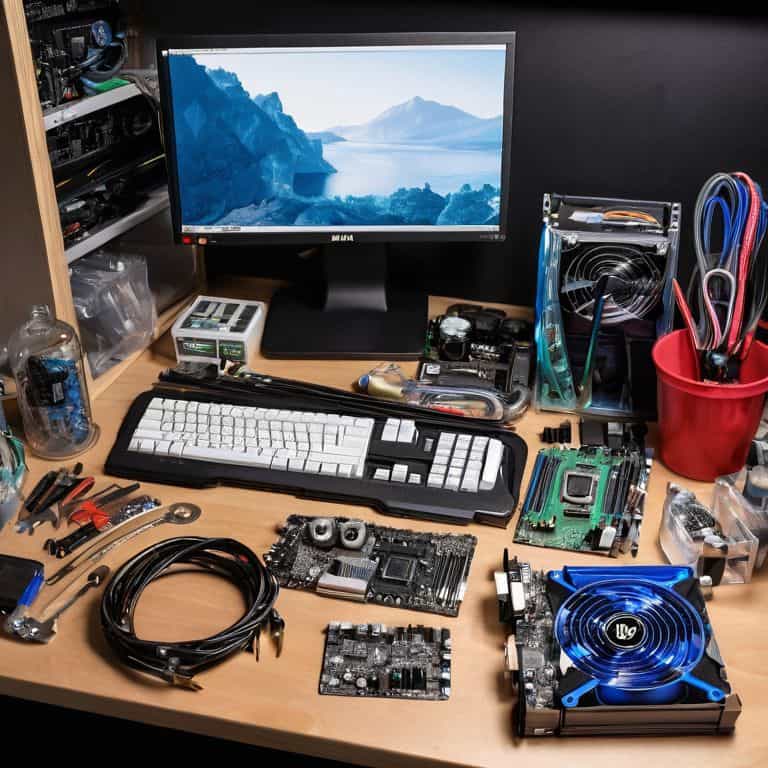
- 1. First, let’s get acquainted with our tools and components – we’ve got our CPU, motherboard, RAM, storage drive, power supply, and the case. Make sure you’ve got a screwdriver, pliers, and a can of compressed air handy. Take a moment to familiarize yourself with the manual that came with your motherboard, it’s going to be a lifesaver.
- 2. Next, we’re going to prepare the case for our components. This involves removing the side panels and taking out any unnecessary brackets or screws. Don’t worry if it looks a bit bare at this stage, we’re about to fill it up with all the good stuff. Use your screwdriver to remove any screws that are holding the drive bays or other components in place.
- 3. Now it’s time to install the motherboard stand-offs, these are the little spacers that keep the motherboard elevated and secure within the case. Make sure they’re screwed in tightly, but don’t overtighten them, we don’t want to damage the case. Take a moment to consult your motherboard manual to ensure you’re putting the stand-offs in the correct positions.
- 4. With the stand-offs in place, we can now carefully lower the motherboard into the case. Make sure it’s aligned with the stand-offs and the screw holes line up. Gently push it down until it’s securely fastened with screws. Don’t apply too much pressure, we don’t want to damage any of the components.
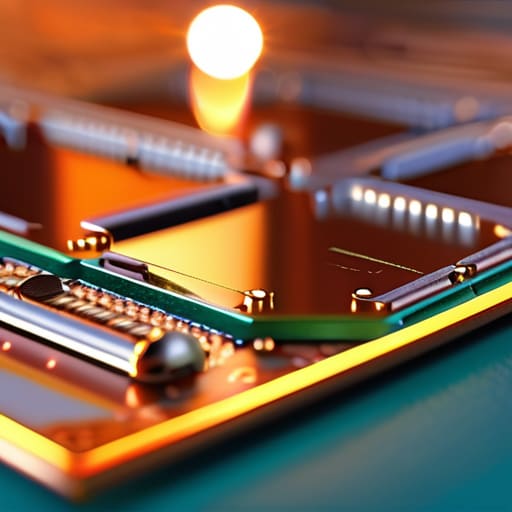
- 5. Next up, we’re going to install the CPU and CPU cooler. This is probably the most delicate part of the process, so be careful not to touch any of the electrical components. Use a gentle rocking motion to secure the CPU into its socket, and then apply a small amount of thermal paste to the CPU die. The CPU cooler is then screwed into place, making sure it’s securely fastened.
- 6. Now we can add the RAM, this is usually a straightforward process, but make sure you’re using the correct slots and that they’re securely fastened. You should hear a clicking sound as the RAM slots into place. Take a moment to double-check the manual to ensure you’re using the correct configuration.
- 7. With the RAM in place, we can now install the storage drive and power supply. The storage drive is usually screwed into a drive bay, while the power supply is secured to the case. Make sure all the cables are neatly managed and not obstructing any of the fans or components. Use zip ties or cable ties to keep everything tidy.
- 8. Finally, let’s connect all the front panel headers and fans to the motherboard. This can be a bit fiddly, but take your time and refer to the manual if you’re unsure. Make sure all the cables are securely fastened and not loose, we don’t want any issues down the line. With everything connected, we can now plug in the power cord and turn on the PC.
Unleash Your Pc Beast
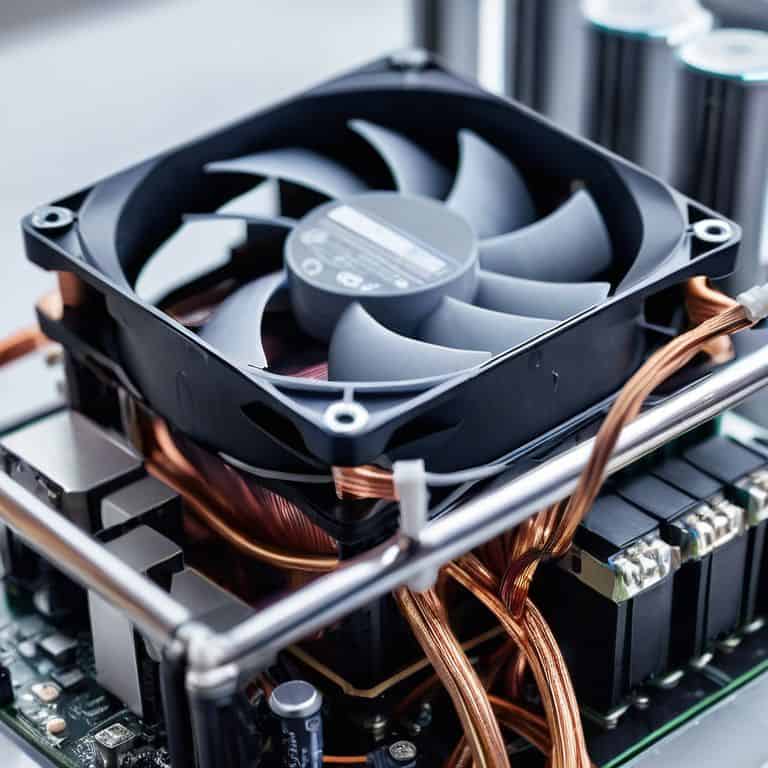
Now that we’ve got our PC built, it’s time to unleash its full potential. One of the most important factors in achieving this is choosing the right cpu cooler. A good cooler can make all the difference in keeping your system running smoothly, even during intense gaming sessions or resource-heavy tasks. I always recommend opting for a liquid cooling system, as they tend to be more efficient and quieter than their air-based counterparts.
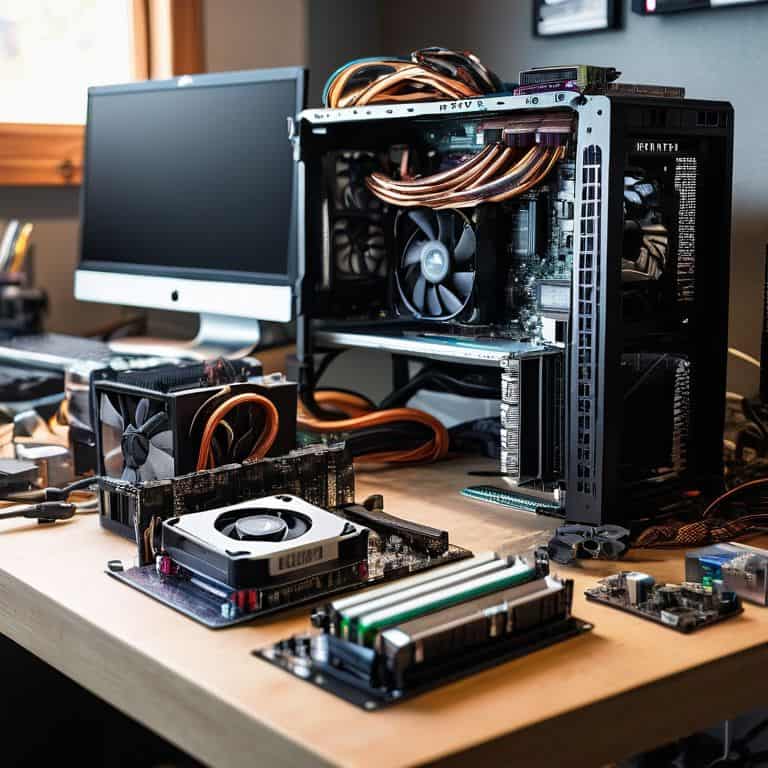
When it comes to optimizing pc case airflow, it’s all about creating a harmonious balance between intake and exhaust. Make sure to position your fans in a way that creates a consistent flow of air throughout the case, and consider adding some tips for cable management to keep your build looking sleek and organized. This will not only improve airflow but also make it easier to troubleshoot any issues that may arise.
As you start to push your PC to its limits, you may encounter some troubleshooting common pc build issues. Don’t worry, these are all part of the learning process, and with a little patience and practice, you’ll be resolving them in no time. Remember to selecting compatible ram speeds to ensure your system is running at its optimal performance, and don’t be afraid to experiment with different configurations to find what works best for you.
Choosing the Right Cpu Cooler for Chaos
Now that our PC beast is unleashed, it’s time to talk about keeping it cool – literally. Choosing the right CPU cooler is crucial, as it directly affects performance and longevity. I’m a fan of liquid cooling systems, but for our franken-PC, a sturdy air cooler will do the trick. Look for one with a high cooling capacity and adjustable fan speeds to keep noise levels in check.
When selecting a CPU cooler, consider the size of your case and the type of CPU you’re using. Some coolers can be quite bulky, so ensure it fits comfortably and doesn’t obstruct any other components. I’ve got a soft spot for the Noctua NH-U14S, it’s a workhorse that gets the job done. Whatever you choose, make sure it’s compatible with your system and can handle the heat our beast will generate.
Optimizing Pc Case Airflow for Maximum Mayhem
Now that we’ve got our CPU cooler dialed in, let’s talk about optimizing that PC case airflow for maximum mayhem. I’m a firm believer that a well-ventilated case is the key to unlocking your PC’s true potential. You see, when your components are running cool, they can run faster and more efficiently. To get the most out of your system, make sure you’ve got a solid case fan configuration – I like to run at least three fans, two for intake and one for exhaust. This will create a nice airflow path and keep your temps in check.
5 Essential Tips to Keep Your PC Build on Track
- Prep Your Workspace: Clear a flat surface, gather your tools, and get ready to void some warranties – a clutter-free workspace is key to a successful PC build
- Ground Yourself: Static electricity is your enemy, so touch a grounded metal object or wear an anti-static strap to keep your components safe from those pesky static discharges
- Handle with Care: Your PC’s components are fragile, so handle them by the edges and avoid touching any sensitive parts – you don’t want to be the reason your new CPU becomes a fancy paperweight
- Cable Management is Key: Keep your cables organized, and your build will look like a work of art – plus, it’ll make it way easier to troubleshoot any issues that might arise down the line
- Read the Manual (Sort Of): Don’t be afraid to dive into your component manuals, but don’t get too bogged down in the details – remember, the goal is to get building, not to become a master of every technical spec
Key Takeaways to Unleash Your PC's Full Potential
Always choose a CPU cooler that matches your processor’s TDP to ensure optimal performance and minimal noise
Optimize your PC case airflow by strategically placing fans, cutting out unnecessary materials, and using cable management techniques to reduce turbulence and increase airflow
Remember, building a PC is not just about following instructions – it’s about experimenting, trying new things, and pushing the limits of what’s possible to create a truly unique and powerful machine
Building Your Dream PC
The moment you crack open that case and start assembling your PC from scratch is the moment you take back control – it’s not just about building a computer, it’s about creating a reflection of your own vision and ingenuity.
Frankie Miller
Rise of the Franken-PC: Conclusion
We’ve come a long way since the introduction, and I hope you’ve enjoyed this step-by-step journey of assembling a PC from scratch. We started with the basics, went through the main step-by-step instructions, and then dove into the exciting world of optimization with sections like ‘Unleash Your PC Beast’, ‘Choosing the Right CPU Cooler for Chaos’, and ‘Optimizing PC Case Airflow for Maximum Mayhem’. These topics are crucial for any PC enthusiast, and by now, you should have a solid understanding of how to build and optimize your own custom PC. Remember, the key to a successful build is not just about following instructions, but also about understanding the why behind each component and configuration choice.
Now that you’ve completed this guide, I want to leave you with a final thought: building your own PC is just the beginning. It’s a gateway to a world of endless possibilities, where you can experiment, innovate, and push the limits of what’s possible with technology. Don’t be afraid to void that warranty and try new things – it’s often the best way to learn and discover new passions. As you continue on your DIY journey, keep in mind that the true power of technology lies not in the devices themselves, but in the creative potential they unlock. So go ahead, get creative, and show the world what you’re capable of building!
Frequently Asked Questions
What are some common mistakes to avoid when handling sensitive PC components?
Hey, when handling sensitive PC components, beware of static electricity – it’s a silent killer. Touch a grounded metal object or wear an anti-static strap to discharge yourself. Also, avoid touching ICs or pins, and never force a connection – it’s better to take your time and get it just right.
How do I know if I've properly seated the CPU and RAM?
Alright, let’s check that CPU and RAM are properly seated. For the CPU, ensure it’s aligned with the socket’s pins and gently push it down until it clicks. As for the RAM, make sure the notches match up with the slots and give it a firm push until it clicks into place. Double-check, and you’re golden!
What are the consequences of not grounding myself before touching internal PC parts?
Whoa, don’t even think about touching those internal parts without grounding yourself first! You risk frying your components with static electricity. Trust me, I’ve been there – a simple static shock can destroy a pricey CPU. Ground yourself by touching a metal tap or wear an anti-static strap to keep your PC build safe from those nasty zaps.