


I still remember the first time I decided to lube my keyboard switches – it was a total game-changer. I had always been told that it was a hassle, that it would void my warranty, and that it wasn’t worth the risk. But I’m a firm believer in taking matters into my own hands, and how to lube your keyboard switches is one of those things that seems intimidating at first, but is actually a breeze once you get the hang of it. I’ve been building and modifying my own gaming PCs for years, and I’ve learned that a little bit of TLC can go a long way in extending the life of your gear.
In this article, I’ll walk you through the step-by-step process of lubing your keyboard switches, from preparation to completion. You’ll learn what type of lube to use, how to apply it, and what to expect from the process. I’ll also share some common mistakes to avoid and some troubleshooting tips to help you overcome any hurdles you may encounter. By the end of this guide, you’ll be equipped with the knowledge and confidence to take your keyboard to the next level and make it feel like new again. So, if you’re ready to void that warranty and take control of your keyboard’s maintenance, let’s get started!
Table of Contents
- Guide Overview: What You'll Need
- Step-by-Step Instructions
- Lube Your Keyboard
- 5 Essential Tips for a Smooth Keyboard Switch Lubrication Experience
- Key Takeaways for a Smoother Typing Experience
- The Liberation of Lubrication
- Conclusion: You're Now a Keyboard Liberation Master
- Frequently Asked Questions
Guide Overview: What You'll Need
Total Time: 30 minutes to 1 hour
Estimated Cost: $5 – $15
Difficulty Level: Easy
Tools Required
- Small brush (for applying lubricant)
- Cotton swabs (for cleaning)
- Keycap puller (optional)
Supplies & Materials
- Switch lubricant (e.g., Krytox or silicone-based)
- Isopropyl alcohol (for cleaning)
- Microfiber cloth (for wiping down the keyboard)
Step-by-Step Instructions
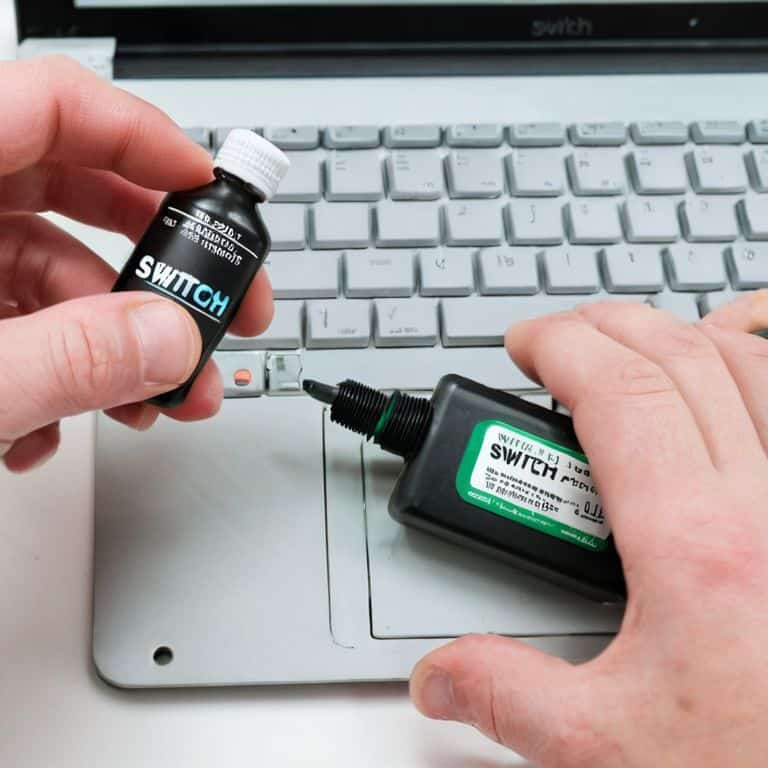
- 1. First, let’s get prepared by gathering all the necessary tools and materials. You’ll need a can of switch lube, a switch opener or a small flathead screwdriver, and some paper towels or a cloth for cleaning up any spills. Make sure you’re working in a well-lit and stable environment, as we don’t want any accidents.
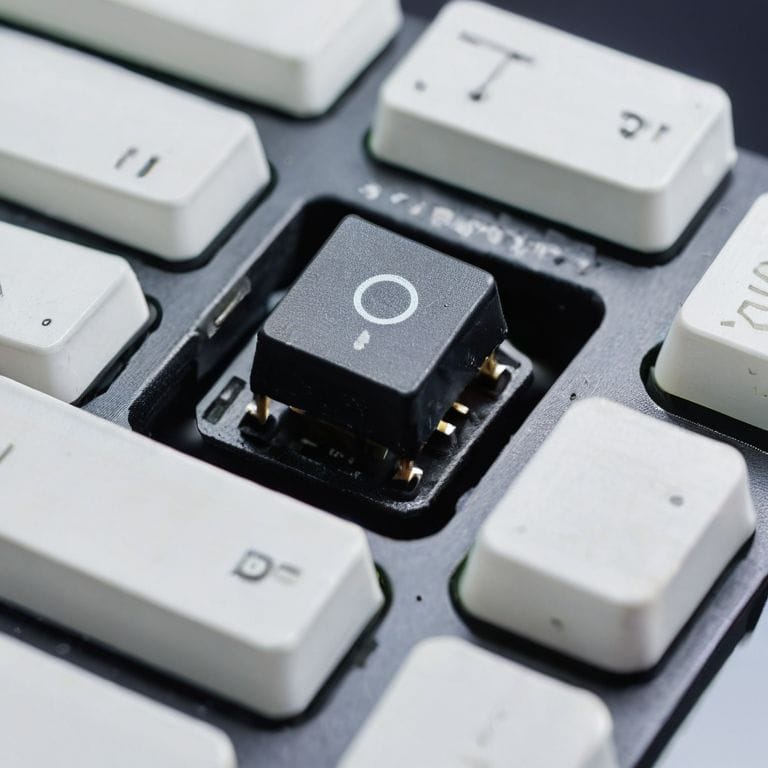
- 2. Next, remove the keycaps from your keyboard to access the switches underneath. You can use a keycap puller for this, but if you don’t have one, you can also use a small flathead screwdriver or even your fingers. Be gentle, as you don’t want to damage the keycaps or the switches.
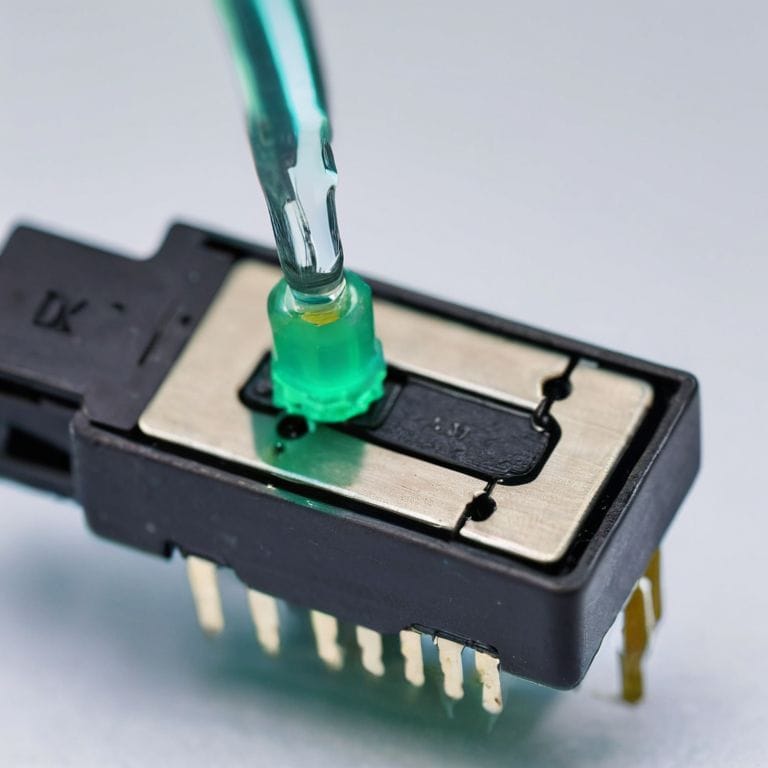
- 3. Now it’s time to apply the lube. Spray a small amount of lube onto the switch, making sure to get it into the switch’s mechanism. You can use a cotton swab or a small brush to apply the lube more precisely, but be careful not to get any lube on the surrounding electronics.
- 4. With the lube applied, actuate the switch several times to work the lube into the mechanism. This will help loosen up any stiff parts and get the lube into all the nooks and crannies. You can use the switch opener or a small flathead screwdriver to actuate the switch, or you can simply press the keycap down several times.
- 5. Once you’ve lubed and actuated all the switches, use a cloth or paper towel to wipe down the keyboard and remove any excess lube. You don’t want any lube to spill over onto the electronics or other components, so make sure to clean up thoroughly.
- 6. Now that the switches are all lubed up, it’s time to reassemble the keyboard. Put the keycaps back on, making sure they’re securely attached, and plug in the keyboard. Test out the keys to make sure they’re all working smoothly and evenly.
- 7. Finally, test the keyboard under load by typing out a few paragraphs of text or playing a game that requires a lot of keyboard input. This will help you identify any switches that may still be a bit sticky or uneven, and you can go back and re-lube them as needed. With a little practice and patience, you should be able to get your keyboard switches running smoothly and like new again.
Lube Your Keyboard
When it comes to keyboard switch lubrication techniques, it’s all about finding the right balance. You want to make sure your switches are running smoothly, but you don’t want to overdo it and end up with a mess on your hands. I’ve found that using a high-quality switch lube is the way to go, as it provides a more precise application than grease. This is especially important when working with delicate mechanical keyboard components.
In terms of best lubricants for keyboard switches, I’ve had great success with silicone-based lubes. They provide a smooth, quiet operation and don’t attract dust or dirt, which can be a major problem down the line. It’s also worth noting that different switch types may require different lubrication methods, so be sure to do your research before getting started.
By taking the time to properly lube your keyboard switches, you can enjoy a more responsive and efficient typing experience. This is especially important for gamers and heavy typists, who require quick and precise keystrokes to get the job done. With the right lubrication technique and materials, you can keep your keyboard running like new for years to come.
Mechanical Repair Tips
When it comes to mechanical repair, I’ve learned a thing or two from my own trial and error. One key takeaway is to always inspect your switches before applying lube. Look for any signs of wear or damage, and consider replacing them if necessary. A little bit of lube can go a long way, but it’s not a magic fix for deeper issues.
I also recommend keeping a stash of spare switches and other parts on hand. You never know when you’ll need to swap one out, and having the right tools and components can save you a lot of headaches down the line. Trust me, I’ve been there – rummaging through my drawer of spare parts has saved me from more than one frustrating repair job.
Switch Lube vs Grease
When it comes to lubing your keyboard, you’ve got two main options: switch lube and grease. Now, I know some of you might be thinking, “What’s the difference, really?” Well, let me tell you – switch lube is specifically designed for, you guessed it, switches. It’s typically thinner and more precise, making it perfect for getting into those tiny spaces between the switch’s mechanical parts.
On the other hand, grease is thicker and more versatile, but it can be overkill for delicate switches. I’ve seen people use grease and end up with a sticky, gloopy mess – not what you want when you’re trying to improve your keyboard’s performance. Trust me, stick with switch lube for the best results.
5 Essential Tips for a Smooth Keyboard Switch Lubrication Experience
- Don’t be afraid to get a little messy – have some paper towels or a cleaning cloth handy to wipe away any excess lube
- Use the right tool for the job: a small brush or a lube applicator will make it easier to get the lube exactly where you need it
- Less is more: start with a small amount of lube and add more as needed, rather than flooding the switches and making a mess
- Pay attention to the type of switches you’re working with – some may require a specific type of lube or have special considerations for lubrication
- Take your time and be patient: lubricating keyboard switches can be a bit fiddly, but the end result is worth the extra effort – your keyboard will thank you!
Key Takeaways for a Smoother Typing Experience
Proper lubrication of your keyboard switches can significantly enhance your typing experience, reducing friction and improving durability
Choosing the right type of lube is crucial – switch lube is designed for keyboard switches and provides better performance compared to grease, which can attract dust and debris
Regular maintenance, including cleaning and lubricating your keyboard switches, can extend the lifespan of your keyboard and improve overall performance, making it a worthwhile DIY project for anyone looking to breathe new life into their trusty keyboard
The Liberation of Lubrication
Lubing your keyboard switches isn’t just about maintaining them, it’s about unleashing their full potential and taking back control of your tech – one switch at a time.
Frankie Miller
Conclusion: You're Now a Keyboard Liberation Master
That’s it, folks! You’ve made it through the step-by-step guide to lubing your keyboard switches. By now, you should have a good grasp of the differences between switch lube and grease, as well as some handy mechanical repair tips to keep your keyboard in top shape. Remember, the key to a smooth and responsive typing experience is finding the right balance of lubrication and maintenance. Don’t be afraid to void that warranty and take matters into your own hands – after all, it’s your keyboard, and you should be able to modify it as you see fit.
As you put your newly lubed keyboard to the test, keep in mind that this is just the beginning of your DIY journey. There’s a whole world of customization and modification waiting for you out there, from Raspberry Pi projects to 3D printing functional parts. So don’t be satisfied with just a smooth typing experience – take it to the next level and start exploring the endless possibilities of DIY tech. With a little practice and patience, you’ll be building and modifying like a pro in no time, and that’s a truly empowering feeling.
Frequently Asked Questions
What type of lube is best for my specific keyboard switches?
For your specific keyboard switches, I recommend a switch-specific lube like Krytox or Tribosys. These are designed for keyboards and provide the perfect balance of friction reduction and durability. Avoid using grease, as it can attract dust and dirt, and instead opt for a lightweight, synthetic lube that’ll keep your switches smooth and responsive.
How often should I reapply lube to my keyboard switches to maintain optimal performance?
Honestly, it depends on your typing habits, but as a rule of thumb, I re-lube my switches every 6-12 months. If you’re a heavy typer, you might need to do it more often. Just keep an eye out for scratchy or sticky keys, and you’ll know it’s time for a refresh.
Can I use the same lube for my keyboard switches as I do for other mechanical parts, like my 3D printer?
Not so fast, my friend! While it’s tempting to use the same lube for your keyboard switches and 3D printer, I’d advise against it. Keyboard switches require a thinner, more precise lube to avoid gumming up the works. Your 3D printer’s gears and bearings need a heavier-duty grease to handle the heat and friction. Keep them separate to avoid costly mistakes!