


I still remember the thrill of building my first custom gaming PC, and now I’m excited to share with you how to create your first home assistant automation. The myth that you need to be a tech genius to automate your home is just that – a myth. With the right tools and a bit of patience, anyone can create a smart home system that makes their life easier. I’ve seen too many people intimidated by the prospect of voiding their warranty or dealing with complex coding, but trust me, it’s worth it. By the end of this article, you’ll be well on your way to creating your own home assistant automation.
So, what can you expect to learn from this guide? You’ll get practical, step-by-step advice on how to choose the right hardware, set up your system, and troubleshoot common issues. I’ll share my own experiences, including the mistakes I’ve made and the lessons I’ve learned, to help you avoid common pitfalls. Whether you’re a beginner or just looking to upgrade your existing setup, this guide will show you that building your own home assistant automation is not only possible, but also fun and rewarding. By the time you’re done, you’ll have a fully functional smart home system that you can be proud of, and the confidence to take on even more ambitious projects.
Table of Contents
Guide Overview: What You'll Need
Total Time: 2 hours 30 minutes
Estimated Cost: $50 – $100
Difficulty Level: Intermediate
Tools Required
- Raspberry Pi (with power supply)
- MicroSD Card (at least 8 gigabytes)
- Internet Connection (for software updates)
- Computer (for setup and configuration)
- Smartphone (for remote access)
Supplies & Materials
- Smart Plug (for device control)
- Motion Sensor (for automation triggers)
- Wireless Router (for network connectivity)
- Power Strip (for device power management)
- Jumper Wires (for circuit connections)
Step-by-Step Instructions
- 1. First, let’s get started with the basics – we need to decide on a platform for our home assistant automation. I’m a huge fan of Raspberry Pi projects, and for this build, we’ll be using the Raspberry Pi 4. It’s powerful, affordable, and has a massive community of developers who create amazing projects. Make sure you have the latest version of the Raspberry Pi OS installed on your device.
- 2. Next, we need to gather all the necessary hardware components. This includes a microphone, speaker, and any sensors you want to integrate into your automation system. I like to use high-quality microphones to ensure my assistant can pick up voice commands clearly. You can find these components at your local electronics store or online.
- 3. Now, let’s move on to the software side of things. We’ll be using MyCroft, an open-source voice assistant that’s highly customizable. You can install it on your Raspberry Pi using the official instructions on the MyCroft website. This will give us a solid foundation for our automation system. Take your time, and make sure you follow the instructions carefully to avoid any issues.
- 4. With the software installed, it’s time to start configuring our assistant. This involves setting up the wake word, which is the phrase your assistant will respond to. You can choose from a variety of wake words or create your own custom phrase. I like to use a unique phrase to avoid any conflicts with other devices in my home.
- 5. Next, we need to integrate our sensors and devices into the automation system. This can include smart light bulbs, thermostats, or security cameras. We’ll use a combination of APIs and IFTTT (If This Then That) recipes to connect these devices and create custom automation scenarios. Don’t worry if this sounds complicated – it’s actually quite straightforward once you get started.
- 6. Now that we have our devices integrated, let’s talk about voice commands. We’ll create custom commands to control our devices, using natural language processing to make it sound like we’re having a conversation with our assistant. This is where the magic happens, and your automation system starts to feel like a real, intelligent assistant.
- 7. Finally, let’s put everything together and test our automation system. This involves troubleshooting any issues that arise and fine-tuning our custom commands to make sure they work seamlessly. Don’t be afraid to void your warranty and experiment with different configurations until you get the desired result. That’s the spirit of DIY, and it’s what makes building your own home assistant automation so rewarding.
Build Your Automation
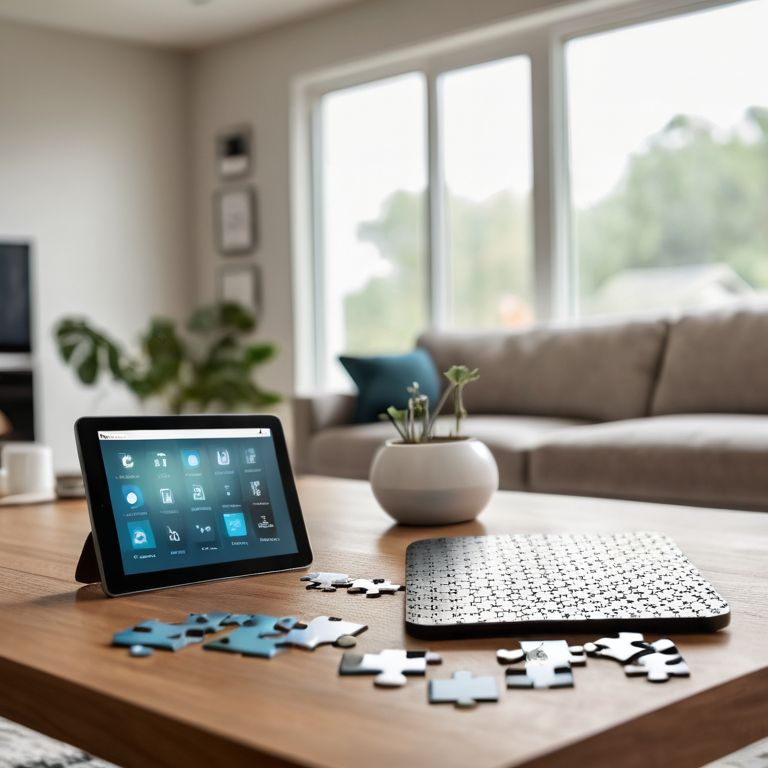
As we dive into building your automation, it’s essential to consider getting started with home assistant and how it will integrate with your existing devices. I like to think of it as building a puzzle, where each piece fits together seamlessly. When automating lighting systems, for instance, you’ll want to ensure that your smart home devices are compatible with your home assistant. This is where smart home device integration comes into play, allowing you to control multiple devices with a single command.
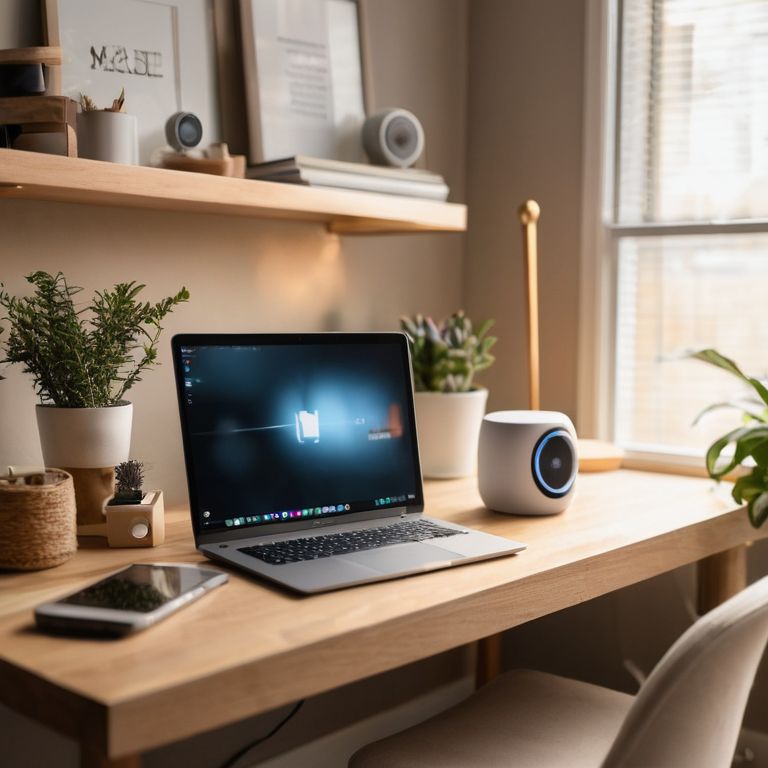
To make your automation more efficient, I recommend exploring beginner friendly automation scripts. These scripts can help you automate routine tasks, such as turning off lights when you leave the house or adjusting the thermostat when you’re asleep. As you become more comfortable with scripting, you can start to customize your home assistant dashboard to fit your specific needs. This might include adding custom widgets or rearranging the layout to prioritize your most-used devices.
When it comes to voice assistant integration with home automation, the possibilities are endless. You can use voice commands to control your lights, thermostat, or even your entertainment system. To take it to the next level, consider experimenting with custom voice commands that fit your lifestyle. For example, you could create a command that turns off all the lights and locks the doors with a single phrase. The key is to have fun and be creative with your automation – it’s your chance to make your home truly smart and tailored to your needs.
Automating Lighting Systems
Now that we’ve got our Home Assistant up and running, let’s dive into one of my favorite automation projects: lighting systems. There’s something incredibly cool about being able to control the ambiance of your room with just your voice or a tap on your phone. I’ll show you how to integrate your existing lights with smart bulbs, or even hack an old lamp to make it smart.
We’ll explore how to use Raspberry Pi to create a custom lighting controller, and I’ll share some tips on troubleshooting common issues that might arise when automating your lighting system. From dimming living room lights to creating a gaming-themed lighting setup, the possibilities are endless, and I’m excited to guide you through this fun project.
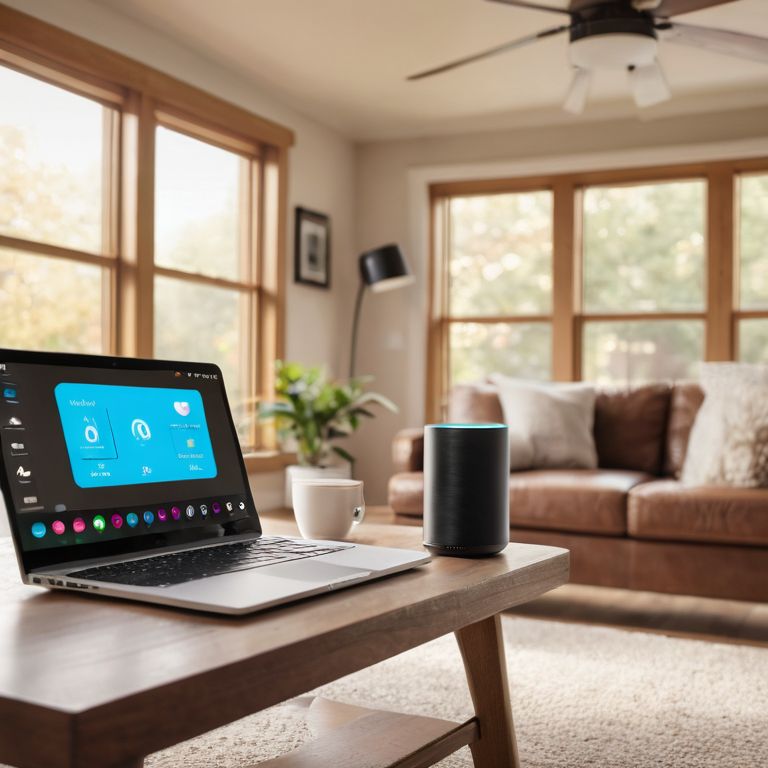
Getting Started With Home Assistant
Getting Started with Home Assistant
Now that we’ve got our hardware ready, it’s time to dive into the software side of things. I’ll walk you through installing Home Assistant on your Raspberry Pi – don’t worry, it’s a breeze. We’ll use the Raspberry Pi Imager tool to get the OS up and running. Once that’s done, we can start configuring our automation system. I’ll show you how to set up the interface, add devices, and create scenes.
Let’s get our hands dirty and start building our smart home ecosystem from the ground up. We’ll cover the basics of Home Assistant and get you comfortable with the platform. With these foundational steps, you’ll be well on your way to creating a customized home automation system that suits your needs.
5 Rebel Tips to Supercharge Your First Home Assistant Automation
- Start by identifying the devices in your home that you want to automate, and make sure they’re compatible with your chosen home assistant platform – don’t be afraid to get creative and think outside the box
- Choose the right hardware for the job, whether it’s a Raspberry Pi or an ESP32 board, and don’t be intimidated by the ‘void warranty’ sticker – it’s just a challenge waiting to be accepted
- Plan your automation scenes carefully, considering factors like lighting, temperature, and security, to create a seamless and intuitive experience that makes your life easier
- Use IFTTT (If This Then That) recipes or custom code to create complex automation workflows that integrate multiple devices and services, and don’t be afraid to experiment and try new things
- Test and troubleshoot your automation system thoroughly, using tools like debug logs and network scanners to identify and fix issues, and remember that it’s okay to make mistakes – they’re an opportunity to learn and improve
3 Key Takeaways to Kickstart Your Automation Journey
By following this guide, you’ve successfully built your first home assistant automation from scratch, giving you a solid foundation to expand and customize your smart home setup
Remember, the key to mastering home automation lies in experimentation and troubleshooting – don’t be afraid to void that warranty and try new things
With your newfound skills in Home Assistant and automation, you can now dive deeper into more complex projects, such as integrating sensors, cameras, and voice assistants to create a seamless smart home experience
Embracing the Rebel Spirit
The moment you decide to build your own home assistant automation is the moment you take back control of your technology – and that’s a beautifully liberating feeling, no matter how many warranties you void along the way.
Frankie Miller
Conclusion: You're Now a Home Automation Rebel
We’ve covered a lot of ground in this journey to create your first home assistant automation. From getting started with Home Assistant to automating lighting systems, you’ve taken the first steps towards a smarter, more integrated home. Remember, the key to mastering home automation is to start small, be patient, and experiment often. Don’t be afraid to void that warranty and get your hands dirty – it’s all part of the fun. As you continue to build and expand your home automation system, keep in mind that it’s okay to make mistakes and that troubleshooting is part of the process.
As you stand back to admire your handiwork, remember that home automation is not just about convenience – it’s about empowerment. You’re not just a consumer; you’re a maker, a problem-solver, and a rebel against the status quo. So go ahead, keep pushing the boundaries of what’s possible, and never stop tinkering. The world of home automation is full of endless possibilities, and with the skills you’ve learned here, you’re ready to take on whatever project comes next. The future is yours to build, one automated system at a time.
Frequently Asked Questions
What are the minimum hardware requirements to build a home assistant automation system?
For a basic home assistant automation system, you’ll need a device like a Raspberry Pi, some relays, and sensors. I recommend a Raspberry Pi 4 with at least 2GB of RAM, and a decent power supply. Don’t worry, it’s not as pricey as you think – you can get started for under $100.
How do I integrate my existing smart devices with the new home assistant automation?
Integrating your existing smart devices is a breeze. I recommend using a hub like Samsung SmartThings or Wink to connect all your devices, then linking it to your new home assistant automation. This way, you can control everything seamlessly – just make sure to check compatibility first, and don’t worry, I’ve got a troubleshooting guide coming up next.
What are some common pitfalls or mistakes to avoid when setting up and configuring my first home assistant automation?
Watch out for sloppy wiring, outdated software, and vague automation scripts. I’ve been there, done that, and voided a few warranties along the way. Double-check your connections, keep your system updated, and test those scripts before you deploy. Trust me, it’s better to catch those mistakes now than to debug later.