I still remember the first time I tried to set up a home assistant – it was like trying to solve a puzzle blindfolded. Everyone told me it was easy, but the truth is, getting started with home assistant can be overwhelming, especially with all the conflicting information out there. But here’s the thing: it doesn’t have to be that way. I’ve spent years figuring out the simple, yet powerful ways to make my home work for me, and I’m excited to share that knowledge with you. If you’re looking for a straightforward guide on how to get started with home assistant, you’re in the right place.
In this article, I’ll walk you through the no-nonsense steps to turn your house into a haven that’s always ready to make your life easier. You’ll learn how to cut through the clutter of competing platforms and create seamless automations that anticipate your needs. My goal is to make smart home technology accessible and fun, so you can focus on living. I’ll share my personal story, including the mistakes I made and the lessons I learned, to help you avoid the common pitfalls and get started with your home assistant journey. By the end of this guide, you’ll have a clear understanding of how to make your home work for you, and you’ll be well on your way to creating a truly smart home that just works.
Table of Contents
- Guide Overview: What You'll Need
- Step-by-Step Instructions
- Getting Started With Home Assistant
- 5 Essential Tips to Kickstart Your Home Assistant Journey
- 3 Key Takeaways for a Seamless Home Assistant Experience
- Embracing the Future of Smart Living
- Bringing It All Together: Your Smart Home Journey Starts Here
- Frequently Asked Questions
Guide Overview: What You'll Need
Total Time: 1 hour 30 minutes
Estimated Cost: $50 – $100
Difficulty Level: Intermediate
Tools Required
- Computer (with internet connection)
- Router (for network connection)
- Smartphone (for mobile app control)
Supplies & Materials
- Home Assistant Software (free download)
- MicroSD Card (for Raspberry Pi or other devices)
- Raspberry Pi or Other Compatible Device (for running Home Assistant)
Step-by-Step Instructions
- 1. First, let’s start with the basics: you’ll need to choose a home assistant platform that fits your needs. This could be something like Amazon Alexa, Google Home, or Apple HomeKit. I recommend exploring each option to see which one integrates best with the devices you already have at home. Take your time, and don’t worry if it seems overwhelming at first – we’ll get through this together.
- 2. Next, you’ll need to set up your home assistant device. This usually involves downloading an app, creating an account, and following the in-app instructions to get your device up and running. Make sure you have your Wi-Fi password handy, as you’ll need it to connect your device to your network. It’s also a good idea to place your device in a central location where it can hear you clearly.
- 3. Now it’s time to start adding devices to your home assistant. This is where things can get really exciting, as you begin to see your smart home come to life. Look for devices that are compatible with your chosen platform, and follow the manufacturer’s instructions to connect them. You might need to enter a code or scan a QR code to authenticate the device, so be sure to have that information ready.
- 4. With your devices connected, it’s time to create some basic automations. This is where you can start to see the real power of your home assistant in action. For example, you might create a routine that turns on the lights when you enter a room, or locks the doors when you leave the house. Don’t worry too much about making mistakes – you can always adjust or delete automations later.
- 5. One of the most important things to consider when setting up your home assistant is voice control. Take some time to experiment with different voice commands, and see what works best for you. You might need to adjust the sensitivity of your device’s microphone, or teach it to recognize your voice. This will help ensure that your home assistant responds accurately to your commands.
- 6. As you get more comfortable with your home assistant, you can start to explore more advanced features. This might include things like scene control, which allows you to adjust multiple devices at once, or customizable routines that can be triggered by specific events or times of day. Don’t be afraid to get creative and try out new things – it’s all part of the fun of having a smart home.
- 7. Finally, take some time to review and refine your setup. Make sure everything is working as expected, and that you’re comfortable using your home assistant. You might need to adjust some settings or rearrange your devices to get the best performance. And don’t worry if you encounter any issues along the way – there are plenty of resources available online to help you troubleshoot and get back on track.
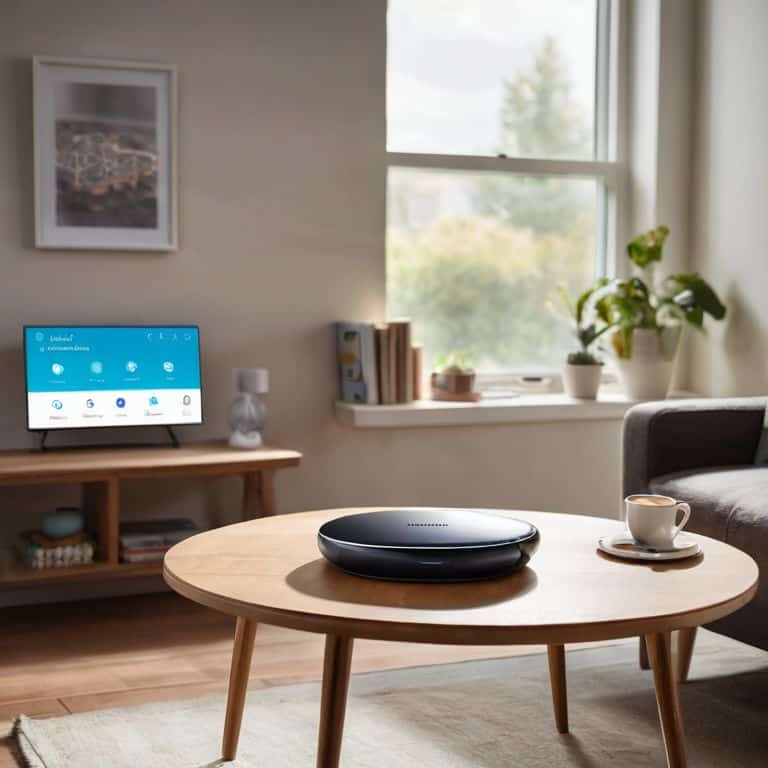
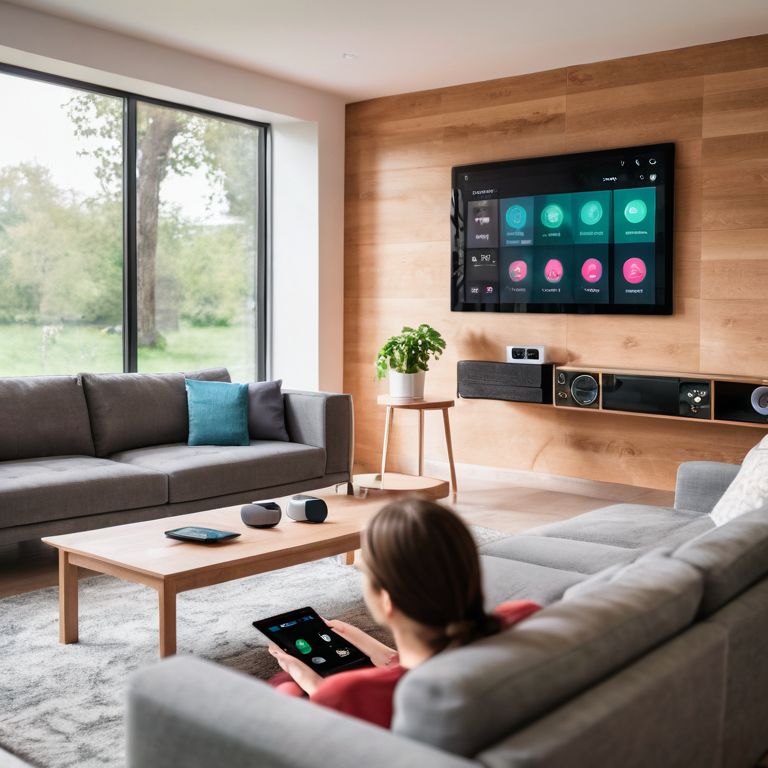
Getting Started With Home Assistant

As I delve into the world of home automation, I’ve come to realize that seamless integration is key to a truly magical experience. When it comes to smart home devices compatibility, it’s essential to choose devices that can communicate with each other effortlessly. I’ve had my fair share of trial and error with raspberry pi home assistant configuration, but the end result is well worth the effort.
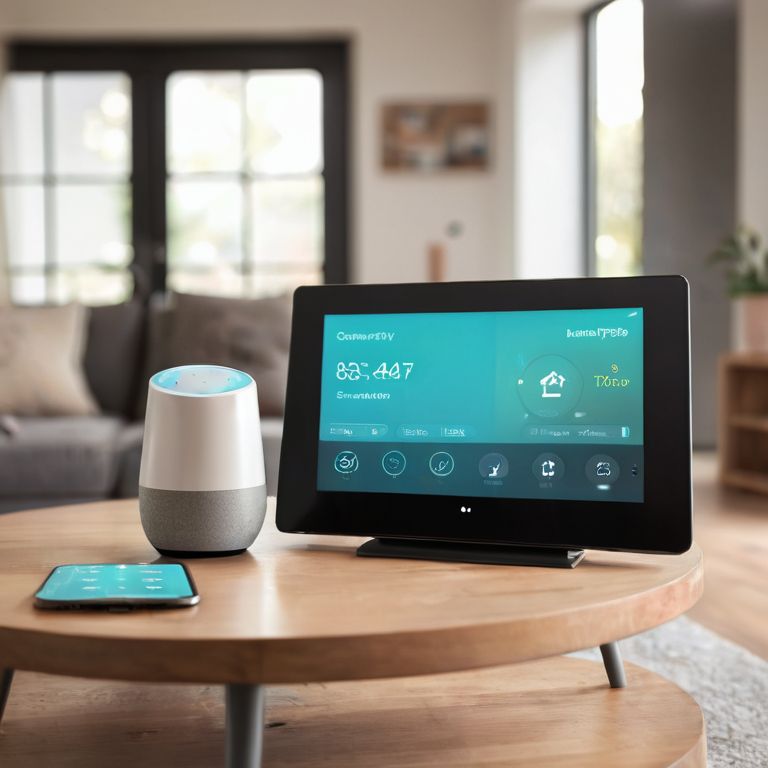
One of the most significant advantages of home assistant is its ability to integrate with voice assistant integration, allowing you to control your home with just your voice. This feature has been a game-changer for me, especially when it comes to home security systems. With home assistant, I can rest assured that my home is secure and monitored at all times.
To take your home automation to the next level, I recommend exploring home assistant dashboard customization options. This allows you to tailor your home assistant to your specific needs and preferences, making it an integral part of your daily life. By investing time in setting up your home assistant, you’ll be able to enjoy a more streamlined and efficient living experience, which is what home automation for beginners is all about.
Home Automation for Beginners Simplified
Now that we’ve got the basics covered, let’s dive into making home automation a breeze. For me, it’s all about creating a seamless experience that just works. I’ve found that starting small is key – begin with one room or one routine, like a “good morning” scene, and build from there. This way, you can get a feel for how automation can simplify your daily life without feeling overwhelmed.
I love experimenting with different devices and finding ways to make them work together in harmony. My favorite part? It’s not about having a million different apps or complicated setups – it’s about creating one-button solutions that make sense for your lifestyle. By keeping it simple and focusing on what really matters, you can enjoy the benefits of home automation without the frustration.
Raspberry Pi Configuration Made Easy
To get your Home Assistant up and running, you’ll need to configure your Raspberry Pi. Don’t worry, it’s easier than you think! First, make sure you have the latest version of the Raspberry Pi OS installed. Then, simply flash the Home Assistant image onto your Raspberry Pi’s microSD card using a tool like BalenaEtcher. This will give you a solid foundation for your smart home system.
Next, boot up your Raspberry Pi and follow the on-screen instructions to complete the initial setup. You’ll be asked to set up your network, configure your location, and create a username and password. Once you’ve finished these steps, your Home Assistant will be ready to start automating your life. I’ll walk you through the rest of the process in my next post, where we’ll dive into integrating your devices and creating custom automations.
5 Essential Tips to Kickstart Your Home Assistant Journey
- Start by identifying your smart home goals: what do you want to automate and why, to help you focus on the most important features and devices
- Choose a central hub or controller that integrates well with your existing devices, to minimize compatibility issues and make your life easier
- Begin with simple automations, like turning on the lights when you enter a room, to build your confidence and understand how different devices interact
- Consider using a Raspberry Pi as your home assistant’s brain, for a cost-effective and highly customizable solution that can grow with your smart home
- Experiment with voice commands and custom scenes, like a ‘goodnight’ scene that locks doors and turns off lights, to unlock the full potential of your home assistant and make it a seamless part of your daily routine
3 Key Takeaways for a Seamless Home Assistant Experience
By simplifying the setup process and focusing on intuitive automation, you can transform your house into a smart home that genuinely enhances your daily life
Using a Raspberry Pi for your Home Assistant hub is easier than you think, and with the right configuration, you can unlock a world of customizable automations and integrations
Remember, the goal of a smart home is to make technology invisible and effortless, so don’t be afraid to experiment and find the ‘one-button’ solutions that make your life easier and more enjoyable
Embracing the Future of Smart Living
The journey to a magical home assistant experience begins with a single step: embracing the idea that your home can be a seamless, intuitive haven that anticipates your needs, and taking the first practical steps to make that vision a reality.
Jenna Gable
Bringing It All Together: Your Smart Home Journey Starts Here
That’s it – you’ve made it through the basics of getting started with home assistant! To recap, we’ve covered the essential steps to turn your house into a smart home haven, from the initial setup to more advanced configurations like using a Raspberry Pi. We’ve also simplified the process of home automation for beginners, making it easy to understand and implement. By following these simple yet powerful steps, you’re well on your way to creating a seamless and intuitive smart home experience that makes your life easier and more enjoyable.
Now that you have the foundation laid out, it’s time to think about the endless possibilities ahead. Remember, the true magic of a smart home lies in its ability to just work, anticipating your needs and making your life more convenient. As you continue to explore and expand your smart home capabilities, keep in mind that the goal is to create a space that feels like a natural extension of yourself. So, don’t be afraid to experiment, try new things, and push the boundaries of what’s possible – and most importantly, have fun with it! The future of easy living is in your hands, and I’m excited to see what you’ll create.
Frequently Asked Questions
What are the basic hardware requirements for setting up a home assistant?
For a home assistant, you’ll need a few basic hardware pieces: a microphone-enabled device like a smart speaker, a computer or dedicated board like a Raspberry Pi, and a stable internet connection. Don’t worry, I’ll break it down simply – think of it like the foundation of your smart home haven!
How do I choose the right voice assistant for my smart home devices?
Choosing the right voice assistant is a breeze. I recommend considering which devices you already have, like Amazon Echo or Google Home, and picking an assistant that seamlessly integrates with them. For me, it’s all about that “one-button” solution, so I opt for an assistant that can control multiple devices with ease.
Can I use a home assistant with existing smart devices from different brands?
Absolutely, you can mix and match devices from different brands with your home assistant. I’ve done it myself, combining Philips Hue lights with Nest thermostats and August smart locks. The key is to choose a home assistant that supports multiple protocols and has a user-friendly interface for integrating all your devices – it’s easier than you think, and I’ll show you how!