I still remember the first time I tried to build a simple electronic dice project for beginners. I was a teenager, and my dad had just given me his old electronics kit. I was excited to dive in, but all the tutorials and guides I found online seemed to assume I already knew what I was doing. They’d throw around terms like “microcontroller” and “circuit board” without explaining what they meant. It was frustrating, to say the least. But I didn’t let that stop me. I figured it out, and now I want to pass on that knowledge to you. If you’re looking for a fun and easy project to get started with electronics, you’re in the right place.
In this article, I’ll walk you through the process of building a simple electronic dice project for beginners from scratch. I’ll show you how to avoid common mistakes and troubleshoot issues as you go. You won’t need any prior experience or special tools – just a willingness to learn and have fun. By the end of this guide, you’ll have a fully functional electronic dice that you can use to impress your friends or just enjoy on your own. So, let’s get started and see how easy it can be to create something cool with electronics. I’ll provide you with step-by-step instructions and detailed photos to make the process as smooth as possible.
Table of Contents
- Guide Overview: What You'll Need
- Step-by-Step Instructions
- Dicey Business a Simple Electronic Dice Project for Beginners
- Shaking Things Up: 5 Essential Tips for Your Simple Electronic Dice Project
- Key Takeaways: DIY Electronic Dice Project
- Embracing the Roll of DIY
- Rolling to a Stop: Conclusion and Next Steps
- Frequently Asked Questions
Guide Overview: What You'll Need
Total Time: 2 hours 30 minutes
Estimated Cost: $20 – $40
Difficulty Level: Easy
Tools Required
- Soldering Iron with a fine tip
- Wire Cutters for cutting and stripping wires
- Breadboard for prototyping and testing
- Multimeter for measuring voltage and current
Supplies & Materials
- Arduino Board e.g., Arduino Uno
- 7-Segment Display for displaying dice results
- Button Switch for user input
- Resistors 1 kohm and 2 kohm for voltage division
- Jumper Wires of various lengths for connections
- Battery 9 volt for powering the circuit
- Electrical Tape for insulating and securing wires
- Wood or Plastic for creating a 6 inches by 4 inches dice box
Step-by-Step Instructions
- 1. First, let’s gather our tools and materials, which include an Arduino board, a few LEDs, a push button, some wires, and a breadboard. Don’t worry if you’re not familiar with these components – we’ll go through each step together, and by the end of this project, you’ll be a pro at reading circuit diagrams and writing basic code.
- 2. Next, we need to set up our Arduino board and get it ready for programming. This involves installing the Arduino IDE on your computer, connecting the board to your machine, and selecting the correct board type from the dropdown menu. If you’re new to Arduino, don’t worry – the official website has some fantastic tutorials to get you started, and I’ll provide some helpful links at the end of this guide.
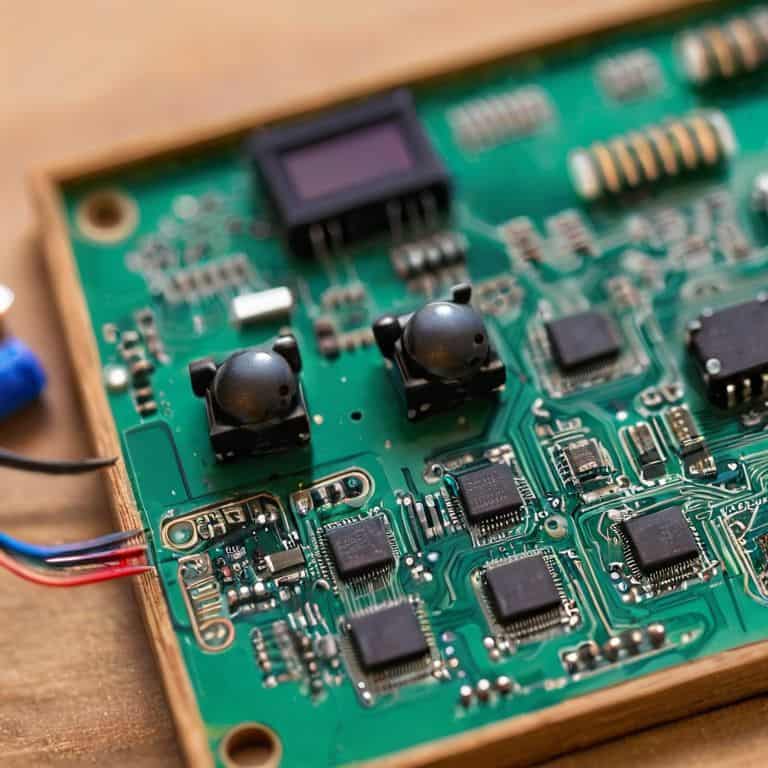
- 3. Now it’s time to design our circuit, which consists of a simple LED display and a push button to roll the dice. We’ll use a breadboard to connect our components, so make sure you have one that’s big enough to accommodate all the wires and parts. Take your time with this step, and remember that patience is key when working with electronics – it’s easy to get frustrated, but trust me, the end result is worth it.
- 4. With our circuit designed, let’s move on to writing the code that will bring our electronic dice to life. Don’t worry if you have no prior programming experience – the code is relatively simple, and I’ll provide a detailed explanation of each line. We’ll use the Arduino language to create a random number generator that will simulate the roll of a dice, and then display the result on our LED display.
- 5. Once we’ve written our code, it’s time to upload it to the Arduino board and test our project. Make sure you’ve selected the correct board type and serial port, and then click the upload button. If everything goes smoothly, you should see the LEDs light up, and the push button should work as expected. If not, don’t panic – we’ll go through some troubleshooting steps to identify the issue and get your project up and running.
- 6. Now that our project is working, let’s add some finishing touches to make it more visually appealing. We can use a plastic or wooden enclosure to house our circuit, and add some labels or a display to show the result of each roll. Get creative with this step, and think about how you can customize your project to make it truly unique.
- 7. Finally, let’s test our project thoroughly to make sure everything is working as expected. Roll the dice multiple times, check that the LEDs are displaying the correct numbers, and verify that the push button is working smoothly. If you’re happy with the result, congratulations – you’ve just completed your first electronic dice project, and you’re ready to move on to more challenging DIY adventures.
Dicey Business a Simple Electronic Dice Project for Beginners
When working with a diy electronic dice kit, it’s essential to understand the basics of circuit design. Using a 555 timer IC can seem daunting, but trust me, it’s a great way to introduce yourself to the world of electronics. The key is to keep your simple circuit design for beginners straightforward and easy to follow. Don’t be afraid to get creative and experiment with different components, but always make sure to consult an electronic dice circuit diagram to avoid any mistakes.
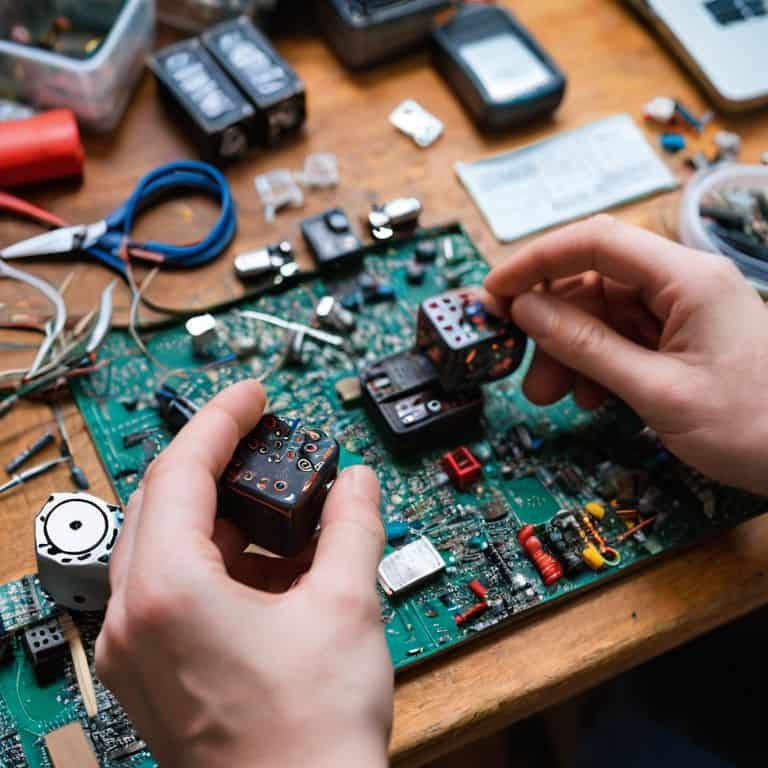
As you progress with your project, you’ll find that troubleshooting is a crucial part of the process. Fun electronics projects for kids often involve trial and error, so be prepared to encounter some obstacles along the way. The important thing is to learn from your mistakes and not be discouraged by them. Remember, the goal is to have fun and learn something new, not to create a perfect product.
By following these tips and being mindful of your design, you’ll be well on your way to creating a functional electronic dice. The sense of accomplishment you’ll feel when you finally see your project come to life is incredibly rewarding. So, don’t be afraid to get your hands dirty and start building – you never know what amazing things you’ll create. With a little patience and practice, you’ll be tackling more complex projects in no time, and beginner friendly electronics projects will become a thing of the past.
Rolling With Diy Electronic Dice Kit
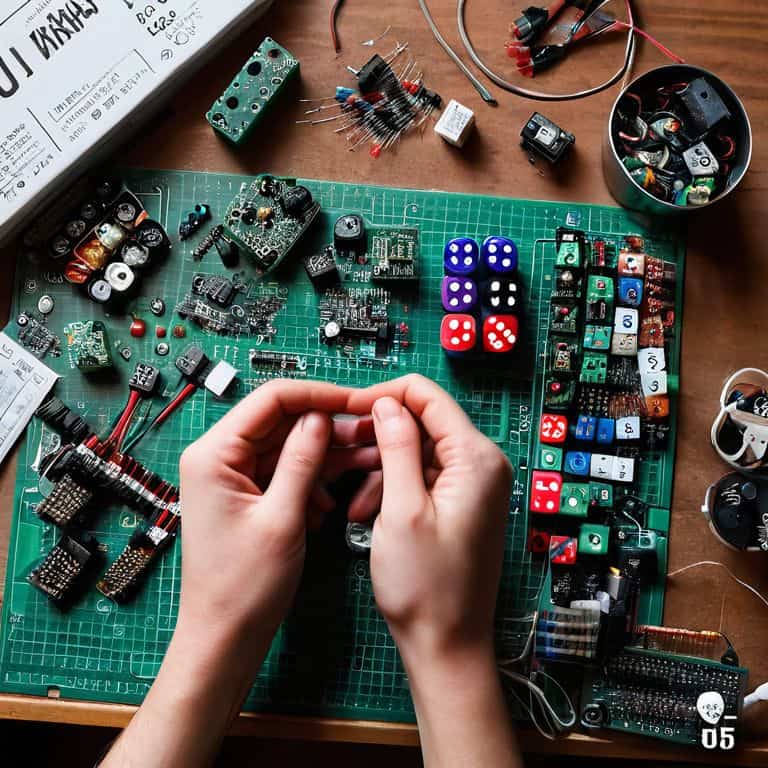
Now that we’ve covered the basics, let’s dive into the fun part – building your DIY electronic dice kit. I love how this project brings together simple electronics and a bit of creativity. With just a few components, you can create a fully functional electronic dice that’s perfect for game nights or just showing off your maker skills. The best part? It’s ridiculously easy to customize, so don’t be afraid to get creative and add your own twist. Whether you’re a seasoned maker or just starting out, this project is a great way to hone your skills and have some fun while doing it.
Timer Ic Tricks for Beginner Friendly Electronics
Now that we’ve got our electronic dice up and running, let’s dive into some timer IC tricks to take your project to the next level. The 555 timer IC is a workhorse in DIY electronics, and with a few simple tweaks, you can make your dice even more responsive and fun to use. By adjusting the resistor and capacitor values, you can fine-tune the timing of your dice rolls, making the experience feel more natural and engaging.
I like to experiment with different timing configurations to create unique effects, such as rapid-fire rolls or delayed results. It’s amazing how a small change in the circuit can completely transform the user experience. With these timer IC tricks, you’ll be well on your way to creating a truly one-of-a-kind electronic dice that showcases your creativity and DIY spirit.
Shaking Things Up: 5 Essential Tips for Your Simple Electronic Dice Project

- Start with the basics: make sure you have a solid understanding of the electronic components involved, such as resistors, capacitors, and the microcontroller
- Choose the right microcontroller for the job – in this case, something like an Arduino board is perfect for beginners due to its vast community support and ease of use
- Don’t be afraid to get creative with your dice design – think beyond the standard six-sided dice and consider adding extra features like LED displays or sound effects
- Troubleshoot like a pro: when things don’t go as planned (and they might not), use a systematic approach to identify and fix issues, such as checking wiring and code syntax
- Practice makes perfect: don’t be discouraged if your first attempt at building the electronic dice doesn’t work out – use it as an opportunity to learn and improve your DIY electronics skills
Key Takeaways: DIY Electronic Dice Project
By following this simple electronic dice project, you’ll gain hands-on experience with basic electronics and DIY prototyping, even if you’re new to the world of circuit boards and microchips
With the right tools and a bit of patience, you can breathe life into your DIY electronic dice kit and make it a fun, interactive way to spend time with friends and family, all while learning about the inner workings of electronics
Remember, the true spirit of DIY electronics is about experimentation, learning from mistakes, and pushing past the ‘void warranty’ mindset – so don’t be afraid to get creative, try new things, and make this project your own
Embracing the Roll of DIY
The beauty of a simple electronic dice project for beginners lies not in its complexity, but in its ability to empower us to take control of our technology, to see the ‘void warranty’ sticker as a badge of honor, and to understand that the thrill of creation is just a soldering iron away.
Frankie Miller
Rolling to a Stop: Conclusion and Next Steps
We’ve covered a lot of ground in this simple electronic dice project for beginners, from assembling the DIY kit to understanding the basics of timer IC tricks. You’ve learned how to solder components together, program a basic circuit, and even troubleshoot common issues that might arise during the build process. By now, you should have a fully functional electronic dice that you can use to add a touch of tech to your game nights or as a fun conversation piece. Remember, the goal of this project was not only to build something cool but also to demystify the process of working with electronics and encourage you to explore more DIY projects.
As you put down your soldering iron and admire your handiwork, remember that this is just the beginning. The world of DIY electronics is vast and full of exciting projects waiting to be tackled. Don’t be afraid to void warranties and explore the inner workings of your devices. The sense of accomplishment you feel from building something with your own hands is incredibly empowering, and it’s a feeling that will stay with you as you take on more complex and challenging projects. So, keep building, keep tinkering, and most importantly, keep pushing the boundaries of what you think is possible.
Frequently Asked Questions
What are the basic components required to build a simple electronic dice project?
To build our simple electronic dice, you’ll need a few key components: an Arduino board, a 7-segment display, some resistors, and a few wires. Don’t worry, I’ll walk you through each part and how they work together – no prior electronics experience needed, just a willingness to get hands-on and have some fun!
How do I program the microcontroller to generate random numbers for the dice?
To program the microcontroller, we’ll use a simple random number generator code. I’ll show you how to upload it to the microcontroller using a USB cable and a free programming software. Don’t worry, I’ve got you covered – we’ll go through it step-by-step, and I’ll provide the code and screenshots to make it a breeze.
What are some common mistakes to avoid when soldering the electronic components together for the dice project?
When soldering, watch out for cold joints, overheating, and solder bridges. Make sure your iron’s hot, but not smokin’, and use the right amount of solder. Don’t rush it, and inspect your work – a good joint should be smooth and shiny. I’ve got some photos of common mistakes in my workshop notes, let me grab those for you.