I still remember the first time I tried to build my own gaming PC. I was overwhelmed by the numerous options and conflicting opinions online. It seemed like everyone had a different idea about how to choose parts for a gaming pc. But as I delved deeper, I realized that it’s not about following a set of rigid rules or buying the most expensive components. It’s about understanding what you need and making informed decisions. That’s why I’m excited to share my knowledge with you, so you can avoid the pitfalls and create a gaming rig that’s tailored to your needs.
In this article, I’ll cut through the hype and provide you with practical advice on how to choose parts for a gaming pc. I’ll guide you through the process of selecting the right components, from the CPU to the graphics card, and show you how to balance performance and budget. My goal is to empower you to make your own decisions, rather than relying on pre-built systems or biased reviews. By the end of this guide, you’ll be equipped with the knowledge to build a gaming PC that meets your specific needs and exceeds your expectations.
Table of Contents
Guide Overview: What You'll Need
Total Time: 2 hours 30 minutes
Estimated Cost: $800 – $2,000
Difficulty Level: Intermediate / Hard
Tools Required
- Screwdriver (both flathead and Phillips)
- Torx driver (for certain CPU coolers)
- Pliers (for gripping small parts)
- Wire cutters (for cable management)
- Thermal paste (for CPU cooler installation)
Supplies & Materials
- CPU (choose from AMD Ryzen or Intel Core i5/i7)
- Motherboard (compatible with chosen CPU)
- RAM (at least 16 gigabytes, DDR4 or DDR5)
- GPU (dedicated graphics card, e.g., NVIDIA GeForce or AMD Radeon)
- Storage (solid state drive, at least 512 gigabytes)
- Power supply (wattage depends on system configuration, e.g., 650 watts)
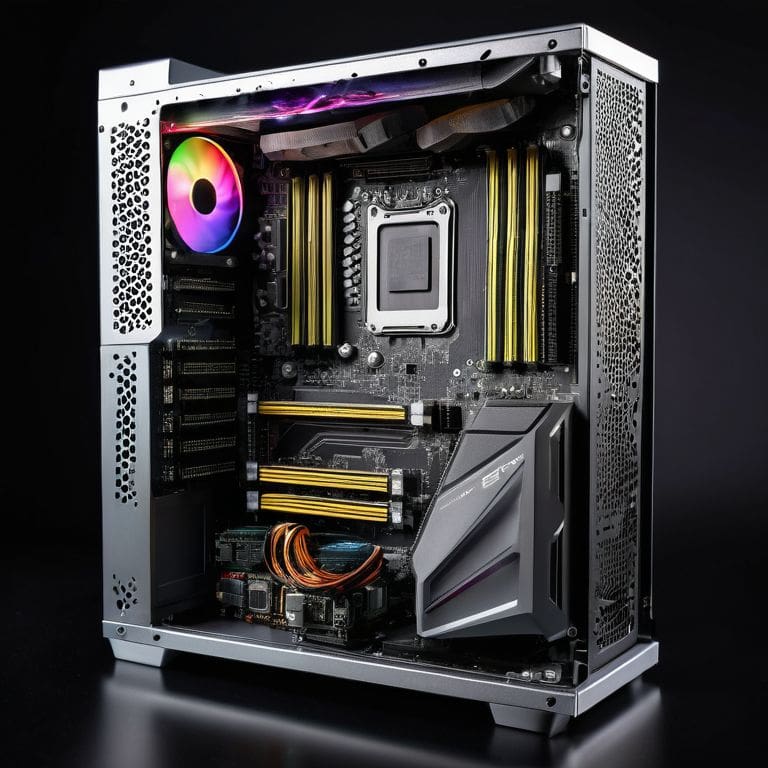
- Case (with good airflow, e.g., 12 inches in length, 8 inches in width, 18 inches in height)
- Cooling system (e.g., air cooler or liquid cooling system)
Step-by-Step Instructions
- 1. First, let’s start with the basics: you need to determine your budget for the gaming PC. This will help you decide which components to prioritize and which ones to compromise on. I always say, set a budget and stick to it, but also leave some room for unexpected expenses or upgrades.
- 2. Next, you need to choose your CPU, which is the brain of your operation. Look for a processor that has a high clock speed and multiple cores. I recommend checking out the latest Intel Core or AMD Ryzen series. When selecting a CPU, consider the number of threads you need, as this will impact your gaming performance.
- 3. Now it’s time to pick a motherboard that’s compatible with your chosen CPU. This is where things can get a bit tricky, so make sure to check the socket type and ensure it matches your CPU. You’ll also want to consider the number of USB ports, SATA ports, and RAM slots you need.
- 4. Speaking of RAM, you’ll want to choose a sufficient amount to keep your games running smoothly. I recommend at least 16 GB of DDR4 RAM, but 32 GB or more is even better if you can afford it. Also, consider the speed of your RAM, as this can impact performance.
- 5. Your graphics card is the heart of your gaming PC, so choose one that’s powerful enough to handle your favorite games. Look for a card with a high CUDA core count or stream processor count, and consider the amount of VRAM you need. I recommend checking out the latest NVIDIA GeForce or AMD Radeon series.
- 6. Next up is storage, and I always recommend using a solid-state drive (SSD) as your primary drive. This will provide faster loading times and overall system performance. Consider a 1 TB SSD or larger, depending on your storage needs.
- 7. Finally, you’ll need to choose a power supply that can handle all your components. Look for a power supply with a high wattage rating, and consider the efficiency rating to ensure you’re getting a reliable and efficient power supply. I recommend a power supply with a rating of 650 W or higher.
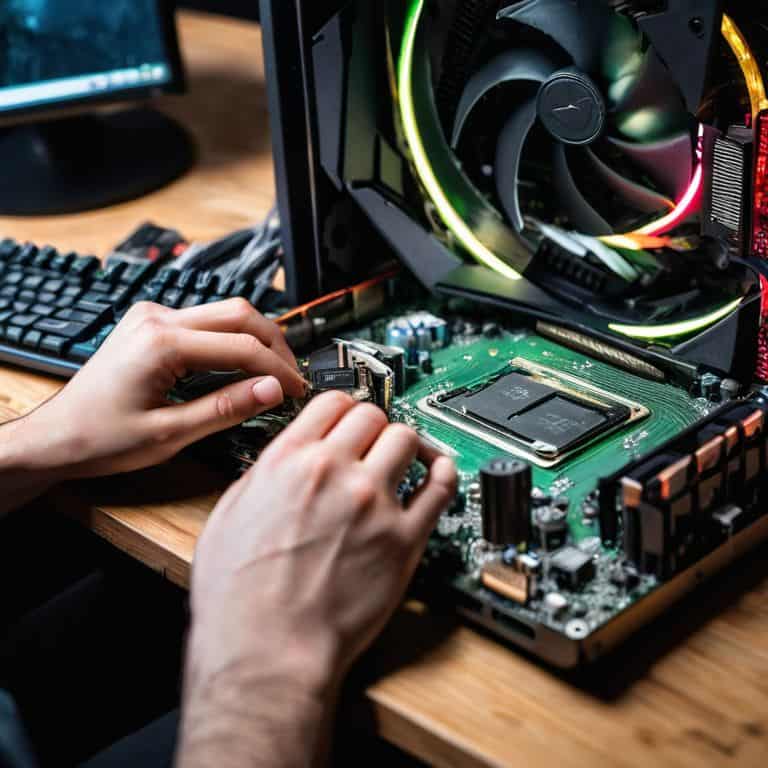
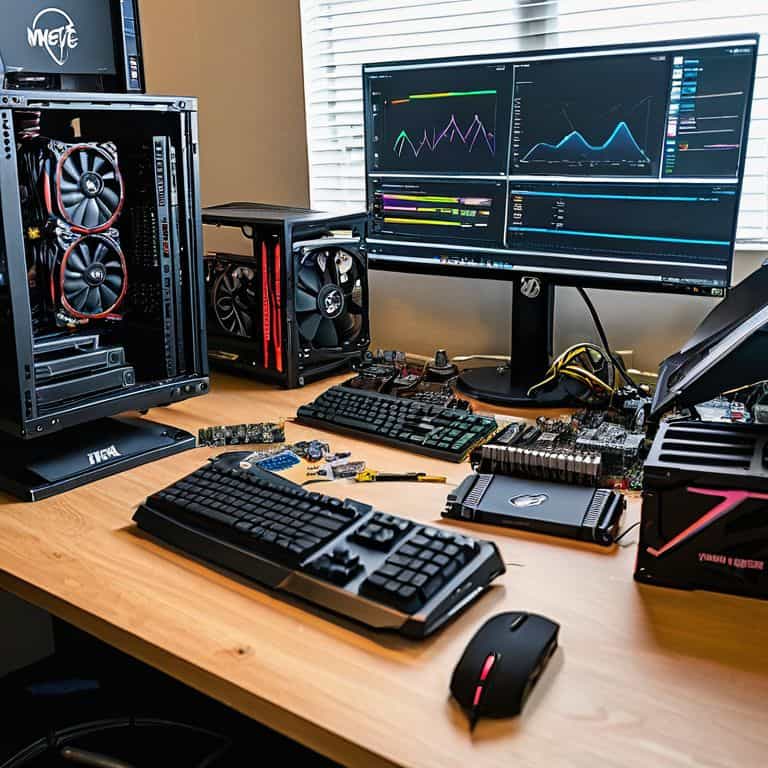
- 8. Once you’ve chosen all your components, it’s time to put everything together. Make sure to follow proper installation procedures to avoid damaging any of your components. I recommend checking out online tutorials or guides for specific installation instructions.
How to Choose Parts
When it comes to selecting components for your gaming rig, considering your gaming pc build budget is crucial. You don’t want to overspend on a part that won’t significantly impact your gaming experience. I’ve seen people drop a small fortune on a high-end graphics card, only to pair it with a subpar CPU. Balancing performance and price is key to building a beast of a machine.
As you’re choosing your parts, keep in mind that overclocking for beginners can be a great way to squeeze extra performance out of your components. However, it’s essential to ensure your pc cooling systems can handle the increased heat. Don’t worry, I’ve got a separate guide on that topic, but for now, just remember to factor in the cost of a good cooling system when planning your build.
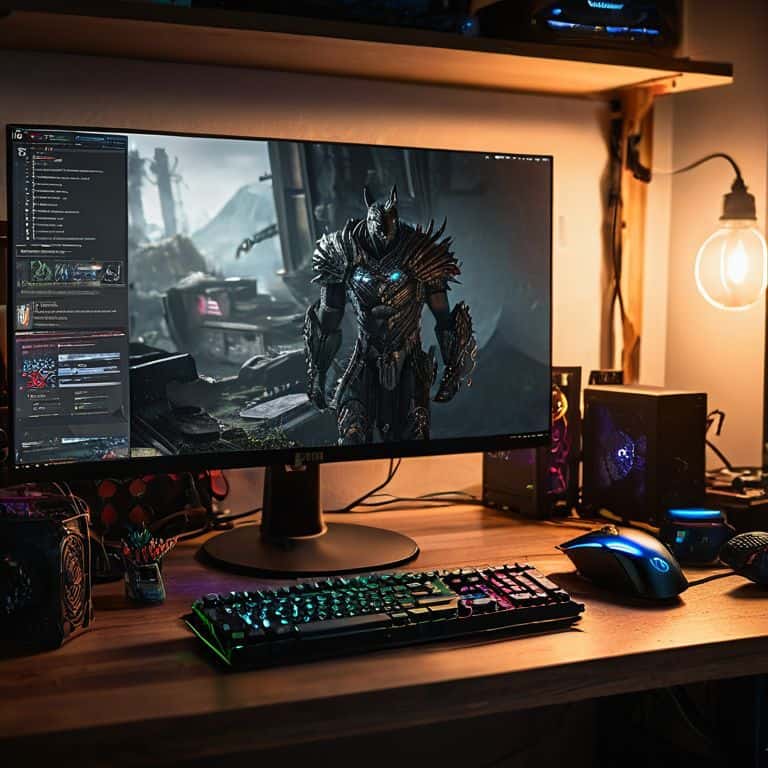
To future-proof your gaming pc, focus on future proof gaming pc components that will remain relevant for years to come. This might mean investing in a high-quality motherboard or a powerful CPU that can handle demanding games. By doing so, you’ll be able to enjoy the best gaming experience possible, even as new titles are released, and you can always pair it with one of the best gaming monitors for pc for an immersive experience.
Gaming Pc Build Budget Hacks
Now that we’ve got our parts picked out, let’s talk budget. I’m all about saving a buck without sacrificing performance. One of my favorite hacks is to shop for last year’s model of a component – it’s often significantly cheaper and still packs a punch. I also swear by refurbished or open-box items, which can be a great way to score a deal on a high-end part. Just make sure to check the warranty and return policy before making a purchase.
Another trick I use is to prioritize my spending. If you’re a serious gamer, put your money into the GPU and CPU – these will make the biggest impact on your gaming experience. Cut back on fancy casings or unnecessary bells and whistles to allocate more funds to the parts that really matter.
Overclocking for Beginners Guide
Now that we’ve got our parts, let’s talk about squeezing every last bit of performance out of them. Overclocking can seem intimidating, but trust me, it’s a game-changer. Essentially, it’s pushing your CPU or GPU to run faster than its default speed. I’ve done this with my own rigs, and the boost is noticeable. For beginners, start by researching your specific hardware to see what kind of overclocking potential it has. You’ll also want to invest in a good cooling system to prevent overheating. Don’t worry, I’ll dive deeper into the specifics, but the key is to take it slow and monitor those temps. With a little patience, you can unlock a whole new level of gaming performance.
5 Essential Tips for Choosing the Right Gaming PC Parts
- Consider Your Gaming Needs: Don’t just look at the specs, think about the type of games you want to play and the performance you need
- Balance Your Budget: Allocate your budget wisely across CPU, GPU, RAM, and storage to get the best performance without breaking the bank
- Check for Compatibility: Ensure that all your components are compatible with each other, including the motherboard, CPU, and RAM
- Look for Overclocking Potential: If you’re feeling adventurous, choose parts that can be overclocked to squeeze out extra performance
- Read Reviews and Benchmarks: Don’t just rely on specs, read reviews and check benchmarks to see how your chosen parts perform in real-world scenarios
Key Takeaways for Building Your Dream Gaming PC
Always prioritize compatibility and performance when selecting components, and don’t be afraid to get creative with budget hacks to maximize your build’s potential
Understanding the basics of overclocking can significantly boost your PC’s performance, but remember to tread carefully and research thoroughly to avoid damaging your hardware
Building a gaming PC is not just about following a set of instructions – it’s about embracing the DIY spirit, having fun, and creating a machine that truly reflects your personality and gaming style
The Golden Rule of Gaming PC Builds
The right parts for your gaming PC aren’t just about specs and benchmarks – they’re about understanding what makes your games tick and building a rig that’s tailored to your unique gaming style, not just some generic checklist of ‘must-haves’
Frankie Miller
Wrapping Up Your Gaming PC Parts Journey
As we’ve covered in this guide, choosing the right parts for your gaming PC can be a daunting task, but by following these steps and considering your budget, you can build a powerful machine that meets your gaming needs. We’ve discussed the importance of compatibility and how to navigate the complex world of PC components. Additionally, we’ve explored some budget hacks and an overclocking for beginners guide to help you get the most out of your build. By taking the time to research and understand your options, you can create a gaming rig that’s tailored to your preferences and provides an exceptional gaming experience.
Now that you have the knowledge and tools to choose the perfect parts for your gaming PC, it’s time to take the leap and start building. Remember, the process of creating something with your own hands is just as rewarding as the end result. Don’t be afraid to void that warranty and make your machine truly unique. With patience, persistence, and a willingness to learn, you can create a gaming PC that’s not only powerful but also a reflection of your personality and style. So, go ahead, get creative, and make your gaming PC a one-of-a-kind masterpiece.
Frequently Asked Questions
What are the most important components to focus on when building a gaming PC on a tight budget?
When building on a tight budget, focus on the CPU, GPU, and RAM – these are the core components that’ll give you the most bang for your buck. Don’t skimp on the power supply either, or you’ll risk frying your rig. Prioritize these, and you’ll be gaming like a pro in no time!
How do I know if a specific CPU or GPU is compatible with my motherboard?
Compatibility can be a minefield, but don’t worry, I’ve got you covered. Check your motherboard’s specs for CPU and GPU compatibility – look for the socket type and PCIe version. You can also use online tools like PC Part Picker to verify compatibility. Trust me, it’s worth the extra step to avoid costly mistakes.
Are there any specific tools or software that can help me optimize my gaming PC's performance after choosing the right parts?
Ah, optimization time! I swear by HWiNFO for monitoring temps and voltages, and MSI Afterburner for tweaking GPU settings. For CPU overclocking, Intel Extreme Tuning Utility is a beast. These tools will help you squeeze every last bit of performance from your rig. Trust me, I’ve used ’em to boost my own gaming PC’s speed!