I still remember the day I decided to set up my first home security camera – it was like adding a watchdog to my smart home team. I was determined to make it a seamless part of my daily life, not just another gadget to fuss over. That’s why I’m excited to share my experience on how to set up a home security camera that truly works for you, not against you. I’ve learned that it’s not just about placing a camera in a corner and calling it a day – it’s about creating a smart home ecosystem that anticipates your needs and keeps you safe.
In this article, I’ll walk you through the simple, practical steps to set up your home security camera, from choosing the right location to integrating it with your existing smart home devices. You’ll learn how to create a one-button solution that makes your life easier, not more complicated. I’ll share my own tips and tricks for making the most out of your home security camera, and by the end of this guide, you’ll be able to enjoy the peace of mind that comes with knowing your home is secure and connected. Whether you’re a smart home newbie or a seasoned pro, this guide will show you that setting up a home security camera can be easy, fun, and totally worth it.
Table of Contents
- Guide Overview: What You'll Need
- Step-by-Step Instructions
- Seamless Security
- Optimizing Security Camera Motion Detection Settings
- Wireless Security Camera Installation Simplified
- Smart Sight: 5 Essential Tips for Setting Up Your Home Security Camera
- Key Takeaways for a Seamless Home Security Setup
- Setting Up Your Safety Net
- Bringing It All Together: Smart Home Security Made Easy
- Frequently Asked Questions
Guide Overview: What You'll Need
Total Time: 1 hour 45 minutes
Estimated Cost: $50 – $100
Difficulty Level: Intermediate
Tools Required
- Drill (with screwdriver and drill bits)
- Level (to ensure proper camera alignment)
- Pliers (for tightening cables)
- Screwdriver (for securing camera to wall or ceiling)
- Wire strippers (for stripping camera wires to proper length)
Supplies & Materials
- Home security camera (with power adapter and mounting hardware)
- 6 feet of CAT5 cable (or longer depending on installation location)
- Wall anchors (for securing camera to drywall or wood studs)
- 2 inches of electrical tape (for securing wires to wall or baseboard)
- 1 piece of 2-in x 4-in lumber (for optional outdoor camera mount)
Step-by-Step Instructions
- 1. First, let’s start with the basics: choosing the right location for your home security camera. I like to think of it as adding a watchdog to your smart home team, so it’s all about finding the perfect spot to keep an eye on things. Consider the areas of your home that are most vulnerable, such as the front door, back door, or any windows that are easily accessible from the outside.
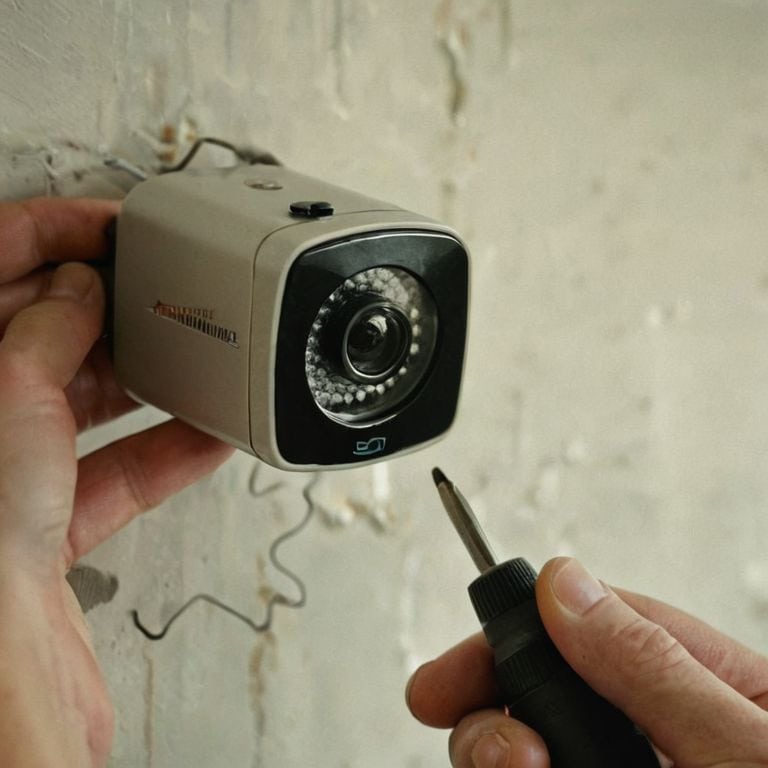
- 2. Next, you’ll need to physically install the camera. This usually involves screwing the camera into place or attaching it to a magnetic base. Make sure it’s securely fastened and won’t be easily knocked out of position. I’ve found that using a level can be really helpful to ensure the camera is straight and even.
- 3. Now it’s time to power up your camera. This might involve plugging it into a nearby outlet or inserting batteries, depending on the type of camera you have. Be sure to follow the manufacturer’s instructions for powering on the device and allowing it to boot up. You might need to wait a few minutes for the camera to initialize and become ready for use.
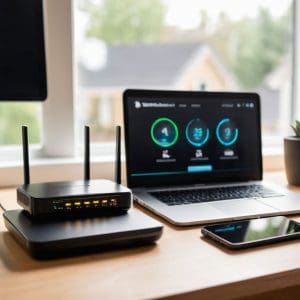
- 4. With your camera powered on, it’s time to connect it to your network. This usually involves downloading an app and following the in-app instructions to link your camera to your Wi-Fi network. Make sure you have your network password handy, as you’ll need it to complete the connection process. I’ve found that using a strong and unique password can help keep your camera’s feed secure.
- 5. Once your camera is connected to your network, you can start configuring its settings. This might involve setting up motion detection, adjusting the camera’s sensitivity, or scheduling recordings. Take some time to explore the app and familiarize yourself with the various options and features. I like to think of this step as customizing your camera to fit your specific needs and preferences.
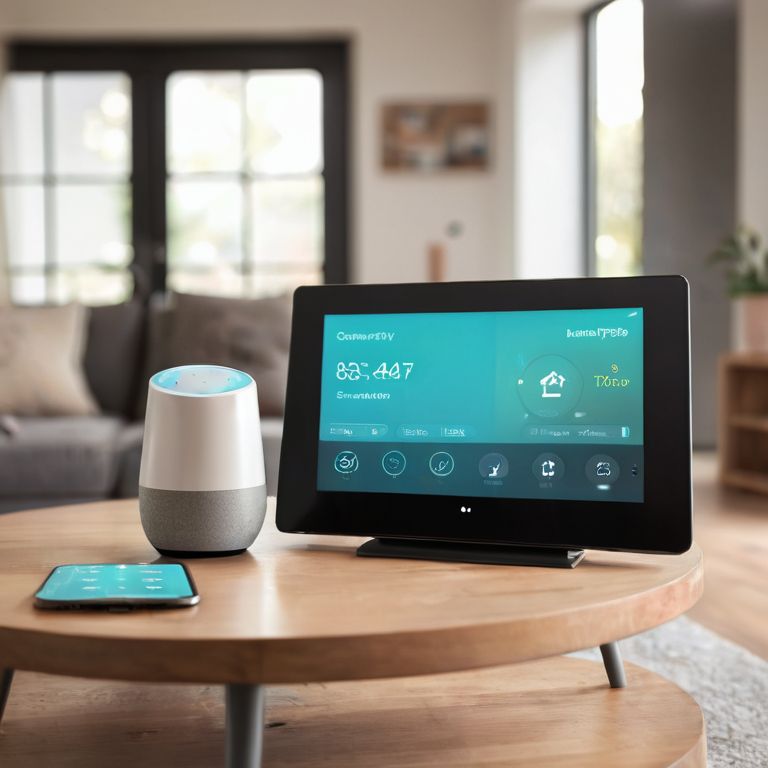
- 6. Now that your camera is up and running, it’s time to integrate it with your smart home system. If you have other smart devices, such as lights or thermostats, you might be able to connect them to your camera for seamless automation. For example, you could set up a routine that turns on your porch light whenever motion is detected by the camera.
- 7. Finally, take some time to test your camera and make sure it’s working as expected. Check the video feed to ensure it’s clear and stable, and test any automations or features you’ve set up. I like to think of this step as quality control, making sure everything is working together smoothly and efficiently.
Seamless Security
As I always say, a truly smart home should be invisible and just work, which is why I love exploring wireless security camera installation options. When it comes to seamless security, it’s all about finding the right balance between coverage and discretion. I’ve found that the best security camera for outdoor use is often one that blends into its surroundings, providing a clear view without being too obvious.
One of the most important aspects of seamless security is security camera motion detection settings. You want to make sure your camera is capturing all the right moments, without being triggered by every little thing. I like to think of it as setting up a watchdog for your home, always on the lookout for potential threats. By tweaking these settings, you can ensure your camera is working efficiently and effectively.
In my experience, security camera placement tips are just as important as the camera itself. You want to place your camera in a spot where it can capture a clear view of the area, without being easily tampered with. I’ve found that a combination of cameras with cloud storage for security cameras provides the ultimate peace of mind, allowing me to access footage from anywhere and at any time.
Optimizing Security Camera Motion Detection Settings
Now that we’ve got our camera up and running, let’s dive into fine-tuning its motion detection settings. I like to think of this as teaching my camera to be a vigilant guard, alerting me only when it really matters. To optimize these settings, start by adjusting the sensitivity level – you don’t want to be notified every time a leaf blows by, but you do want to know if someone’s approaching your door.
I recommend starting with a medium sensitivity setting and then tweaking it based on your camera’s location and the level of foot traffic in the area. You can also set up specific motion detection zones, so your camera only alerts you when motion is detected in a particular area, like your front porch or backyard. This way, you’ll get the alerts that matter, without the noise from unnecessary motion detection.
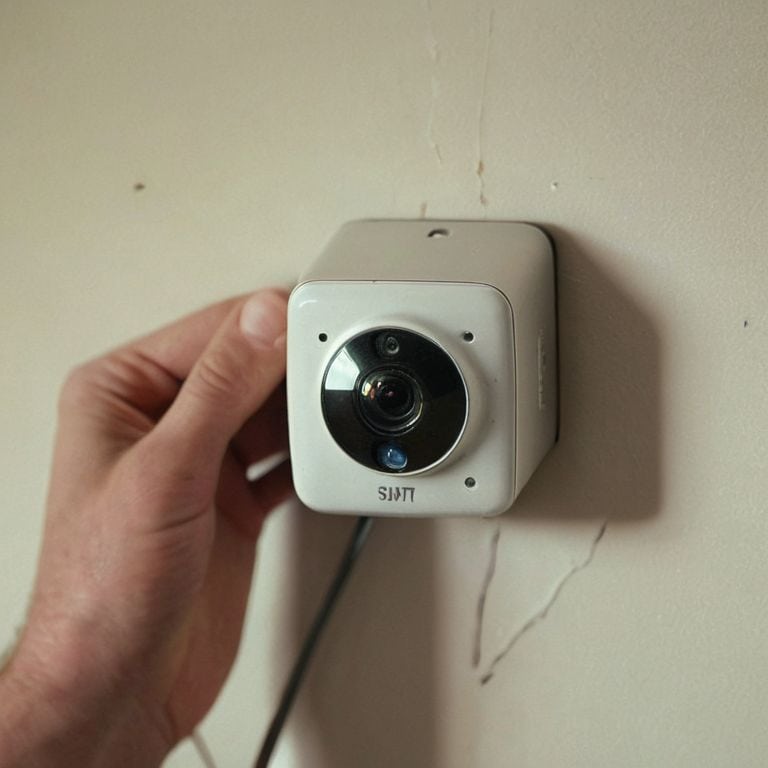
Wireless Security Camera Installation Simplified
When it comes to wireless security camera installation, I’m all about keeping it simple. I mean, who needs a tangle of cords getting in the way of a sleek smart home setup? To make the process even smoother, I recommend choosing cameras with magnetic bases or adhesive strips – they’re a breeze to stick up and adjust as needed. This way, you can focus on finding the perfect spot to capture the footage you need, without worrying about drilling holes or running cables.
By opting for wireless cameras, you’re not only saving time on installation, but also gaining more flexibility in terms of placement. Plus, many wireless security cameras are battery-powered, which means you can place them anywhere, even in areas where wiring might be a challenge.
Smart Sight: 5 Essential Tips for Setting Up Your Home Security Camera
- Position your camera to capture a clear view of the area you want to monitor, avoiding any obstructions like trees or furniture
- Choose a camera with night vision capabilities to ensure you have 24/7 coverage, even in low-light conditions
- Select a camera with a weather-resistant rating if you plan to install it outdoors, to withstand the elements
- Consider the field of view and zoom capabilities when selecting a camera, to ensure it can capture the entire area you want to secure
- Place your camera at a height that makes it difficult for potential intruders to reach or tamper with, such as 9-10 feet off the ground
Key Takeaways for a Seamless Home Security Setup
By strategically placing your home security camera and optimizing its motion detection settings, you can significantly enhance your home’s security and peace of mind
Integrating your security camera with other smart home devices can create a powerful, automated security system that responds to your needs without requiring constant monitoring
Remember, the goal of a smart home security system is to be intuitive and hassle-free, so focus on finding a setup that works effortlessly in the background, allowing you to enjoy the benefits of a safer, more secure home
Setting Up Your Safety Net
The key to a hassle-free home security camera setup is to think of it as an extension of your daily routine, not an added complexity – where and how you place it can make all the difference in achieving peace of mind.
Jenna Gable
Bringing It All Together: Smart Home Security Made Easy
As we’ve walked through the process of setting up a home security camera, it’s clear that creating a seamless security system is within reach. We’ve covered the essential steps, from choosing the right camera to optimizing its motion detection settings. By following these guidelines, you’ll be well on your way to a more secure and connected home. Remember, the goal of a smart home is to make life easier, not to add more complexity. That’s why I’m such a big fan of one-button solutions that simplify our daily routines.
Now that you’ve taken the first step towards a more secure smart home, I encourage you to keep exploring and pushing the boundaries of what’s possible. With each new automation and device, you’re not just adding gadgets – you’re crafting a home that anticipates your needs and makes your life more enjoyable. So, don’t be afraid to experiment, try new things, and make your home a reflection of your unique style and preferences. Happy automating, and I’ll see you in the next tutorial!
Frequently Asked Questions
What are the most common mistakes to avoid when positioning a home security camera?
When positioning your home security camera, beware of common mistakes like placing it too high or too low, obstructing the view with trees or furniture, or pointing it directly at a light source, which can cause glare and blind spots – let’s get it just right!
How can I ensure my home security camera's motion detection settings are optimized for my specific needs?
To optimize your home security camera’s motion detection, I recommend adjusting the sensitivity and setting up custom alerts. For example, if you have pets, you can set the sensitivity lower to avoid false alerts. I also like to use activity zones to focus on specific areas, like entry points or valuables.
Can I integrate my home security camera with other smart home devices, such as doorbells or lights, for a more comprehensive security system?
Absolutely, integrating your security camera with other smart devices is a game-changer. I love syncing mine with my smart doorbell and outdoor lights – when motion is detected, the lights flicker on and my doorbell sends me a notification. It’s all about creating a seamless, automated safety net that’s easy to manage from one place.