


I still remember the first time I decided to take on a DIY home repair project – it was a leaky faucet that had been driving me crazy for months. The plumber wanted an arm and a leg to fix it, but I was determined to do it myself. With a few YouTube tutorials and some trial and error, I managed to fix the faucet and save myself a pretty penny. It was a small victory, but it sparked a passion in me for DIY home repairs. I realized that with the right mindset and a bit of patience, anyone can take on these projects and save themselves a lot of money.
In this article, I’ll be sharing my honest, no-hype advice on how to tackle common DIY home repairs. I’ll walk you through the process of identifying the problem, gathering the right tools, and getting your hands dirty. You’ll learn how to troubleshoot common issues, avoid costly mistakes, and develop the confidence to take on more complex projects. My goal is to empower you to become a DIY master, capable of fixing and improving your home without breaking the bank. So, if you’re ready to void your warranty and unleash your inner rebel, let’s get started on this journey of DIY home repairs together!
Table of Contents
Guide Overview: What You'll Need

Total Time: 1 hour 45 minutes
Estimated Cost: $20 – $100
Difficulty Level: Intermediate
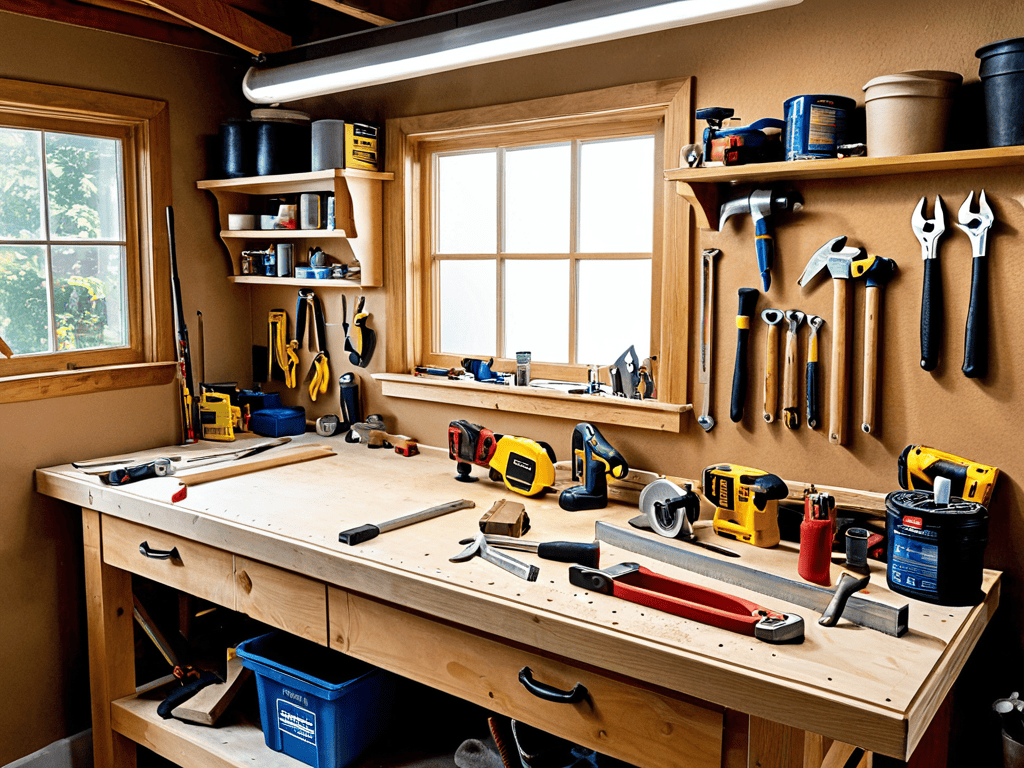
Tools Required
- Hammer (16 ounces)
- Tape Measure (25 feet long)
- Level (torpedo level)
- Pliers (needle-nose pliers)
- Screwdriver (flathead and Phillips)
Supplies & Materials
- 2-in x 4-in lumber (for framing repairs)
- Drywall Patch Kit (for drywall repairs)
- Sandpaper (various grits)
- Paint (for touch-ups)
- Caulk (for sealing gaps)
Step-by-Step Instructions
- 1. First, let’s start with the basics – gathering our tools. I’m talking about a trusty screwdriver set, a pair of pliers, and a hammer. These will be your go-to friends for most DIY home repairs. Make sure you have a clean and organized workspace, like my own workshop, where I can easily find what I need.
- 2. Next, we need to identify the problem. Is your sink leaking, or perhaps your toilet is running constantly? Take a closer look and try to pinpoint the source of the issue. In my experience, it’s often something simple like a loose screw or a worn-out gasket. Don’t be afraid to get a little hands-on and investigate.
- 3. Now that we’ve identified the problem, it’s time to disconnect the power. Whether it’s a faulty light fixture or a broken appliance, make sure you switch off the power supply before starting any repairs. I’ve learned this the hard way, and trust me, you don’t want to risk getting electrocuted.
- 4. With the power off, we can start disassembling the device. This is where things can get a bit tricky, but don’t worry, I’ve got you covered. Take your time, and use your screwdriver set to carefully remove any screws or clips holding the device together. Remember, it’s all about being methodical and patient.
- 5. Once you’ve disassembled the device, it’s time to inspect and clean. Look for any signs of wear and tear, and give the area a good clean with a soft brush and some compressed air. This is also a great opportunity to check for any blockages or debris that might be causing the problem.
- 6. Now we can start replacing any faulty parts. This might involve soldering, gluing, or simply swapping out a worn-out component. I always say, if it’s broken, fix it, rather than throwing it away and buying a new one. Not only will you save money, but you’ll also gain a sense of satisfaction and accomplishment.
- 7. With the repairs complete, it’s time to reassemble the device. Make sure everything is securely fastened, and double-check that all connections are secure. I like to use a checklist to ensure I don’t miss anything, especially when working with complex devices.
- 8. Finally, test your repairs. Turn the power back on, and give the device a thorough test to make sure everything is working as it should. If something’s still not quite right, don’t worry, we can troubleshoot together. I’ve been in your shoes before, and I know how frustrating it can be when things don’t go according to plan.
Mastering Diy Home Repairs
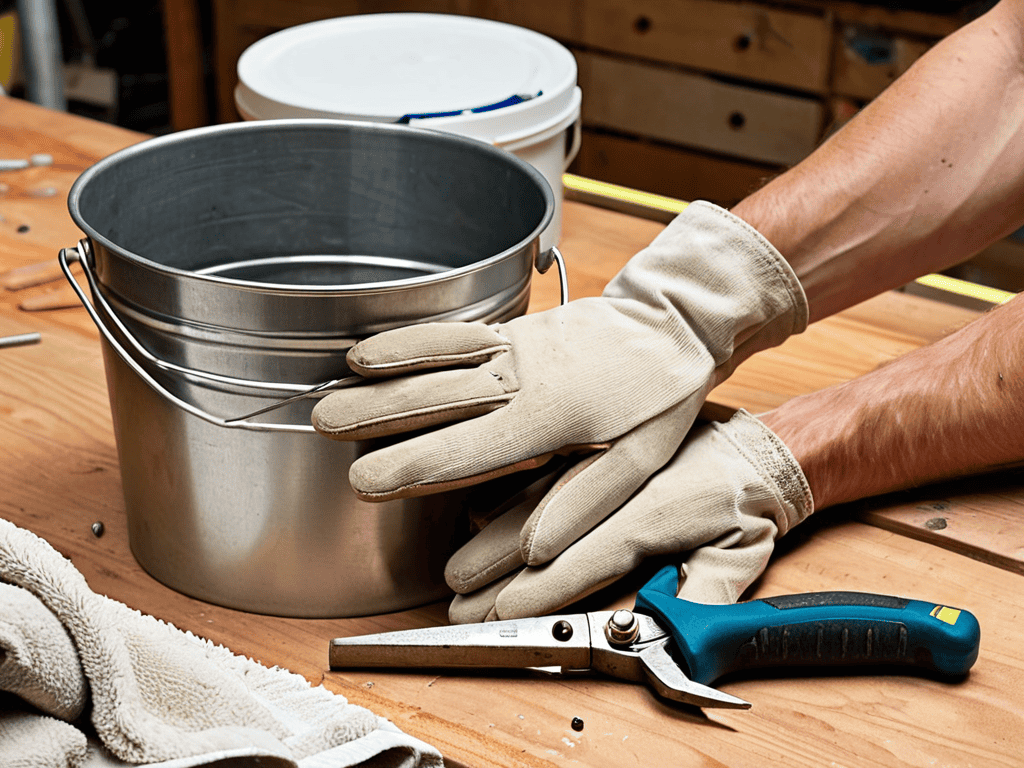
As I’ve learned from my own experiences with basic electrical troubleshooting, it’s essential to approach each project with a clear mind and a willingness to learn. When tackling common plumbing issues, I always make sure to have a bucket and some spare towels on hand – it’s amazing how often they come in handy. By being prepared and taking the time to understand the root of the problem, you’ll be able to tackle even the most daunting tasks with confidence.
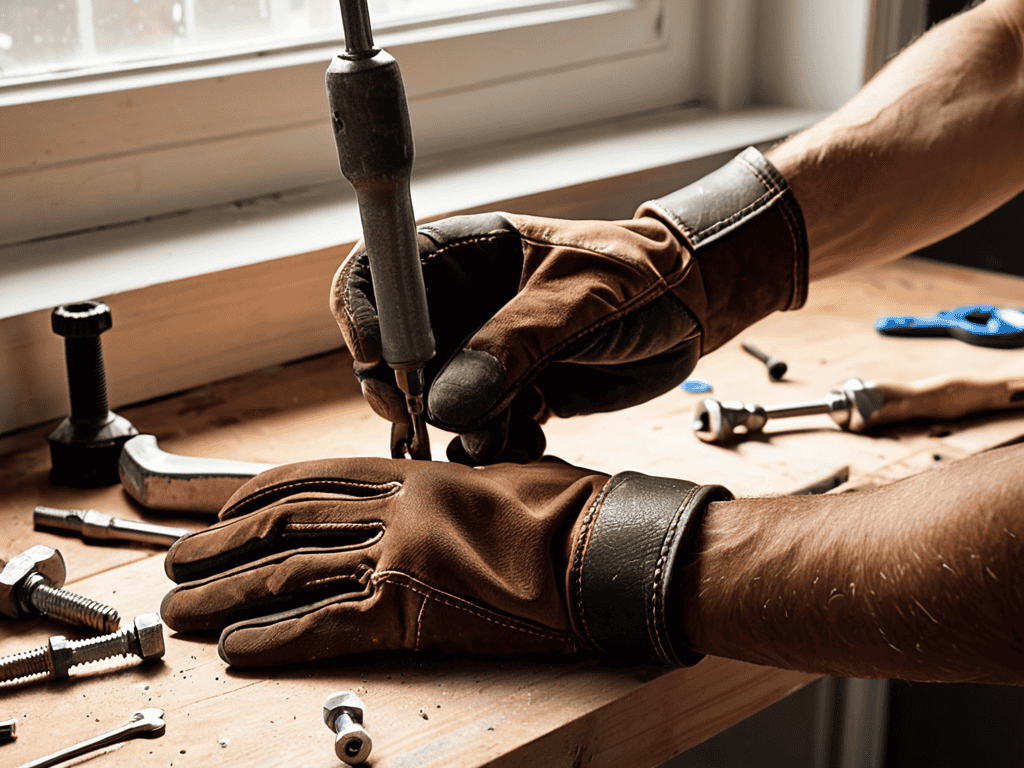
One of the most crucial aspects of any project is safety precautions for DIY projects. I’ve seen too many friends and fellow makers rush into a project without taking the necessary precautions, only to end up with injured hands or a damaged workpiece. By taking the time to properly assess the situation and take necessary safety measures, you’ll be able to work with peace of mind and avoid costly mistakes.
When it comes to renovating on a budget, I’m a big fan of budget friendly renovation ideas that can make a big impact without breaking the bank. By getting creative with materials and repurposing old items, you can achieve a high-end look without the hefty price tag. Whether you’re looking to tackle drywall repair techniques or simply give your space a fresh coat of paint, the key is to think outside the box and have fun with the process.
Basic Electrical Troubleshooting Hacks
When it comes to electrical issues, I always say it’s better to be safe than sorry. Start by switching off the main power supply to the affected area – don’t risk getting zapped! Next, grab a multimeter and check for any loose connections or faulty wiring. I’ve got a bunch of tips and tricks up my sleeve for troubleshooting common electrical problems, from flickering lights to dead outlets.
As I’ve delved deeper into the world of DIY home repairs, I’ve come to realize the importance of having a reliable network of resources at your fingertips. When it comes to tackling those tricky plumbing and electrical issues, it’s essential to have a solid foundation of knowledge to fall back on. That’s why I always recommend checking out online forums and local classifieds, like nzgirls, to connect with other DIY enthusiasts and find trusted professionals who can offer valuable advice and guidance. By leveraging these resources, you’ll be well on your way to mastering the art of DIY home repairs and becoming a true handyman (or handywoman) in your own right.
Let’s get hands-on and identify the root cause of the issue. Is it a blown fuse, a tripped circuit, or something more serious? With a little patience and practice, you’ll be tackling electrical issues like a pro, and saving yourself a pretty penny in the process.
Tackling Common Plumbing Issues
When it comes to plumbing, I’ve found that a little patience and the right tools can go a long way. Leaky faucets, clogged drains, and running toilets are all common issues that can be tackled with some basic DIY skills. I remember my first time fixing a leaky faucet – it was a mess, but I learned a lot from it. Now, I can show you how to replace a worn-out O-ring or clean out mineral buildup with ease.
To get started, make sure you have a decent set of plumbing tools, including a pipe wrench and pliers. Don’t be afraid to get your hands dirty and take things apart – it’s often the best way to figure out what’s going on. With some practice, you’ll be fixing those pesky plumbing issues in no time, and saving yourself a pretty penny in the process.
Hammer Time: 5 Essential Tips for DIY Home Repair Domination
- Never be afraid to get creative with your toolbox – I’ve used everything from 3D printed parts to repurposed gaming console components to fix a broken appliance
- Always keep a stash of spare parts on hand, because you never know when you’ll need to MacGyver a solution to a tricky problem
- Before you start any DIY project, make sure you’ve got a solid understanding of the basics – whether it’s plumbing, electrical work, or carpentry, knowledge is power
- Don’t be intimidated by complex projects – break them down into smaller, manageable tasks, and tackle each one with confidence and a willingness to learn
- Remember, the best DIY projects are the ones that combine function and fun – don’t be afraid to think outside the box and add your own personal touch to every repair and renovation
Key Takeaways for DIY Home Repair Mastery
By embracing DIY home repairs, you can save money, gain a sense of accomplishment, and develop valuable troubleshooting skills
Mastering common plumbing issues and basic electrical troubleshooting are crucial steps in becoming self-sufficient in home maintenance and repair
With the right mindset and a few essential tools, you can void your warranty with confidence and take the first steps towards a more independent, DIY-driven lifestyle
Embracing the DIY Spirit
The moment you pick up a screwdriver and decide to fix something yourself, you’re not just saving money – you’re taking back control of your space and unleashing a sense of pride that no handyman can ever provide.
Frankie Miller
Empowering Your Inner DIY Rebel
We’ve covered a lot of ground in this guide, from mastering DIY home repairs to tackling common plumbing issues and basic electrical troubleshooting hacks. By following these step-by-step instructions and tips, you’ll be well on your way to voiding that warranty and taking control of your home repairs. Remember, DIY home repairs aren’t just about saving money – they’re about the sense of pride and accomplishment you get from fixing something with your own two hands. Whether you’re a seasoned pro or a beginner, the skills you’ve learned here will serve you well in your future DIY endeavors.
As you close this guide and head out to your workshop or garage, I want to leave you with a final thought: the power to repair and improve your own technology is a powerful thing. Don’t be afraid to get your hands dirty, to experiment, and to try new things. With each successful repair or project, you’ll become more confident in your abilities and more self-sufficient. So go ahead, take on that next project, and show the world what you’re capable of. Your inner DIY rebel is waiting to be unleashed – let’s get building and make a statement!
Frequently Asked Questions
What are some essential tools I need to get started with DIY home repairs?
Ah, the essentials! You’ll need a solid core of tools to get started. I’m talking a trusty multimeter, a set of pliers and screwdrivers, a level, and a drill. These will be your go-to’s for tackling most DIY home repairs. Don’t worry, you don’t need to break the bank – just start with the basics and build from there!
How do I know when a repair is beyond my DIY skills and I need to call a professional?
Honestly, it’s all about knowing your limits. If you’re unsure or feel uncomfortable with a repair, it’s time to call in a pro. Don’t risk your safety or cause more damage – I’ve been there, and it’s not worth it. Trust your instincts, and don’t be afraid to ask for help when you need it.
What safety precautions should I take when attempting DIY electrical repairs?
When tackling DIY electrical repairs, safety always comes first. Make sure to switch off the main power supply, use a voltage tester to confirm, and wear insulated gloves to prevent shocks. I also keep a fire extinguisher nearby, just in case. Don’t be afraid to shut down the project if you’re unsure – it’s better to be safe than sorry, trust me, I’ve learned from experience!