


I was halfway through mounting a heavy oak floating shelf in my workshop last summer when I heard that sickening crunch—the sound of a drill bit hitting a stud at the wrong angle and sending a chunk of drywall flying like shrapnel. I stood there, staring at the crater I’d just carved into my workspace, thinking, “Well, there goes the afternoon.” Most people think you need a degree in structural engineering or a massive industrial drill to get things on the wall, but that’s a lie. Learning how to hang shelves without wrecking a wall isn’t about having the most expensive tools; it’s about understanding exactly what’s happening behind that thin layer of plaster and paint before you ever pull the trigger on a power tool.
I’m not going to give you some sanitized, “safety-first” manual that skips the messy reality of DIY. Instead, I’m going to walk you through my personal toolkit and the exact workflow I use to ensure every bracket stays exactly where I put it. We’re going to talk about finding studs without the guesswork, picking the right anchors so your stuff doesn’t end up in a pile on the floor, and avoiding those dreaded mistakes that turn a simple project into a massive repair job. Let’s get to work.
Guide Overview
Tools & Supplies
- Stud finder to locate wall supports
- Power drill with masonry or wood bits
- Spirit level to ensure evenness
- Pencil for marking holes
- Shelving unit or brackets
- Wall anchors (appropriate for drywall or masonry)
- Screws (matching anchor size)
Step-by-Step Instructions
- 1. First things first, grab your stud finder. I know, I know, it feels like one of those “extra” steps, but if you want to avoid a shelf that ends up slowly migrating toward the floor, you need to find the wood behind that drywall. Sweep the sensor across your target area and mark every spot where it hits a stud with a pencil. If you’re lucky enough to hit a stud, you’re golden; if not, don’t panic—we’ve got plenty of other ways to make this work.
- 2. Now, let’s talk about the “secret weapon” in my toolbox: the drywall anchor. If you aren’t mounting directly into a stud, do not—I repeat, do not—just screw a nail into the wall and hope for the best. You need to pick the right anchor for the weight of what you’re hanging. If you’re putting up a light little plant shelf, a basic plastic plug might do, but if you’re planning on displaying a heavy collection of retro game consoles, you’ll want the heavy-duty toggle bolts.
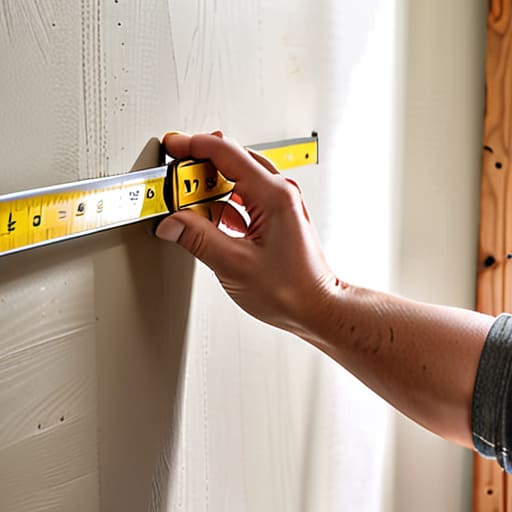
- 3. Once you’ve picked your anchors, it’s time to play architect. Grab a level (or a leveling app on your phone if you’re feeling lazy, though a real one is better) and mark your exact holes. I always use a bit of blue painter’s tape across the area where I’m working; it gives me a clean surface to mark my pencil lines on and, more importantly, it prevents the drill bit from skidding across your paint job when you first make contact.
- 4. Time to get the drill out. This is where most people mess up by going too fast or too deep. Start with a drill bit that matches the diameter of your anchor. Slow and steady wins the race here; apply firm, even pressure and let the bit do the work rather than leaning your whole body weight into it. If you feel it suddenly “pop” through to the other side, stop immediately—you don’t want to accidentally puncture a water pipe or an electrical wire hiding in the wall.
- 5. Now, let’s get those anchors seated. Take your anchor and tap it into the hole with a hammer until it’s flush with the wall surface. If it feels like it’s fighting you, don’t just keep smashing it; stop, check if the hole is big enough, and maybe give it a tiny bit more wiggle room with the drill. A loose anchor is a recipe for a broken shelf and a very frustrated maker.
- 6. With the anchors locked in, you can finally drive your screws home. Position your shelf bracket over the anchors and start driving the screws. I like to do this in a cross-pattern—start with the top left, then bottom right—to make sure the bracket sits perfectly flat against the wall. If you see the bracket starting to pull away from the wall as you tighten, your anchor might be slipping, so back off and re-check your fit.
- 7. The final test: the weight check. Before you go out and buy that massive collection of heavy books or gear, give the shelf a gentle tug to make sure everything feels solid. If it wobbles, something isn’t seated right. If it feels like a rock, congratulations! You’ve just successfully conquered your wall without leaving a single crater behind. Now, go ahead and load it up!
Mastering No Drill Shelf Installation Methods for Total Control
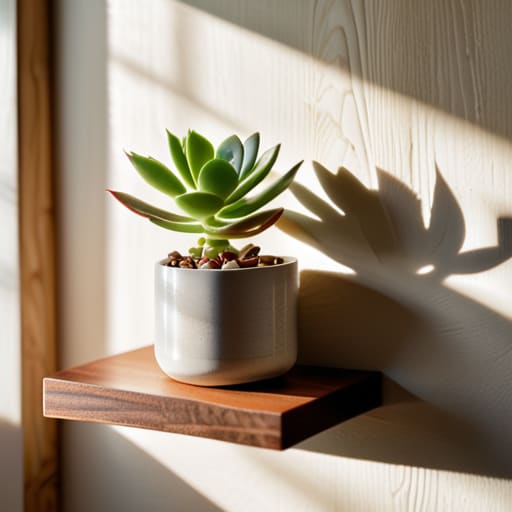
Now, I know what some of you are thinking: “Frankie, if I don’t use a drill, is this thing actually going to stay up, or am I just decorating with hope?” I get it. I’ve definitely had a shelf full of heavy-duty soldering irons take a dive because I got overconfident. When you’re looking into no drill shelf installation methods, you have to be realistic about your load limits. If you’re just hanging some lightweight succulents or a few Polaroid photos, you’re golden. But if you’re trying to stack your entire collection of vintage GameBoy cartridges, you need to move past the basic stuff.
For those of us living in apartments where the landlord treats every scuff like a felony, you’ve got to master the art of damage free shelf mounting options. Don’t just grab the first thing you see at the big-box store. If you’re going the adhesive route, look for the best adhesive shelf brackets specifically rated for the weight you’re planning to stack. And a pro tip from my workshop: always, always clean that wall with isopropyl alcohol first. If there’s even a microscopic layer of dust or oil, that adhesive is going to fail, and you’ll be cleaning up a mess instead of enjoying your new setup.
Renter Friendly Wall Decor Tips That Actually Hold Weight
Now, I know what some of you are thinking: “Frankie, I can’t exactly go drilling holes into my landlord’s walls if I want my security deposit back.” I get it—I’ve been there, living in cramped apartments where every scuff feels like a crime. If you’re looking for renters friendly wall decor tips that won’t result in a lecture from your property manager, you have to stop thinking about nails and start thinking about surface tension and specialized adhesives.
When you’re dealing with lighter stuff—think small succulents or a couple of lightweight figurines—you can get pretty creative. I’ve had massive success using command strips for heavy shelves, but here is the secret most people miss: you have to let the adhesive cure. Don’t just slap it on and immediately load it up with your favorite tech gear. Give it a full 24 hours to bond with the wall surface. If you’re eyeing something a bit more substantial, look into damage free shelf mounting options like tension-based systems or specialized adhesive brackets designed specifically for smooth surfaces. Just remember, always test your weight limits before you commit your prized possessions to a piece of tape!
Pro-Tips to Keep Your Drywall From Turning Into Swiss Cheese
- Get yourself a stud finder that actually works, not one of those cheap plastic ones that just tells you where the wall is. If you can hit a stud, you’re golden; if not, make sure you’re using the right anchors so you aren’t just spinning screws in a hole of dust.
- Always, and I mean always, double-check for hidden electrical lines or plumbing before you go drilling. I’ve seen too many guys turn a simple shelf project into a house-wide blackout because they didn’t bother to check what was running behind the drywall.
- Use a level—and I’m not talking about “eyeballing it” or using a level app on your phone. If your shelf is even a tiny bit off, it’s going to look amateur, and eventually, gravity is going to pull your stuff right off the edge.
- Don’t go overboard with the weight. Just because a shelf says it holds 20 lbs doesn’t mean you should pile your heavy-duty hardback books on it. Leave a little buffer room so you aren’t constantly stressing the hardware.
- Keep a small tub of spackle and a putty knife nearby. If you do mess up a hole or have to move a shelf later, you can patch it up in five minutes and make it look like you were never even there. It’s the ultimate “undo” button for your walls.
The Final Inspection
At the end of the day, whether you went the route of heavy-duty Command strips for those lightweight knick-knacks or decided to play it smart by hunting down the studs for your heavy book collection, the goal was the same: getting your gear up there without leaving a disaster behind. We’ve covered everything from the “no-drill” life to the precision required for a clean, professional-looking installation. Just remember, the biggest mistake people make isn’t the hardware they choose, but forgetting to double-check the weight limits before they start loading up those shelves. If you’ve measured twice and picked the right anchors, you’re already ahead of 90% of the DIYers out there.
Now, don’t let a little bit of drywall anxiety keep you from making your space feel like home. Technology and home improvement shouldn’t be intimidating, and your walls shouldn’t feel like a museum piece you’re afraid to touch. I want you to look at those shelves not just as storage, but as a victory for your own skills. You took a project, you did the math, you grabbed the tools, and you actually finished it. That’s how you grow as a maker. So, go ahead—mount that shelf, display those collectibles, and stop living in a space that feels like it belongs to someone else. You’ve got this!
Now, before you go full mad scientist and start drilling into every stud you find, you really need to get a handle on the actual load-bearing limits of your specific wall type. I’ve made the mistake of thinking a heavy vintage console could sit on a flimsy drywall anchor, and let me tell you, the sound of that shelf hitting the floor is a heartbreaking noise you don’t want to experience. If you’re feeling a bit unsure about which hardware matches your setup, you can see for yourself how the right components make all the difference between a sturdy display and a total disaster. Taking five minutes to double-check your specs now will save you a massive headache (and a lot of spackle) later.