


I was sitting in my workshop last Tuesday, shivering so hard I could barely hold my soldering iron, when I realized the culprit wasn’t the broken heater—it was that ancient wooden window staring me in the face. Most people will tell you that once your windows start leaking air, you’re stuck with a massive bill for high-end replacements or some overpriced, “smart” insulation system. That is a total lie. You don’t need to replace the whole frame to win this battle; draught-proofing an old window is actually a project you can tackle with some basic materials and a bit of grit. Honestly, those “energy-efficient” window companies are just banking on you being too intimidated to try a DIY fix.
In this guide, I’m stripping away all the marketing fluff and showing you exactly how to seal those gaps for good. We’re going to dive into the real-world stuff: from choosing the right weatherstripping to the secret weapon of using clear caulk to plug those tiny, invisible leaks. I’ll walk you through my personal toolkit and the common mistakes that turn a quick fix into a massive headache. Let’s get to work and stop letting your hard-earned heat escape through the cracks!
Guide Overview
Tools & Supplies
- Measuring tape for window dimensions
- Utility knife for trimming materials
- Screwdriver for adjusting hardware
- Self-adhesive weatherstripping roll
- Caulk tube and caulking gun
- Clear silicone sealant
- Microfiber cloth for cleaning surfaces
Step-by-Step Instructions
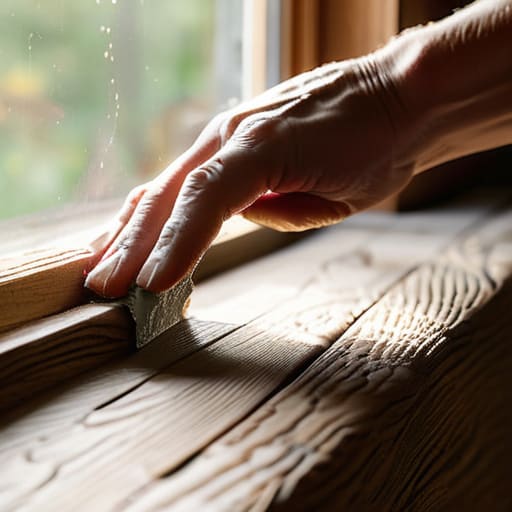
- 1. First things first, we need to clear the workspace and get a real look at the enemy. Grab a screwdriver and some old rags, and strip away any peeling paint or crumbling putty that’s hanging on for dear life. I always tell people to really inspect the tracks and the meeting rails where the two window sashes touch; if there’s gunk or debris in there, your new seals won’t sit flush, and we’ll be right back where we started.
- 2. Now, let’s talk about the “holy grail” of DIY window fixes: the gaps between the sash and the frame. Grab a can of compressed air or a stiff brush to get all that dust out of the crevices. Once it’s clean, we’re going to apply some high-quality V-seal weatherstripping. It’s this clever little plastic strip that folds into a ‘V’ shape; as the window closes, it compresses to create a tight barrier that’s way more effective than those cheap foam strips you see at the big-box stores.
- 3. If your windows are the old-school wooden type with those little putty grooves, we need to check the glazing. If the putty is cracked or falling out, it’s basically a highway for cold air to enter your living room. Scrape out the loose stuff with a putty knife—don’t be afraid to get a little messy here—and then apply some fresh glazing compound. Smooth it out with a damp finger, and just remember: less is more when you’re smoothing it to avoid a massive globby mess.
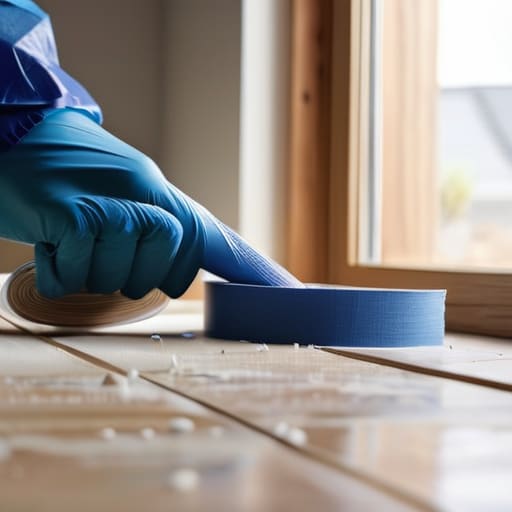
- 4. Next up, we’re going to tackle the “hidden” leaks. Even with great seals, air loves to sneak in through the tiny gaps in the window frame itself. This is where I reach for my favorite hack: clear silicone caulk. Run a thin, steady bead along the perimeter where the window frame meets the wall. If you’re worried about making a mess, just lay a line of painter’s tape on both sides first, apply the caulk, and then peel the tape away immediately for a professional, razor-sharp line.
- 5. For those heavy, drafty windows that feel like they’re barely staying in place, let’s look at the hardware. If the sash doesn’t pull tight against the frame, no amount of sealant will save you. Check the sash locks; if they’re loose or stripped, tighten them up or replace them with something beefier. A window that locks tight is a window that stays sealed, period.
- 6. If you’ve got those massive, single-pane windows that feel like ice blocks, we’re going to go nuclear with some window film. It sounds a bit “temporary,” but hear me out. You just apply some double-sided tape to the frame, slap on this clear plastic shrink film, and then hit it with a hairdryer. It shrinks tight across the frame, creating a dead-air space that acts like a makeshift double-pane window. It’s a total game-changer for those freezing winter nights.
- 7. Finally, once everything is installed and the caulk has had time to cure, do a final “stress test.” Grab a stick of incense or a candle and slowly move it around the edges of the window. If the flame flickers, you’ve still got a leak, and you need to go back and plug that gap. Don’t stop until that flame stays perfectly still—we’re aiming for a fortress, not a sieve!
Weatherstripping Old Wooden Windows to Reclaim Your Warmth
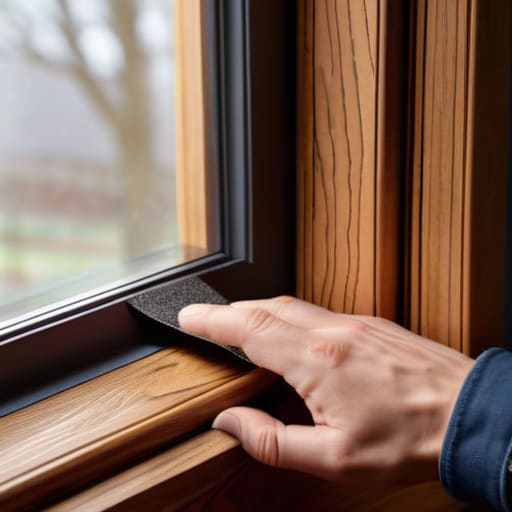
Now, let’s talk about the real MVP of this whole operation: the weatherstripping. If you’ve got those classic, beautiful wooden frames, don’t go thinking they’re useless just because they’re leaky. In fact, weatherstripping old wooden windows is one of the most satisfying ways to breathe new life into a drafty room. I always recommend grabbing some high-quality V-seal or adhesive foam strips. Before you stick anything down, though—and this is where most people mess up—you’ve got to clean that wood like your life depends on it. If there’s old dust or flaky paint in the way, your new seal is going to peel off faster than a cheap sticker on a custom PC case.
While you’re at it, take a close look at the perimeter where the wood meets the wall. If you see any visible cracks, don’t just ignore them; a little bit of caulking window frames can make a massive difference in reducing heat loss through windows. It’s all about creating a continuous barrier. Think of it like cable management in a build—it might seem tedious now, but once it’s done right, everything runs so much smoother.
Seal Window Gaps for Winter and Stop the Drafts
Now, even after you’ve tackled the weatherstripping, you might still feel that sneaky little chill creeping in. That’s usually because we missed the tiny, invisible fissures where the frame meets the wall. This is where you need to get serious about caulking window frames. Grab a high-quality, paintable silicone caulk and a small caulk gun. I always tell people: don’t just glob it on. You want to press the bead firmly into the seam to ensure a continuous airtight barrier. If you skip this, you’re basically leaving a side door open for the cold to sneak in.
If you’re dealing with a particularly nasty window that’s just too old or drafty to fix with hardware alone, don’t panic. I’ve had some real “win” moments using a window insulation film application to bridge the gap. It’s basically a clear plastic shrink-wrap for your glass. You tape it to the frame and hit it with a hairdryer until it’s taut and invisible. It’s a total game-changer for reducing heat loss through windows without needing a massive renovation budget. It’s cheap, it’s effective, and it works.
Frankie’s Pro-Tips: The Little Things That Make or Break Your Build
- Don’t just guess where the air is coming from—grab a stick of incense or a lighter and run it slowly around the frame. Where the smoke dances or the flame flickers like crazy, that’s your target. It’s like finding a leak in a pressurized cooling loop; you gotta be precise!
- Before you slap any adhesive or sealant down, clean those wooden tracks like your life depends on it. I’m talking isopropyl alcohol and a microfiber cloth. If there’s old dust or flaky paint in the way, your new weatherstripping is going to peel off faster than a cheap sticker on a custom PC case.
- Check your glazing putty! If you see cracks or chunks of old, dried-up putty around the glass, that’s a massive thermal leak. Scrape out the old stuff, clean it, and apply some fresh glazing compound. It’s a bit of a tedious job, but it’s the difference between a solid seal and a drafty mess.
- Mind the hardware. Sometimes the draft isn’t coming through the frame, but through the sash locks themselves. If your old window latches don’t pull the two parts of the window tight against each other, no amount of foam strip is going to save you. A quick adjustment to the strike plate can make a world of difference.
- Avoid the “over-stuffing” trap. It’s tempting to just jam massive amounts of expanding foam into every crack you see, but be careful. If you use too much, you can actually bow the window frame or make it impossible to open the window when spring rolls around. Think precision, not just volume!
Mission Accomplished: Your Windows Are Finally Yours
So, there you have it. We’ve gone from shivering in a drafty living room to having a home that actually holds its heat. By tackling those gaps with the right sealant, slapping some fresh weatherstripping on those wooden frames, and maybe even adding a bit of heavy-duty film if things were looking really grim, you’ve done more than just save a few bucks on your heating bill. You’ve effectively reclaimed your environment from those old, leaky window designs. It wasn’t just about plugging holes; it was about understanding how your home works and taking the initiative to fix it instead of just letting the cold win.
Honestly, I hope this project gave you a little taste of that DIY high. There is nothing quite like the feeling of looking at a piece of hardware—or in this case, a piece of architecture—and knowing that you didn’t just call a guy to fix it, but you took control yourself. Don’t let this be the last time you stare at a problem and think, “I can handle that.” Whether it’s a drafty window, a broken game console, or a glitchy Raspberry Pi, the tools are in your hands. Go out there, keep tinkering, and never let a “Do Not Open” sticker stand in your way.
Now, while you’re hunkered down working on these windows, you might realize that DIY projects like this are way more fun when you’ve got a community to bounce ideas off of—especially when you hit a snag with a specific tool or a weird hardware issue. If you ever find yourself looking to connect with other makers or just want to find some great local connections while you’re out and about, checking out meeting people casually in California is a solid way to expand your circle. Honestly, whether it’s swapping tips on weatherstripping or just finding someone who appreciates a well-executed home hack, having that human element makes the whole “right to repair” lifestyle a whole lot more rewarding.