


I was staring at my studio apartment floor last Tuesday, completely buried under a mountain of half-finished Raspberry Pi projects, tangled jumper wires, and a stack of old console shells, thinking: there has to be a better way. Most people will tell you that living in a tiny space means you just have to accept the clutter or spend a fortune on those flimsy, particle-board organizers from big-box stores that fall apart if you look at them wrong. But that’s a lie. Learning how to build simple storage for a small flat isn’t about buying more stuff; it’s about reclaiming your square footage with custom, rugged solutions that actually fit your specific gear.
In this guide, I’m skipping the expensive designer catalogs and getting straight to the workbench. I’m going to show you how to use basic materials—think scrap plywood, some heavy-duty brackets, and maybe a bit of 3D-printed custom casing—to create modular storage that works as hard as you do. We aren’t just making shelves; we are building a custom ecosystem tailored to your life. Let’s stop fighting your floor plan and start building something that actually lasts.
Guide Overview
Tools & Supplies
- Measuring tape for accurate cuts
- Power drill for assembly
- Sandpaper for smoothing edges
- Screwdriver for driving screws
- Plywood or pine boards (2 large sheets)
- Wood screws (1 box of assorted sizes)
- Wood glue (1 bottle)
- Sandpaper (1 pack multi-grit)
Step-by-Step Instructions
- 1. First things first, we need a game plan so we don’t end up with a pile of expensive sawdust. Grab a measuring tape—and I mean actually measure twice—and map out that awkward corner or that weird gap between your desk and the wall. I always grab a piece of graph paper to sketch this out first; it helps you visualize how much gear you’re actually trying to cram into this build before you start cutting into anything.
- 2. Next, let’s talk materials. Forget those pre-fab particle board kits from the big-box stores that crumble if you look at them funny; we’re going with reclaimed plywood or solid pine. I usually hit up local lumber yards or even check the scrap bins at construction sites for high-quality offcuts. It’s cheaper, tougher, and honestly, it gives the piece a character that those mass-produced flat-packs just can’t touch.
- 3. Time to get the cutting done. If you don’t own a table saw, don’t sweat it—a simple circular saw with a straight-edge guide will do the trick just fine. Lay out your pieces on your wood, mark your lines with a sharp pencil, and take your time. Slow and steady wins the race here; a slightly wonky cut is a pain to fix, but a clean, straight line makes the whole assembly process feel like a breeze.
- 4. Now we move into the assembly phase, and this is where most people mess up by over-tightening everything. I like to use a combination of wood glue and pocket-hole screws to keep things rock solid. The glue is actually what does the heavy lifting once it cures, so don’t be stingy with it. Grab some clamps to hold everything in place while you’re driving those screws; you want those joints to be perfectly square or your whole shelf is going to wobble like a broken joystick.
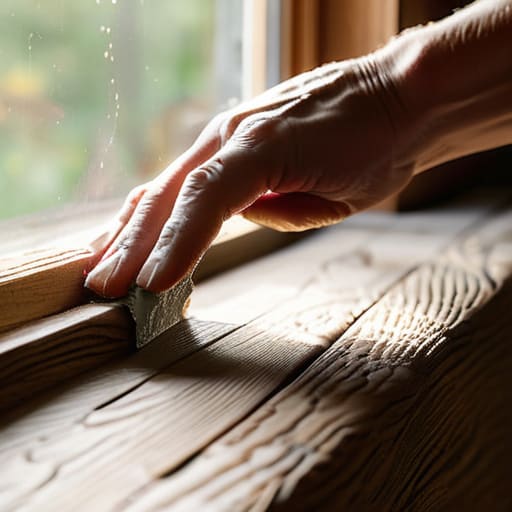
- 5. Once the structure is upright and stable, we need to prep the surface. Sanding is the part everyone hates, but trust me, it’s the difference between a “DIY project” and actual furniture. Start with a coarse grit to knock down the bumps and work your way up to a fine grit until the wood feels smooth as silk. If you skip this, your finished product is going to look scratchy and amateur, and we’re aiming for something you’re actually proud to show off.
- 6. Finally, let’s give it some personality with a finish. Since we’re in a small flat, I recommend a clear matte wax or a simple oil finish. It’s way easier to apply than heavy polyurethane, it doesn’t smell like a chemical factory, and it lets the natural grain of the wood really pop. Just wipe it on with a lint-free rag, let it soak in, and you’ve officially turned a pile of scrap into a custom piece of tech-ready storage that fits your space perfectly.
Ditch the Store Bought Junk With Diy Space Saving Furniture
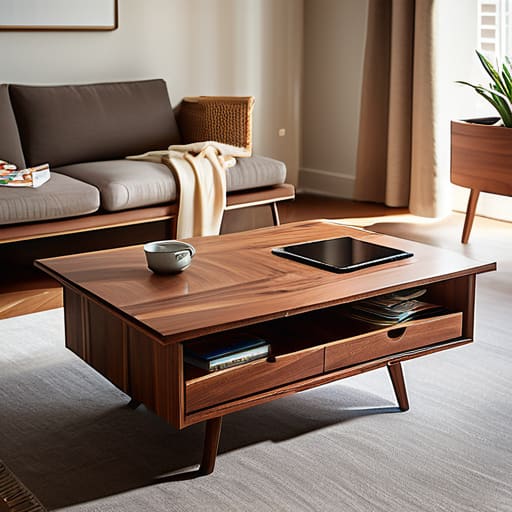
Look, I’ve spent way too many hours wandering through those massive furniture warehouses, staring at particle-board bookshelves that wobble if you even breathe on them. They’re expensive, they’re flimsy, and they never quite fit the weird nooks of a real apartment. If you want to actually win the battle for your floor plan, you’ve got to start thinking about multi-functional furniture builds. Why settle for a coffee table that just sits there when you can build one with a hidden compartment for your gaming controllers or a lift-top mechanism to turn it into a desk?
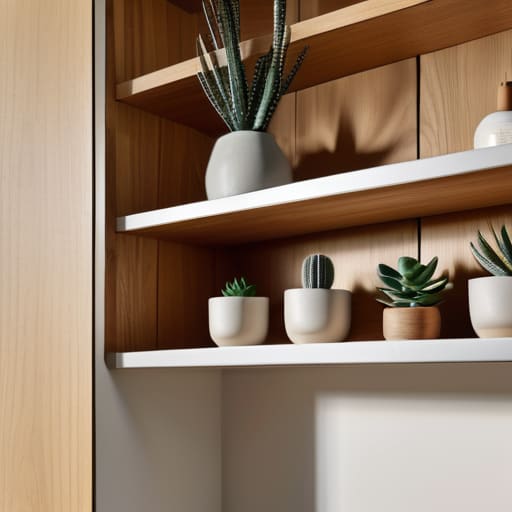
When you’re working with tight quarters, the secret weapon is always going up. I’m a huge advocate for vertical storage ideas for apartments because most people completely ignore the space between their head and the ceiling. Grab some scrap plywood, some sturdy brackets, and build some modular shelving units that run all the way to the rafters. It’s much more satisfying to look up at a custom rig you built yourself than to stare at a cluttered floor. Plus, it keeps your gear off the ground and makes the whole room feel way less claustrophobic.
Mastering Vertical Storage Ideas for Apartments and Tight Corners
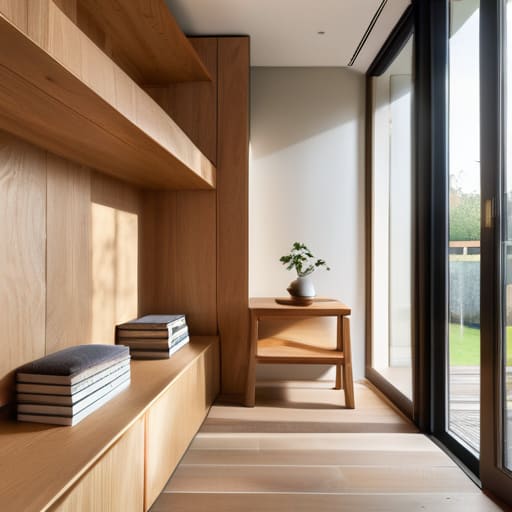
Look, if you’re living in a cramped studio, the biggest mistake you can make is thinking only in terms of floor space. Stop looking at your square footage and start looking at your walls! When you run out of room to walk, you’ve got to start climbing. I’m a huge fan of building modular shelving units that you can actually customize as your gear grows. Instead of buying one massive, heavy bookshelf that eats up a corner, I like to screw lightweight wooden slats directly into the studs. It’s a total game-changer for maximizing square footage without making the room feel like a cluttered warehouse.
Don’t forget those awkward, “dead” zones like the gaps between your fridge and the wall or that weird corner behind your door. Those are prime real estate for custom-built, slimline pull-out carts. I once built a rolling spice and tool rack that was only four inches wide just to squeeze into a gap in my workshop. These kinds of vertical storage ideas for apartments turn useless voids into high-value zones. If it’s not being used, it’s wasted space—so grab your drill and claim it!
Pro-Tips from the Workbench: How to Build Smarter, Not Just Bigger
- Measure three times, cut once, and then measure again—seriously. In a tiny flat, even a half-inch mistake means your custom shelf is either wonky or won’t fit in that precious gap between the fridge and the wall. Grab a digital caliper if you have one; precision is your best friend when square footage is at a premium.
- Go heavy on the modularity. Don’t build one massive, monolithic cabinet that’s impossible to move; build a series of smaller, interlocking units. That way, if you move to a bigger place (or a smaller one!), you can rearrange your setup like a game of Tetris instead of hauling a heavy beast through a narrow doorway.
- Don’t ignore the ‘dead zones.’ I’m talking about the awkward spaces above door frames, the gap under your bed, or that weird corner behind the radiator. I’ve spent hours 3D printing custom brackets just to squeeze a tiny bit of extra storage out of a space that most people would just ignore. Use it!
- Think about “hidden” functionality. A storage bench isn’t just a place to sit; it’s a chest for your seasonal gear. A coffee table shouldn’t just be a slab of wood; it should have a compartment for your cables and controllers. If a piece of furniture doesn’t serve at least two purposes, it’s wasting your space.
- Invest in good hardware, not just pretty wood. You can have the most beautiful reclaimed timber in the world, but if you use cheap, flimsy hinges or drawer slides, your storage is going to fail within a month. Spend the extra few bucks on heavy-duty runners and solid fasteners; your future self will thank you when the drawers actually glide.
Final Thoughts Before You Grab Your Tools
Look, we’ve covered a massive amount of ground today. From ditching those flimsy, particle-board shelves that wobble if you sneeze too hard, to reclaiming every single inch of your walls with custom vertical setups, the goal was always the same: stop letting your floor plan dictate how you live. We talked about building modular pieces that actually fit your specific nooks and crannies, and how to use scrap materials to create something far more durable than anything you’d find in a big-box retail catalog. Remember, the secret isn’t just about finding more space; it’s about building smart, custom solutions that work with your apartment instead of against it.
At the end of the day, I don’t want you to just look at your cramped living room and feel defeated. I want you to look at it and see a canvas. Every empty corner is just a project waiting to happen, and every awkward gap is an opportunity to flex those maker muscles. Don’t be intimidated by a pile of wood or a new power tool; just start small, learn as you go, and don’t be afraid to make a few mistakes along the way. Once you realize that you have the power to reshape your own environment, you’ll never look at a “Do Not Enter” or “Small Space” warning the same way again. Now, get out there and start building!
Now, if you’re feeling a bit stuck on the design side or just want to see how other makers are tackling their own cramped living quarters, don’t just sit there staring at a blank blueprint. I always find that getting some fresh eyes on a problem is the fastest way to a breakthrough, so I highly recommend checking out the SextingUSA community to see what kind of creative hacks and unconventional setups other people are pulling off. It’s a goldmine for when you need that extra bit of inspiration to keep pushing through a tricky build.