

I remember staring at my first studio apartment, surrounded by a mountain of half-unpacked boxes and cables, feeling like the walls were literally closing in on me. I went to the big-box furniture stores, but everything was either overpriced, flimsy particle board that would collapse if you looked at it wrong, or massive wardrobes that were never going to fit my floor plan. People keep telling you that you just need to “buy more organizers,” but that’s a lie; you don’t need more junk, you need better systems. If you want to actually reclaim your living space, you need to learn how to build simple storage for a small flat using materials that actually last and dimensions that actually work for your specific corners.
In this guide, I’m ditching the complicated blueprints and expensive power tool requirements. I’m going to show you how to use basic scrap wood and some clever mounting tricks to create custom shelving and modular units that maximize every single inch of your square footage. We aren’t just organizing; we are engineering solutions tailored to your home. Let’s grab our drills, clear off the workbench, and finally get this place under control.
Guide Overview
Tools & Supplies
- Measuring tape for accurate cuts
- Power drill for assembly
- Sandpaper for smoothing edges
- Screwdriver for manual tightening
- Plywood or MDF board (1 large sheet)
- Wood screws (1 box)
- Wood glue (1 bottle)
- Paint or varnish (1 small can)
Step-by-Step Instructions
- 1. First things first, we need to ditch the “one size fits all” mindset. Grab a measuring tape and a pencil, and walk through your flat like you’re a surveyor. I want you to find those awkward, dead spaces—the gap between your wardrobe and the wall, the corner under the stairs, or even that weirdly tall sliver of space next to your fridge. Measure twice, because trust me, nobody wants to build a custom unit only to realize it’s two millimeters too wide to fit through the door.
- 2. Now, let’s talk materials. You could run to the big-box hardware store and buy expensive, pre-finished plywood, but if you’re like me, you’ve probably got some scraps lying around from a previous project. I personally love using 12mm or 15mm birch plywood; it’s sturdy, looks great even without a fancy finish, and is easy enough to cut with a basic circular saw. If you’re on a tight budget, look for “offcuts” at the timber yard—it’s like scavenging for gold in a junkyard.
- 3. Time to get the layout mapped out. Grab a large sheet of cardboard (an old delivery box works perfectly) and draw your design at full scale. This is my secret weapon for avoiding mistakes. If you’re building a modular shelving unit, draw each individual box or shelf on the cardboard first. This lets you visualize how they stack and, more importantly, helps you spot any design flaws before you ever touch a saw or drive a single screw.
- 4. Let’s get cutting. If you don’t own a table saw, don’t sweat it—you don’t need a professional workshop to do this. A simple hand saw or a basic jigsaw will get the job done if you’re patient. The trick to getting clean edges without a massive setup is to use a guide. Clamp a straight piece of scrap wood to your workpiece to act as a fence for your saw; it’ll keep your cuts straight and prevent that dreaded “jagged edge” look that makes DIY look amateur.
- 5. Time to bring it all together with some assembly. I’m a huge fan of using wood glue combined with pocket hole screws. The glue provides the real structural strength, while the screws act like temporary clamps that hold everything in place while the bond sets. If you don’t have a pocket hole jig, don’t panic; just pre-drill your holes! If you skip pre-drilling, you’re almost guaranteed to split your wood, and that’s a mistake that’s a real pain to fix once the glue is dry.
- 6. Once your structure is solid, it’s time for the “customization” phase. This is where you make it yours. Since we’re talking small flats, I highly recommend adding heavy-duty casters (wheels) to the bottom. Being able to roll your storage unit out of the way to clean or to access something behind it is a total game-changer. It turns a static piece of furniture into a dynamic, modular tool for living.
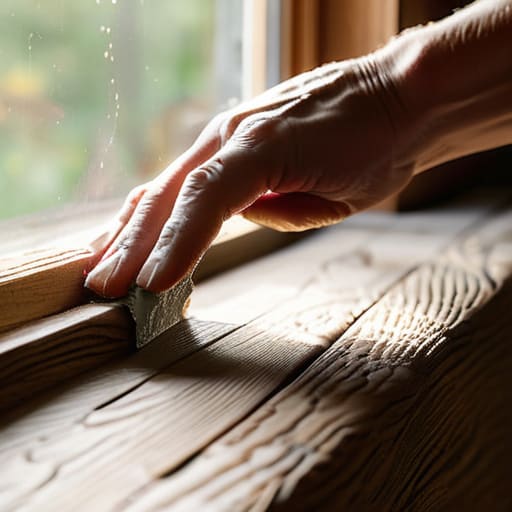
- 7. Finally, give it a quick sand and a finish. Don’t go overboard with expensive stains; a simple wipe-down with some linseed oil or even a matte clear coat will protect the wood and make those grain patterns pop. While you’re at it, check all your joints one last time. A little bit of troubleshooting now prevents a wobbly shelf from collapsing on your electronics later. Now, grab a coffee, sit back, and admire what you just built from scratch!
Mastering Vertical Storage Ideas for Apartments and High Walls
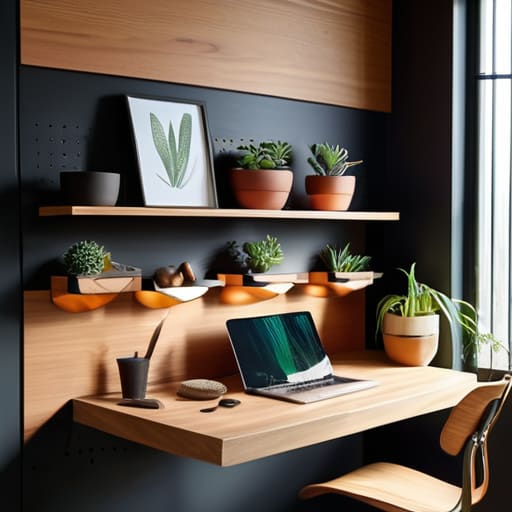
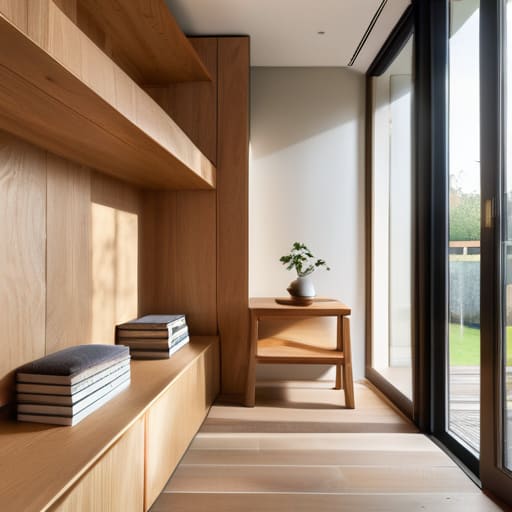
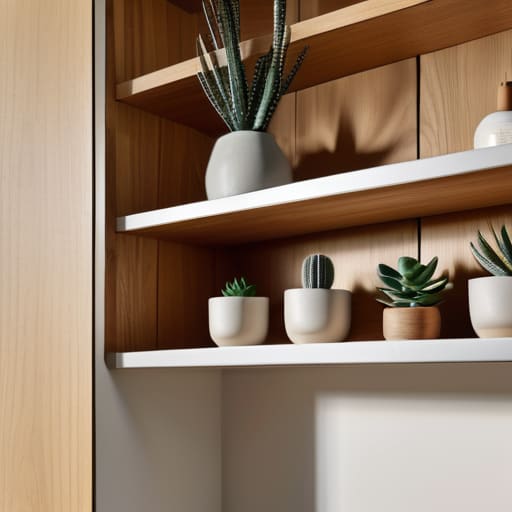
Look, if you feel like you’re running out of floor space, you’re probably looking at the wrong dimension. Most people focus on the footprint, but in a cramped flat, your best friend is the empty air between your head and the ceiling. Stop thinking about where a cabinet can sit and start thinking about where it can hang. I’ve spent way too many nights staring at my workshop walls, realizing that vertical storage ideas for apartments are the only way to keep my gear from swallowing my desk. I’m talking about heavy-duty pegboards, wall-mounted tracks, or even custom-built floating shelves that use every inch of that dead space above your door frames.
The real secret, though, is building multi-functional shelving units that don’t just sit there looking pretty. I love a good modular system—something you can screw into the studs and expand as your collection grows. If you’re handy with a drill, don’t settle for those flimsy, pre-fab towers from big-box stores that wobble if you sneeze. Build something deep, build it high, and make it permanent. When you reclaim your walls, you aren’t just organizing; you’re actually gaining back your living room.
Constructing Modular Storage for Tiny Homes and Tight Corners
Now, let’s talk about those awkward, “dead” corners that seem to serve no purpose other than collecting dust bunnies. Most people see a weirdly angled corner or a narrow gap between the fridge and the wall as a lost cause, but I see it as an opportunity. I love building modular storage for tiny homes because it lets you adapt to the geometry of your space rather than forcing a standard, bulky shelf into a spot where it clearly doesn’t belong. My trick? Use lightweight plywood or even repurposed MDF to create small, interlocking cubbies. You can stack them, rearrange them when you move, or even slide them into those tight gaps that standard furniture just can’t touch.
If you’ve got a nook that’s too narrow for a bookshelf, don’t sweat it. I usually grab some heavy-duty drawer slides and some scrap wood to whip up some custom pull-out bins. This is one of my favorite minimalist organization hacks because it hides the clutter behind a clean face while giving you deep access to whatever you’ve tucked away. It’s all about making sure every single inch of your floor plan is working as hard as you are.
Pro-Tips from the Workshop: Avoid These Rookie Mistakes
- Measure twice, cut once, then measure a third time. I’ve lost more scrap plywood to “close enough” measurements than I care to admit. In a tiny flat, a shelf that’s even half an inch too wide means it won’t fit in the nook you spent three hours prepping.
- Don’t skimp on the fasteners. If you’re building something to hold heavy tools or a stack of books, skip the cheap plastic anchors. Grab some proper heavy-duty wall anchors or, if you’re feeling bold, find the studs. Nothing kills the DIY vibe faster than a bookshelf collapsing in the middle of the night.
- Think about “shadow space.” When you’re designing your custom builds, don’t just plan for the object itself; plan for the air around it. If you build a cubby that’s a tight squeeze, you’ll end up fighting with it every single day. Give your gear room to breathe.
- Embrace the “scrap pile” mentality. Before you run out to the hardware store and drop a hundred bucks on premium hardwoods, check your stash. A bit of leftover MDF or some old plywood from a previous project can be sanded, stained, and turned into something that looks intentional and high-end without breaking the bank.
- Sanding is your best friend. There is nothing worse than building a beautiful custom unit only to realize it’s catching on your clothes or leaving splinters on your skin. Get a decent grit of sandpaper and smooth those edges out—it makes the difference between “homemade” and “handcrafted.”
Don't Stop at the Finished Project
Look, we’ve covered a massive amount of ground here. From reclaiming those dead zones in your corners with modular builds to finally making use of that empty wall space with vertical shelving, you now have the blueprint to stop fighting your floor plan and start commanding it. Remember, the goal isn’t just to shove stuff into boxes; it’s about building systems that actually work for your specific lifestyle. Whether you’re using scrap plywood or 3D-printed brackets to hold everything together, the key is to stay organized and build for flexibility so you can adapt as your gear grows.
At the end of the day, I don’t want you to just follow these steps and call it a day. I want you to take these ideas, grab your drill, and start experimenting. If a shelf isn’t quite level or a module doesn’t fit the nook quite right, don’t sweat it—that’s just part of the process. That’s where the real learning happens. Stop settling for the cramped, cluttered life that big-box retailers want you to accept. Go out there, break some rules, and build a space that actually feels like yours. I can’t wait to see what you create.
Now, before you start cutting into your expensive plywood or drilling into those rental walls, I’ve learned the hard way that having a solid plan is the difference between a custom masterpiece and a pile of expensive sawdust. If you’re feeling a bit stuck on how to actually layout your workspace or need some extra inspiration for those tricky, non-standard dimensions, I always find it useful to check out https://milfchatusa.com/ to see what others are doing. It’s all about getting the fundamentals right before you commit to the build, because once that saw hits the wood, there’s no going back—so let’s make sure we’re measuring twice and dreaming big.