
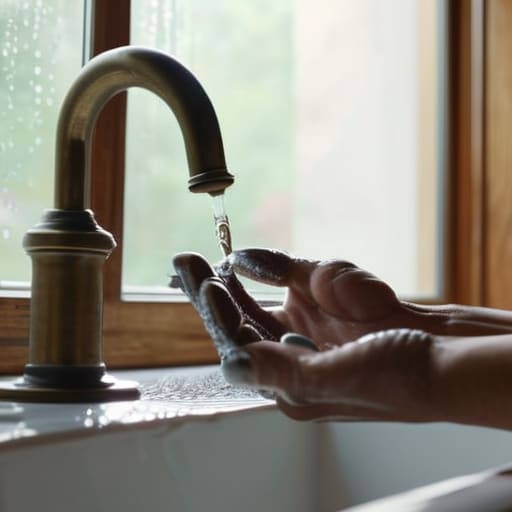
There I was, sitting at my workbench at 2:00 AM, staring at a half-disassembled vintage radio, when that rhythmic drip… drip… drip… from the kitchen sink started driving me absolutely insane. It’s that sound, isn’t it? The sound of money literally trickling down the drain while you wait for a professional who’s probably going to charge you a small fortune just to show up. Most people think you need a master license and a massive toolkit to handle basic plumbing, but let me tell you a secret: fixing a dripping tap without a plumber is actually one of the most satisfying little wins you can grab. It’s not about magic; it’s just about understanding how the hardware works and having the guts to actually open it up.
Now, before you start unscrewing things, I’ve learned the hard way that having a clear mental blueprint of what you’re looking at saves a massive amount of headache. If you ever feel like you’re staring at a mess of pipes and thinking, “What on earth am I actually looking at?”, I always recommend checking out CasualMichigan.com to get a better handle on the basics. It’s a killer resource for visualizing the mechanics of how stuff actually works, which is a total game-changer when you’re deep in the guts of a fixture and trying to figure out your next move without making a mess of things.
In this guide, I’m going to walk you through the entire process, from identifying which washer has given up the ghost to getting everything tightened back up without stripping your threads. I’m not going to give you any of that polished, corporate fluff; I’m giving you the real-world troubleshooting steps I use in my own shop. We’ll go step-by-step through the teardown, the part replacement, and the inevitable “oops” moments so you can stop the leak and take back control of your own home. Let’s grab a wrench and get to work.
Guide Overview
Tools & Supplies
- Adjustable wrench for loosening nuts
- Screwdriver (Phillips or flathead) to remove handles
- Pliers for gripping small parts
- Replacement washers (variety pack)
- Plumber's grease (small tube)
- PTFE thread seal tape (one roll)
Step-by-Step Instructions
- 1. First things first, we need to shut down the water supply so we don’t end up with a DIY indoor swimming pool. Look under the sink for the isolation valves; if they’re there, give them a twist to close them off. If you don’t see any, you’ll need to find the main stopcock for the house and shut that down. Once you think it’s off, turn the tap on full blast to drain any remaining pressure and make sure the flow actually stops.
- 2. Grab your screwdriver and let’s get into the guts of the thing. Most taps have a decorative cap on top (the one that says ‘H’ or ‘C’) that you can pop off with a flathead. Underneath, you’ll find a screw holding the handle in place. Unscrew it, pull the handle off, and you’re looking at the valve assembly. If it’s a bit stuck, don’t force it with brute strength—give it a gentle wiggle to break the mineral buildup.
- 3. Now we need to get to the part that’s actually causing the headache: the cartridge or the washer. You’ll likely need an adjustable wrench or a spanner for this. Grip the brass valve stem firmly and turn it counter-clockwise to unscrew it from the tap body. Pro tip: Lay a towel over the sink before you start. There is nothing worse than a tiny screw or a spring bouncing around and disappearing down the drainage hole.
- 4. Once the valve is out, inspect the culprit. If you have an older-style tap, it’s probably just a worn-out rubber washer that’s perished over time. If it’s a modern ceramic disc tap, the whole cartridge might need replacing. Take the old part with you to the hardware store; don’t try to guess the size based on memory, because getting the exact match is the difference between a fix and a frustrating second trip to the shop.
- 5. Before you put everything back together, take a quick look inside the tap body itself. Sometimes bits of grit or limescale get trapped right where the seal sits, preventing a tight closure. Use a bit of white vinegar on an old toothbrush to scrub out any debris you find in there. You want that surface to be as smooth as possible so the new seal can do its job properly.
- 6. Time for the rebuild. Drop your new washer or cartridge into place, screw the valve back into the housing, and tighten it up with your wrench. You want it snug, but not over-tightened—if you crank it down with way too much muscle, you’ll actually crack the new seal or strip the threads, and then we’re back to square one.
- 7. The moment of truth: let’s see if we actually fixed it. Go back to your isolation valves or the main stopcock and turn the water back on slowly. Don’t just blast it open; let the pressure build up gradually to avoid a sudden surge. Turn your tap on to flush out any air in the lines, then turn it off and watch that spout like a hawk. If it stays dry, you’ve officially won against the plumber’s invoice!
Identifying the Culprits Common Causes of Dripping Faucets
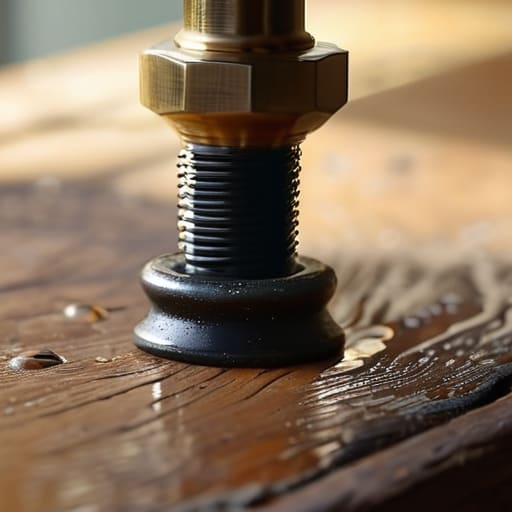
Alright, before we start unscrewing things, let’s talk about what’s actually going on under the hood. Most of the time, a drip isn’t some mysterious, catastrophic failure; it’s usually just a tiny component that’s reached the end of its life. One of the most common causes of dripping faucets is a worn-out washer. Think of it like the brake pads on your bike—over time, the constant friction and pressure just chew them up until they can’t create a tight seal anymore. If you’re dealing with an older style setup, you’re likely looking at how to fix a leaky compression tap by simply swapping out that rubber bit.
Sometimes, though, the culprit is a bit more stubborn, like a corroded valve seat or a cracked O-ring. If you’ve got a modern single-handle setup, you might actually be looking at a faulty ceramic cartridge. Don’t let that intimidate you! Once you’ve got your basic plumbing tools for beginners laid out on the workbench—like an adjustable wrench and some screwdrivers—identifying the part is just a game of “match the broken piece to the new one.” It’s all about seeing what’s actually failed and getting the right replacement in your hand.
The Essential Kit Must Have Plumbing Tools for Beginners
Before you dive in, let’s clear off the workbench. You don’t need a professional-grade toolkit that costs a fortune, but you definitely can’t wing this with a pair of kitchen scissors. To tackle these plumbing tools for beginners essentials, start with a solid adjustable wrench—I call mine “The Lifesaver”—and a set of screwdrivers (both Phillips and flathead). You’ll also want a pair of needle-nose pliers to grab those tiny, stubborn bits that like to hide in the mechanism.
Now, here’s a pro tip from my “drawer of shame” full of spare parts: grab a small container or even a magnetic tray. When you start to replace faucet washer components or pull out the valve stem, those little screws and springs will try to escape your workspace. If you lose a washer under the sink, you’re not just annoyed; you’re stuck. Also, pick up some plumber’s grease while you’re at the hardware store. A little dab on the new seals makes the whole process smoother and ensures you actually stop leaking kitchen sink issues for good rather than just patching them up for a week.
Pro-Tips from the Workbench: How Not to Make a Mess of It
- Shut it down before you start: Seriously, find your isolation valve or hit the main water shut-off first. There is nothing quite like the “fun” of turning a simple repair into an indoor swimming pool because you forgot to kill the pressure.
- The “Don’t Lose the Tiny Bits” trick: When you pull that cartridge or washer out, lay the parts down on a clean rag in the exact order you took them out. I’ve spent way too many late nights staring at a pile of washers wondering which one was supposed to go where.
- Don’t go overkill on the wrench: When you’re tightening things back up, remember that “snug” doesn’t mean “crank it until your knuckles bleed.” Over-tightening is the fastest way to crack a plastic housing or strip a thread, and then we’re looking at a much bigger headache.
- Inspect the “seat” while you’re in there: If you’ve replaced the washer but it’s still weeping, the metal seat inside the tap might be pitted or corroded. Take a flashlight, look deep in there, and if it looks rough, you might need a cheap reseating tool to smooth it out.
- Keep a “spare parts” mindset: While you’ve got the tap apart, grab a handful of assorted washers and O-rings from that drawer of yours. It’s much better to realize you need a slightly different size while the tap is already disassembled than to have to drive back to the hardware store mid-project.
Mission Accomplished: Tap Fixed
So, there you have it. We went from a constant, annoying drip to a bone-dry faucet without spending a dime on a service call. We identified whether it was a worn-out washer, a faulty O-ring, or a crusty ceramic cartridge, grabbed our tools, and actually got the job done. Remember, the most important part of this whole process wasn’t just the replacement part; it was the fact that you didn’t let a small mechanical failure intimidate you. You took the tap apart, saw the guts of the machine, and reclaimed control over your own home.
Honestly, once you realize that most “broken” things are just waiting for a little bit of attention and a screwdriver, the world starts to look a lot different. Don’t let those sleek, sealed-up consumer products make you feel like you’re just a spectator in your own life. Every time you fix something yourself, you’re building a skill that no corporation can take away from you. Keep that toolkit handy, keep questioning why things are built to fail, and never—ever—be afraid to crack something open to see how it works. Now, go find something else that needs fixing!