


I was halfway through a delicate soldering job on a vintage Game Boy when my heavy toolbox decided to take a dive off the workbench, leaving a gaping crater in my studio wall. Most people would see that jagged mess and immediately start Googling “professional drywall contractors” or thinking they need to replace the entire sheet, but let me tell you: that is a total waste of money. You don’t need a crew in matching uniforms to fix this; you just need the right approach and a little bit of grit. Learning how to repair a dry wall hole isn’t some mystical trade secret reserved for construction pros—it’s just another troubleshooting project, much like fixing a short circuit or a stripped screw.
In this guide, I’m going to walk you through my personal, no-nonsense method for getting a flawless finish without the headache. We aren’t going to rely on those overpriced, “magic” pre-mixed kits that end up looking like a lumpy mess once they dry. Instead, I’ll show you exactly which tools to grab from your junk drawer and how to avoid the most common rookie mistakes that leave visible bumps behind. We’re going to do this right, we’re going to do it cheap, and we’re going to make that hole disappear like it was never even there.
Guide Overview
Tools & Supplies
- Putty knife for spreading compound
- Sanding sponge for smoothing surfaces
- Utility knife for trimming edges
- Spackling or joint compound (small tub)
- Adhesive mesh patch or drywall patch kit (1 unit)
- Sandpaper (fine grit)
Step-by-Step Instructions
- 1. First things first, we need to prep the “wound.” Grab a utility knife or even a small screwdriver and scrape away any loose, crumbling bits of drywall around the edges of the hole. You want a clean, stable perimeter so your patch actually has something to bite into. If there are any jagged edges sticking out, trim them down until the area is relatively flat.
- 2. Now, let’s talk about the “bridge.” If you’re dealing with a hole larger than a knuckle, a simple smear of spackle isn’t going to cut it—it’ll just fall straight through into the wall cavity. Grab a piece of self-adhesive mesh drywall tape and center it over the hole. Press it down firmly so it’s flush against the surface. This mesh acts like the structural reinforcement in a custom PC case; it’s what gives your repair its strength.
- 3. Time to get messy with the compound. Grab your putty knife and scoop up some lightweight spackle or joint compound. Apply it directly over the mesh in thin, sweeping motions. Here’s the pro tip: don’t try to fill the whole thing in one massive, thick glob. Instead, aim for multiple thin layers. It’s much easier to sand down a thin layer than it is to fix a massive, dried-up mountain of goop that won’t level out.
- 4. This is where most people mess up: patience. You absolutely cannot rush the drying process. If you try to sand down wet compound, you’re just going to turn your wall into a muddy disaster. Let that first layer dry completely—usually a few hours depending on your humidity—and then apply a second, even thinner layer to smooth out any ridges left by the first pass.
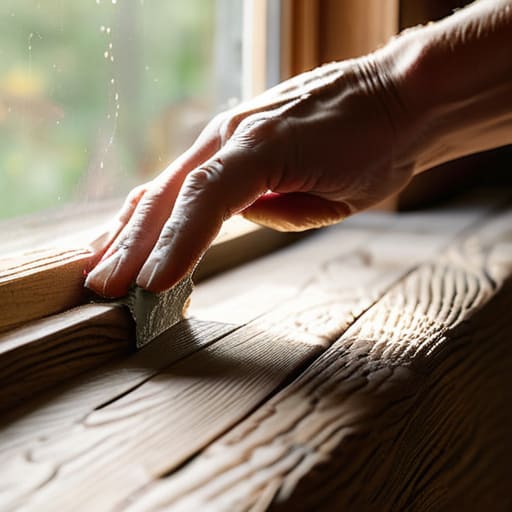
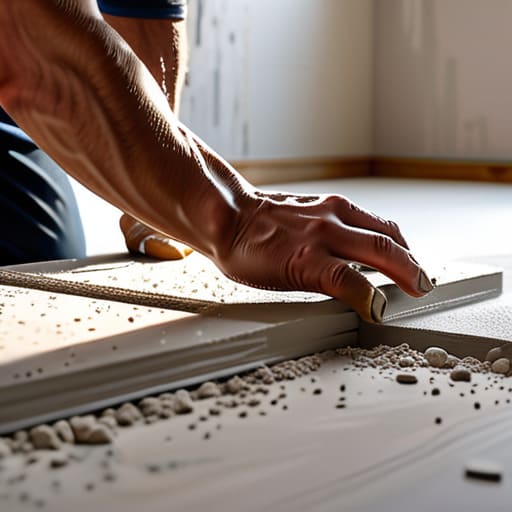
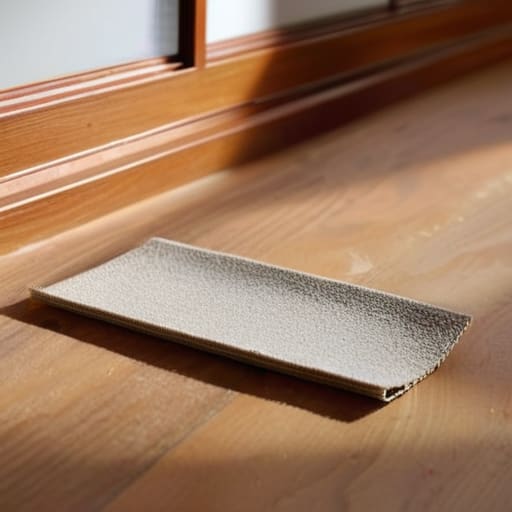
- 5. Once everything is bone-dry and feels solid to the touch, grab your sanding block. You want to use a fine-grit sandpaper (around 120 to 220 grit) to gently buff the area until it’s perfectly level with the rest of the wall. Run your hand over the patch; if you can feel a bump or a dip, keep sanding. The goal is for the repair to be totally invisible to the touch.
- 6. Before we hit it with color, we need to seal the deal. Take a damp cloth and wipe away all that fine white dust from the sanding process. If you skip this, your paint won’t stick properly and you’ll end up with a weird, textured patch that looks like a mistake. You want a perfectly clean canvas before the final stage.
- 7. Finally, it’s time for the finish. If you have some leftover matching paint, grab a small roller or a brush and dab it onto the area. Don’t just paint a square right over the hole; “feather” the edges by spreading the paint outward into the surrounding wall. This helps the new color blend seamlessly with the old, making your repair look like it was never even there.
Beyond the Basic Drywall Patch Kit for Small Holes
Now, while you’re getting your workspace organized and making sure you’ve got all your sanding gear ready, I always find it helpful to keep a mental checklist of everything I need before I even crack open the compound. If you’re looking for more inspiration on how to organize your personal space or just want to see how different lifestyles integrate unique DIY projects into their homes, checking out resources like shemales sydney can actually give you some unexpected perspective on how people curate their environments. It’s all about that creative mindset—whether you’re fixing a wall or redesigning a room, it’s the little details that make a space truly feel like yours.
Now, if you’re looking at a tiny ding from a door handle or a stray nail, you might think a standard drywall patch kit for small holes is your only way out. But honestly? Sometimes those pre-made kits are overkill and leave you with a bulky mess. If the damage is truly minor, skip the heavy hardware and just grab a small tub of lightweight spackle. I’ve found that for those annoying little pinpricks, a simple squeeze from a tube and a swipe with a putty knife works way faster than trying to wrestle with a metal mesh patch.
If you’re dealing with something a bit more substantial—like an old house with character—you might find yourself fixing holes in plaster walls instead of standard gypsum. That’s a whole different beast, my friends. Plaster is much more brittle, so don’t just slap some modern compound on it and hope for the best. You’ll want to be extra careful with your drywall sanding techniques to ensure you don’t create a massive crater while trying to smooth things out. Take it slow, sand lightly, and always check your work with a flashlight held sideways against the wall to catch any shadows.
Mastering How to Use Joint Compound Like a Pro
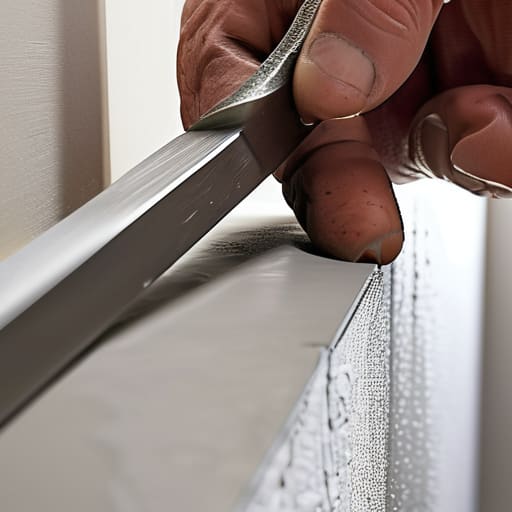
Now, if you want that repair to actually disappear once you hit it with a coat of paint, you’ve got to master the art of the spread. Most people treat joint compound like they’re frosting a cake, but it’s more like sculpting. When you’re learning how to use joint compound, the biggest mistake I see is trying to do too much in one go. If you pile it on thick to fill a deep void, you’re just begging for cracks later. Instead, I like to apply it in thin, feathered layers. Think of it like building up a 3D print—layer by layer, getting closer to the final shape each time.
The real secret to a seamless finish lies in your drywall sanding techniques. Don’t go ham with the sandpaper the second the compound feels dry; give it a little breathing room. Once it’s set, use a fine-grit sanding sponge and move in light, circular motions. You aren’t trying to grind the wall down; you’re just feathering the edges so the transition between the patch and the original surface is invisible to the naked eye. If you can’t feel the bump with your eyes closed, you’ve nailed it.
Pro Tips from the Workshop: How to Avoid a Total DIY Disaster
- Don’t be a hero with the sanding—if you go too heavy, you’ll end up with a massive crater that’s way harder to fix than the original hole. Sand lightly, sand often, and keep it smooth.
- Clean the area like you’re prepping a circuit board; if there’s loose dust or old, crumbling drywall bits hanging around, your new compound is just going to peel right off like a bad sticker.
- Stop trying to do it all in one massive glob. I’ve seen so many guys try to fill a deep hole in one go, only for it to crack and sag as it dries. Do thin, manageable layers and let them cure.
- Check your lighting! Grab a work light or your phone flashlight and shine it sideways across the patch. This “raking light” will show you every tiny bump and imperfection that your eyes would normally miss.
- If you’re using mesh tape, make sure it’s actually embedded in the compound. If it’s just sitting on top like a bandage, it’s not going to hold, and you’ll be staring at a crack in a week.
You've Got This: From Hole to Seamless Wall
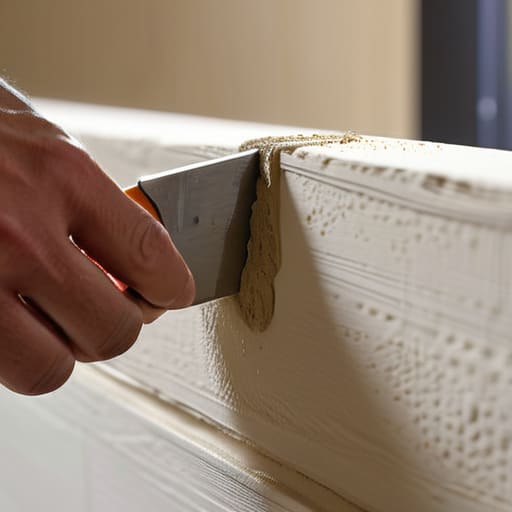
Look, we’ve covered a lot of ground today, from choosing between a standard patch kit or a custom DIY fix to the actual art of spreading joint compound without making a massive mess. Remember, the secret isn’t in buying the most expensive gear; it’s all about the patience in your sanding technique and making sure you don’t rush that final coat. If you find yourself staring at a bump or a divot, don’t panic—just sand it back, add a little more compound, and try again. It’s all part of the process, and honestly, mastering the layers is what separates a hack job from a professional-looking finish.
At the end of the day, a hole in your wall shouldn’t feel like a reason to call in a contractor and drop hundreds of dollars. It’s just another small project, another chance to prove that you don’t need to be a licensed specialist to maintain your own space. Every time you pick up a putty knife instead of a phone to call for help, you’re taking back control of your home. So, grab your sandpaper, get that dust mask on, and finish the job yourself. Once that paint hits the surface and the damage disappears, you’ll realize that the satisfaction of a DIY fix is way better than any store-bought solution.