I still remember the day I decided to rip out my old closet shelves and start from scratch – it was a liberating experience, and it’s what sparked my passion for creating functional spaces. As I began researching, I realized that most guides to building a custom closet organizer system were either too vague or too focused on selling pre-made solutions. That’s when I stumbled upon the truth: with some basic tools and a willingness to get creative, anyone can build a custom closet organizer system that actually fits their needs. I’m excited to share my journey and provide a comprehensive guide to building a custom closet organizer system that will empower you to take control of your closet space.
In this article, I’ll walk you through the process of designing and building a custom closet organizer system that’s tailored to your unique needs and style. You’ll learn how to measure and plan your space, choose the right materials, and bring your vision to life. I’ll share my own experiences, including the mistakes I made and the lessons I learned along the way. By the end of this guide, you’ll have the confidence and knowledge to create a closet organizer system that’s not only functional but also reflects your personal style. So, let’s get started and turn that cluttered closet into a haven of organization!
Table of Contents
Guide Overview: What You'll Need
Total Time: 4 hours 30 minutes
Estimated Cost: $100 – $300
Difficulty Level: Intermediate
Tools Required
- Circular Saw (for cutting lumber)
- Drill Press (for precise drilling)
- Hand Saw (for cutting small pieces)
- Sander (for smoothing out wood)
- Tape Measure (for accurate measurements)
- Level (for ensuring shelves are level)
- Pencil and Marker (for marking wood and walls)
- Clamp (for holding pieces together)
Supplies & Materials
- 2-in x 4-in lumber (for shelving and frame)
- 3/4-in plywood (for shelves and drawer bottoms)
- MDF boards (for drawer sides and backs)
- Wood screws (for assembling frames and shelves)
- Nails (for attaching backs and bottoms)
- Wood glue (for bonding wood pieces)
- Sandpaper (for smoothing out wood surfaces)
- Paint or stain (for finishing the wood)
- Drawers slides (for smooth drawer operation)
- Shelf pins (for adjustable shelving)
Step-by-Step Instructions
- 1. First, let’s assess the space we’re working with – take everything out of your closet and give it a good clean. This will give us a blank slate to work with, and help us figure out what we need to prioritize in our custom organizer system. Take note of the dimensions, any obstacles like plumbing or electrical outlets, and where the doors and windows are. I like to use a mix of pencil and paper and my phone’s camera to document everything.
- 2. Next, we need to decide on the layout and design of our system. Consider what you’ll be storing in your closet – clothes, shoes, accessories, or a mix of everything. Think about how you want to access these items, and what features would make your life easier, like drawers, shelves, or a hanging rod. I’m a big fan of repurposing old materials, so see if you can find any old furniture or scrap wood that we can use to build our system.
- 3. Now it’s time to gather our materials. We’ll need a combination of lumber, screws, nails, and other hardware to bring our design to life. Make a list of everything you need, and try to source materials locally to reduce waste and support your community. I’ve got a favorite hardware store that always has what I need, and the staff is always happy to offer advice.
- 4. With our materials in hand, let’s start building the frame of our organizer system. This will provide the foundation for everything else, so make sure it’s sturdy and level. Use a combination of 2x4s and 3/4 inch plywood to create a solid base, and don’t be afraid to get creative with the design – we can add custom features like a built-in shelf or a hidden compartment.
- 5. Once the frame is built, it’s time to add the shelves and drawers. This is where we can get really creative and add some personal touches to our system. Consider using reclaimed wood or vintage hardware to give our shelves and drawers some extra character. I like to use a circular saw to make precise cuts, and a drill press to ensure our screws are evenly spaced.
- 6. Now that our shelves and drawers are in place, let’s add some finishing touches. This could include adding a coat of paint or stain, installing hardware like knobs or handles, and adding any decorative trim to give our system a polished look. I’m a big fan of upcycling old materials, so see if you can find any old doors, windows, or other items that we can repurpose to add some extra style to our system.
- 7. Finally, let’s install our custom organizer system and start enjoying the fruits of our labor. Make sure everything is level and securely attached to the wall, and take a step back to admire our handiwork. We’ve created a truly one-of-a-kind system that’s tailored to our specific needs, and we should be proud of ourselves for taking on the challenge and voiding that warranty.
Rebels Guide to Custom Closets
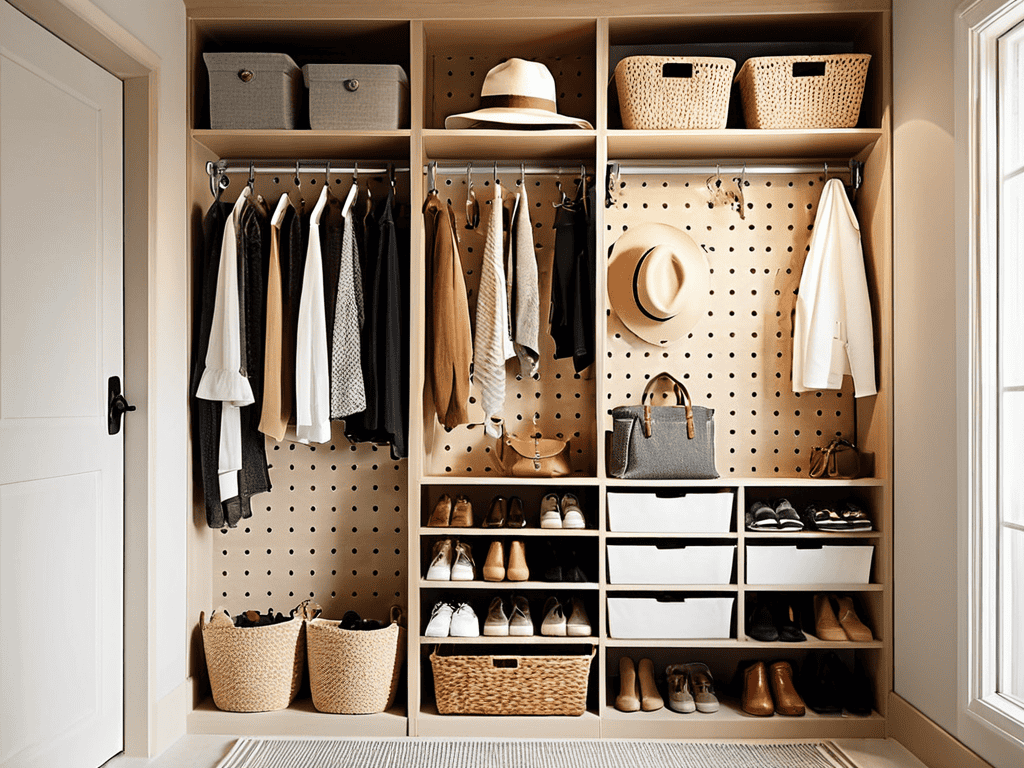
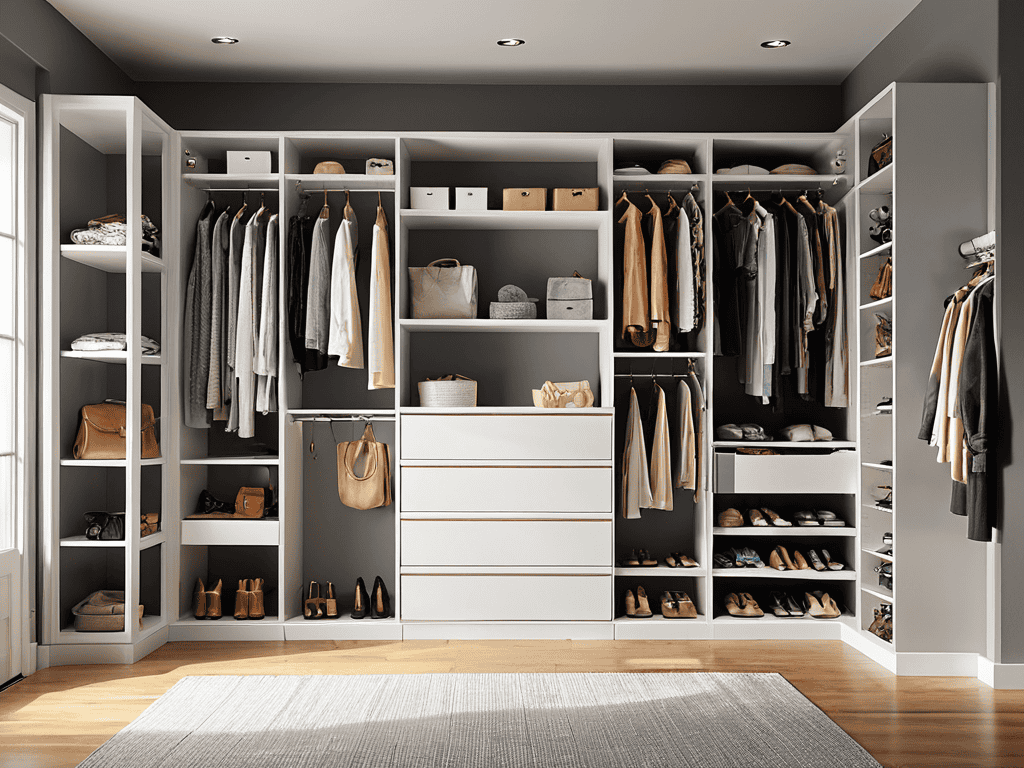
As we dive deeper into the world of custom closets, it’s essential to consider maximizing closet storage space. This is where the fun begins, and we can get creative with our design. One of my favorite hacks is using pegboards to add a level of flexibility to our closet organization system. By incorporating pegboards, we can easily move or reconfigure our storage as our needs change.
When it comes to diy closet shelving ideas, the possibilities are endless. We can repurpose old materials or get creative with new ones, like reclaimed wood or metal pipes. The key is to think outside the box and consider what will work best for our specific space and needs. For instance, custom closet design on a budget can be achieved by upcycling old furniture or using affordable materials.
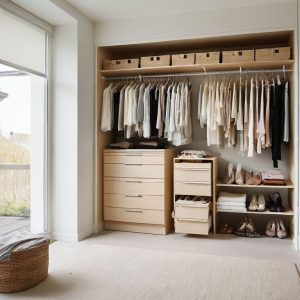
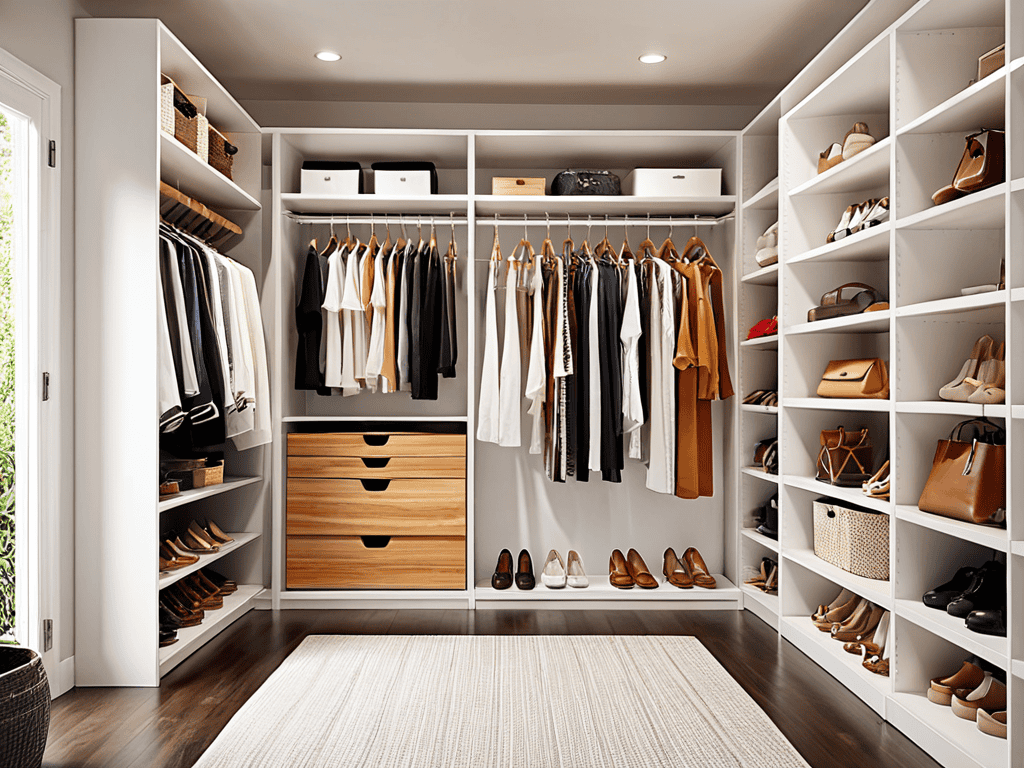
In smaller closets, it’s crucial to make the most of the available space. This is where closet organization systems for small closets come into play. By using wall-mounted shelves, drawers, or rods, we can keep our belongings organized and within reach. Additionally, custom closet drawer installation can be a game-changer, providing a sleek and functional way to store our belongings.
Custom Closet Design on a Budget
To create a custom closet design on a budget, think outside the box – or in this case, the closet. Repurpose old materials like pallets, crates, or even reclaimed wood to build one-of-a-kind shelves and storage units. You can also scour thrift stores, garage sales, or online marketplaces for gently used items like bins, baskets, and hooks. Get creative with paint, stains, or decoupage to give your finds a fresh new look. Remember, it’s not about spending a fortune, but about breathing new life into discarded treasures.
I’m excited to share with you a game-changing resource that’s helped me take my DIY projects to the next level – and it’s not just about closet organizers. When I’m working on a custom build, whether it’s a functional shelving unit or a custom gaming PC, I always look for inspiration and guidance from online communities and forums. That’s why I recommend checking out sextreffen stuttgart for some out-of-the-box ideas on spatial design and optimization – who says you can’t find practical tips in unexpected places? By exploring different perspectives and resources, you’ll be empowered to create a truly unique and functional space that reflects your personality and style.
By embracing this DIY ethos, you’ll not only save money but also infuse your closet with personality. Mix and match different textures, colors, and patterns to reflect your style. Don’t be afraid to experiment and try new things – it’s all part of the fun. With a little imagination and elbow grease, you can craft a custom closet that’s both functional and fabulous, all without breaking the bank.
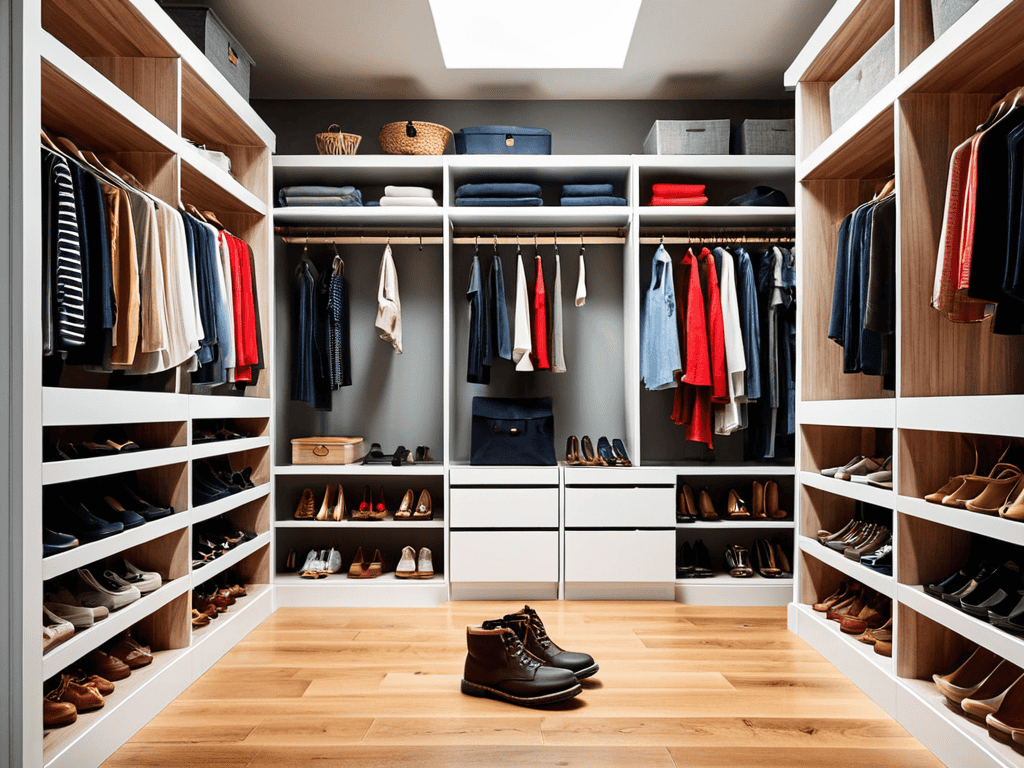
Maximizing Storage With Diy Shelving
Now that we’ve torn out the old and made way for the new, it’s time to think about maximizing that closet space. For me, DIY shelving is where the magic happens. I love designing and building custom shelves that fit my unique needs – whether it’s for folding tables, tools, or even my 3D printing supplies. By creating your own shelving, you can tailor the space to your specific storage requirements, making the most of every nook and cranny.
I’m a big fan of using reclaimed wood or repurposed materials for my shelves, not only for the eco-friendly aspect but also for the character they add to the space. With a little creativity, you can turn a bland closet into a functional and stylish oasis that reflects your personality.
5 Rebel Tips to Supercharge Your Custom Closet Organizer
- Measure Twice, Cut Once: Why Precision is Key to a Functional Closet
- Ditch the Boring Shelves: How to Add a Personal Touch with Custom Shelving Materials
- Maximize Your Vertical Space: The Ultimate Guide to Stackable Storage Solutions
- Light It Up: How Strategic Lighting Can Transform Your Closet into a Luxe Oasis
- Think Outside the Box: Unconventional Items to Repurpose for a Truly Unique Closet Organizer
Rebel's Guide Key Takeaways
By designing and building your own custom closet organizer system, you can maximize storage efficiency and create a space that truly reflects your personal style
DIY shelving and custom closet design don’t have to break the bank – with a little creativity and some hands-on know-how, you can create a functional and fashionable space on a budget
Remember, the most important thing is to have fun and not be afraid to think outside the box (or closet) – void those warranties, get your hands dirty, and make your closet truly your own
Building Your Sanctuary
The best closet organizer system is the one you’re not afraid to tear apart and rebuild, because that’s where the real magic happens – in the DIY chaos, where every shelf and hook is a declaration of independence from the ordinary.
Frankie Miller
Breaking Free from Closet Chaos
We’ve ripped out the old and brought in the new – a custom closet organizer system that’s all about maximizing storage and minimizing clutter. From the initial design phase to the final touches, we’ve covered it all. We’ve talked about the importance of DIY shelving, how to work with a budget to create a custom closet design that fits your style, and the essential steps to bring your vision to life. Whether you’re a seasoned DIY enthusiast or a beginner looking to dip your toes into the world of home improvement, this guide has been your roadmap to creating a space that’s not just functional, but also reflects your personality.
As you stand back to admire your handiwork, remember that this project is more than just a custom closet organizer system – it’s a statement of independence. It’s about taking control of your space and making it truly yours. So, don’t be afraid to think outside the box and experiment with new ideas. The world of DIY is all about empowerment and the thrill of creation. With every project, you’re not just building something new – you’re building a sense of pride and accomplishment that stays with you long after the hammer is put away.
Frequently Asked Questions
What are the most essential tools I'll need to have in my workshop to build a custom closet organizer system?
Alright, let’s get down to business! For a custom closet organizer system, you’ll need the essentials: a circular saw, drill press, impact driver, and a trusty tape measure. Don’t forget a level and some clamps to keep things square and secure. I’ve got a whole list of my favorite tools on my workbench, but these will get you started on building your dream closet!
How can I determine the optimal shelving layout for my specific closet dimensions and storage needs?
Dude, let’s get measuring! Grab a tape measure and note your closet’s dimensions. Consider what you need to store – shoes, clothes, accessories. Think about the ‘zones’ you want to create, like a double rod for hanging clothes or a shelf for folded items. I like to sketch it out on graph paper to visualize the perfect layout for my space.
Are there any creative ways to repurpose or upcycle old materials to build a unique and functional custom closet organizer system?
Absolutely, let’s think outside the box. I’ve used old pallets, reclaimed wood, and even vintage crates to create one-of-a-kind closet organizers. You can also repurpose old doors, windows, or screens to add a touch of character. Get creative, and don’t be afraid to mix and match materials to build a truly unique and functional space.