I still remember the time I had to check my camera gear on a flight to how to pack camera gear for a flight was the last thing on my mind – I was too busy worrying about my equipment arriving in one piece. But after that trip, I realized that packing smart is just as important as shooting smart. I’ve learned that the key to a stress-free flight with camera gear is not about following some complicated checklist, but about understanding what really matters: durability and practicality.
In this article, I’ll share my honest, no-hype advice on how to pack camera gear for a flight, based on my own experiences filming in extreme locations. I’ll cut through the noise and give you the lowdown on what works and what doesn’t, from luggage choices to essential accessories. By the end of this guide, you’ll know exactly how to pack your camera kit like a pro, so you can focus on capturing the shots that matter, not stressing about your gear.
Table of Contents
Guide Overview: What You'll Need
Total Time: 1 hour 15 minutes
Estimated Cost: $20 – $100
Difficulty Level: Easy
Tools Required
- Packing Tape (for securing items in cases)
- Bubble Wrap (for protecting fragile items)
- Foam Inserts (for custom case fittings)
- Utility Knife (for cutting foam or tape)
Supplies & Materials
- Hard-Shell Camera Case (with dividers and padding)
- Padded Lens Wraps (for individual lens protection)
- Camera Body Pouch (for added protection)
- Small Pouches (for storing batteries, memory cards, etc.)
- Ziplock Bags (for organizing small items)
Step-by-Step Instructions
- 1. First, I assess my gear to determine what’s essential for the trip and what can be left behind. As a travel videographer, I’ve learned that less is often more, especially when it comes to avoiding extra baggage fees. I make a mental note of the cameras, lenses, and accessories I need, and then I start thinking about how to pack them safely and efficiently.
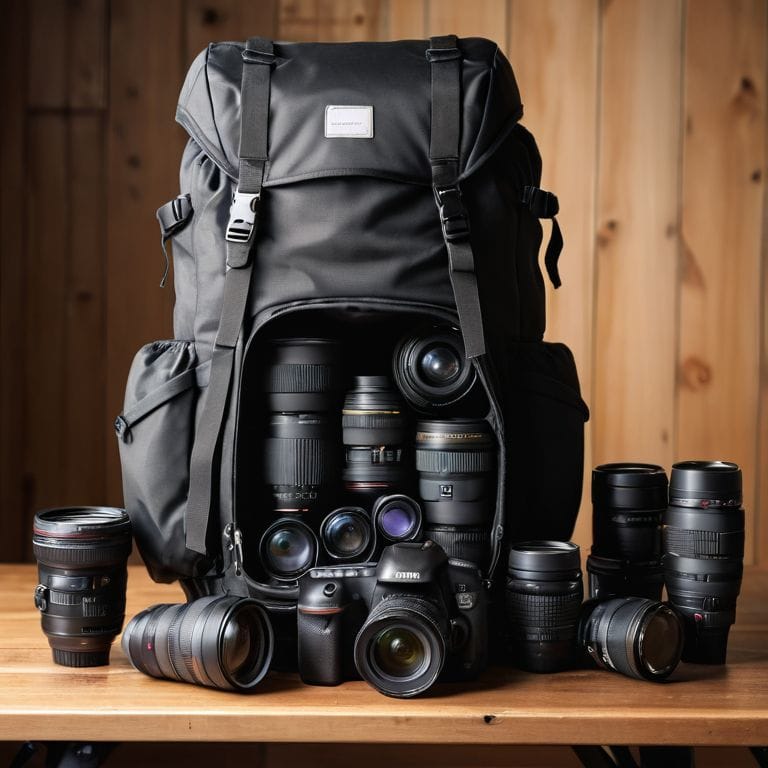
- 2. Next, I choose a carry-on bag that’s specifically designed for camera equipment. I look for one with padded compartments and reinforced seams to protect my gear from bumps and scratches. My go-to bag is a backpack with a weather-sealed zipper and a reinforced bottom panel to prevent water and dust from getting in.
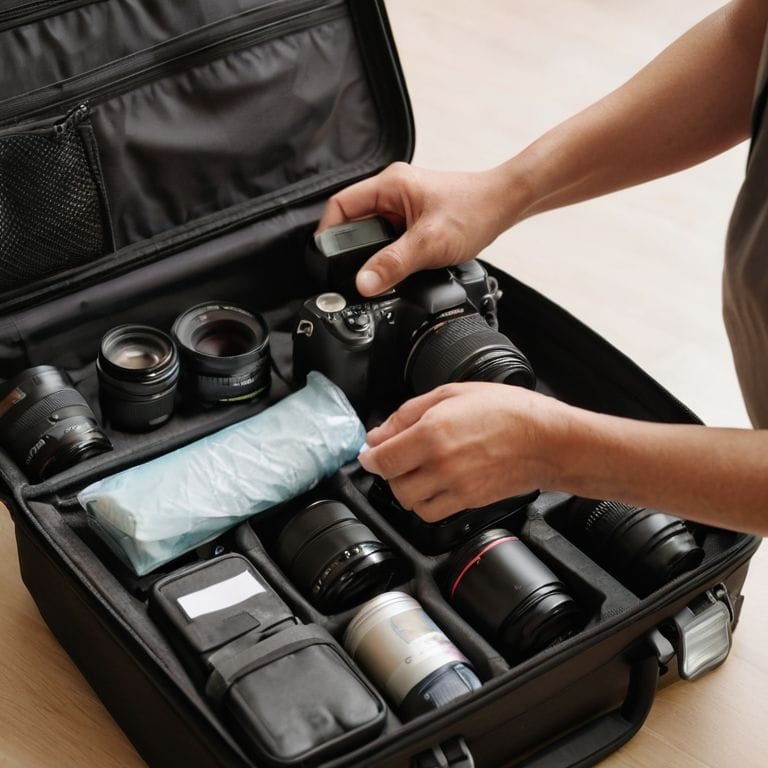
- 3. Now it’s time to pack my cameras. I wrap each body and lens in a microfiber cloth to prevent scratches, and then I place them in their respective compartments. I make sure to keep my batteries separate from my cameras, as airlines often have specific rules about carrying batteries in checked luggage.
- 4. After packing my cameras, I move on to my accessories, such as tripods, gimbals, and external hard drives. I use cable ties to keep my cables organized, and I pack my tripods in a protective sleeve to prevent them from getting damaged. I also make sure to label each accessory so I can easily find what I need when I arrive at my destination.
- 5. Once I’ve packed all my gear, I double-check the weight of my bag to ensure it’s under the airline’s limit. I’ve learned that packing light is essential, not just to avoid extra fees but also to make it easier to navigate airports and transportation. If my bag is too heavy, I reassess my gear and see what I can leave behind or ship separately.
- 6. With my bag packed, I create a checklist of all my gear to ensure I don’t forget anything essential. I include serial numbers and descriptions of each item, as well as contact information for my insurance company in case anything gets lost or stolen. I also make a digital copy of my checklist and store it in my phone, so I can access it even if my physical copy gets lost.
- 7. Finally, I arrive at the airport early to give myself plenty of time to check in and go through security. I keep my gear with me at all times, and I’m prepared to remove my laptops and liquids from my bag for screening. By being prepared and knowing what to expect, I can stress less and focus on enjoying my trip.
Packing Camera Gear for Flight
When it comes to protecting lenses during air travel, I’ve learned that a little extra care can go a long way. I always make sure to store my lenses in a dedicated case, wrapped in a soft cloth to prevent scratching. It’s also a good idea to keep them in a central location in your backpack, away from any heavy objects that could potentially damage them.
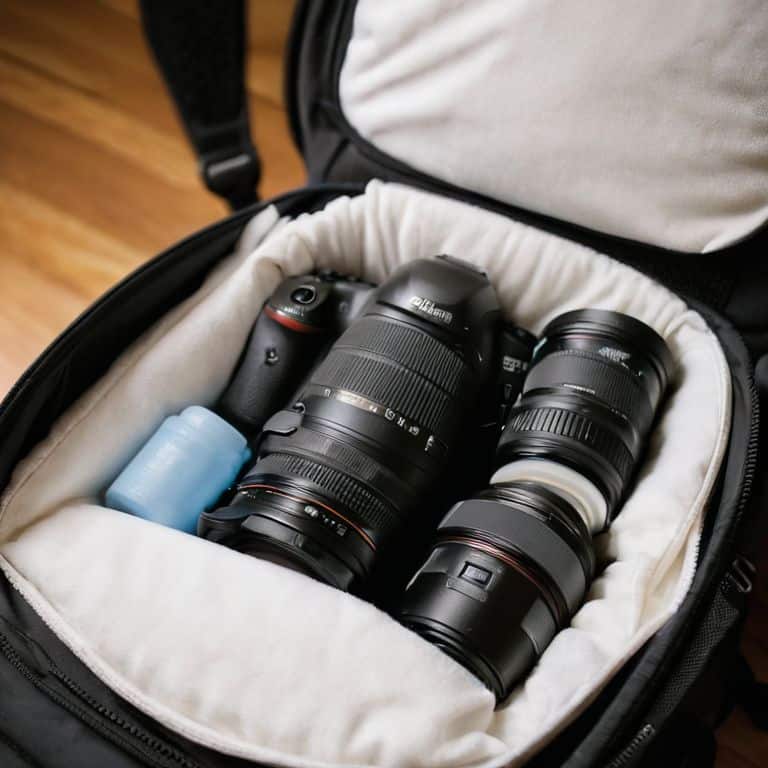
In addition to proper storage, choosing the right best backpacks for camera gear can make a huge difference. Look for a backpack with dedicated compartments and padding to keep your equipment safe and organized. I personally swear by backpacks with multiple access points, allowing me to quickly grab my camera or lenses without having to dig through the entire bag.
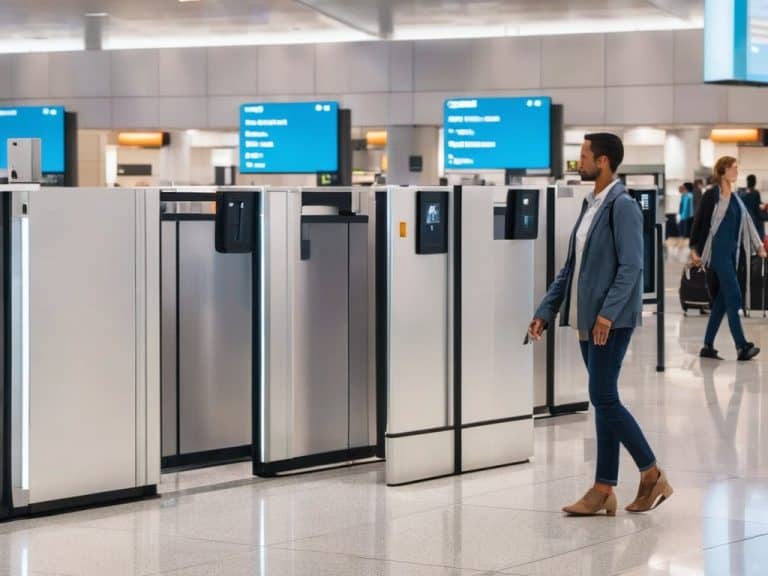
As you prepare for your flight, don’t forget to consider airport security tips for photographers. It’s a good idea to keep your camera equipment in a clear plastic bag, making it easy to scan and inspect. You should also be prepared to remove your lenses and other equipment from your backpack, so make sure everything is easily accessible and well-organized.
Best Backpacks for Secure Storage
When it comes to storing my camera gear, I swear by a good backpack. I’ve tested countless options in the field, and my top picks are those that balance protection with practicality. Look for a backpack with dedicated compartments and padding to keep your lenses and body safe from bumps and scratches.
I personally use a backpack with a waterproof rating and reinforced straps – it’s been a lifesaver on more than one rainy shoot. Some of my favorite features include multiple pockets for organization and a hip belt for added stability. With the right backpack, you can focus on capturing the shot, not worrying about your gear.
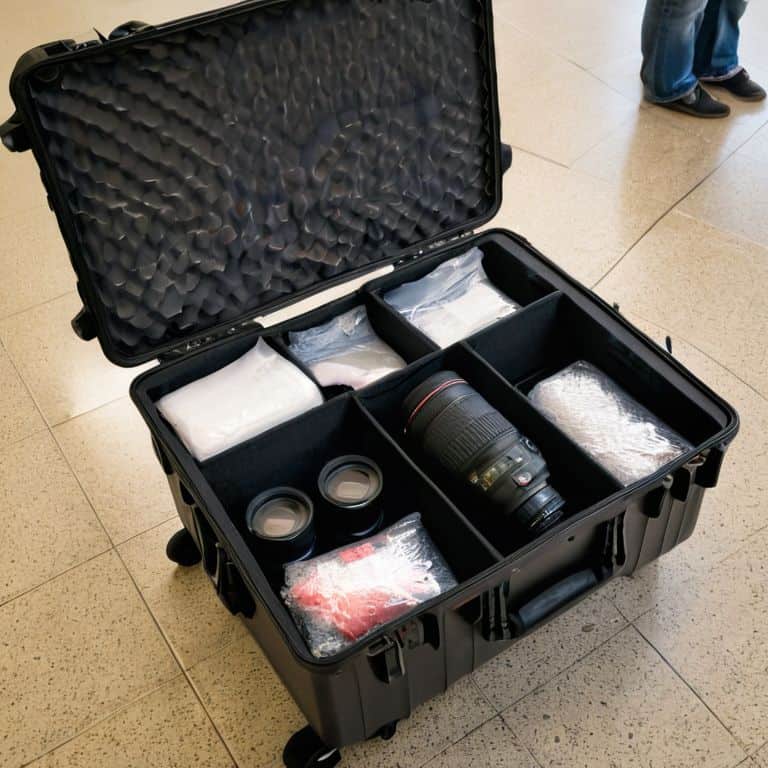
Protecting Lenses With Travel Cases
When it comes to protecting my lenses, I swear by high-quality travel cases. I’ve had my fair share of close calls, but a good case has saved my gear from damage more times than I can count. For me, it’s all about finding a case that’s both protective and portable – I need to be able to toss it into my backpack without worrying about added bulk. I look for cases with sturdy padding, waterproof materials, and a snug fit to keep my lenses safe from scratches and bumps.
I’ve put my cases through some serious testing, from dusty desert hikes to rainy jungle treks, and I can vouch for their reliability. A good travel case is worth every penny – it’s an investment in the longevity of your gear, and the quality of your photos.
Flight-Ready: 5 Essential Tips for Packing Your Camera Gear
- Packing lightweight is key: choose a backpack that fits all your gear and can be carried on to avoid checked baggage hassles
- Wrap lenses and fragile items in clothing or foam for extra protection, and consider a hard-shell case for added security
- Label your gear clearly and make digital copies of your equipment list, in case of loss or theft during transit
- Keep essentials like batteries, chargers, and memory cards in your carry-on, in case your checked luggage is delayed or lost
- Consider shipping non-essential gear ahead of time, or purchasing local alternatives to reduce the weight and stress of traveling with bulky equipment
Key Takeaways for Stress-Free Camera Gear Travel
Packing your camera gear strategically can make all the difference in ensuring its safety and your sanity during flights
Choosing the right travel cases and backpacks designed specifically for camera equipment is crucial for protecting your gear from damage and theft
By following a few simple steps and investing in the right equipment, you can focus on capturing stunning images rather than worrying about the safety of your camera gear during your travels
Packing Wisdom
The key to stress-free travel with camera gear isn’t about having the most expensive equipment, but about packing with intention – every piece of gear should earn its spot in your bag, and every bag should be a fortress for your gear.
Rachel Bennett
Packing Like a Pro: The Key to Stress-Free Travel
As I wrap up this guide on how to pack camera gear for a flight, I want to emphasize the importance of choosing the right gear and packing it with care. From selecting a sturdy backpack to protecting your lenses with travel cases, every step counts when it comes to ensuring your equipment arrives at your destination in one piece. By following these steps and considering your own specific needs, you can minimize stress and focus on what really matters – capturing incredible footage and photos on your next adventure. Whether you’re a seasoned pro or just starting out, packing smart is essential for making the most of your travels.
So the next time you’re preparing for a trip, remember that packing your camera gear is not just about getting it from point A to point B – it’s about unleashing your creative potential. With the right gear and a little practice, you’ll be well on your way to capturing stunning images and videos that tell the story of your travels. Happy packing, and even happier shooting!
Frequently Asked Questions
What are the best ways to protect my camera equipment from damage caused by airport security scanners?
I’ve had my share of security scanner scares, but I’ve found that using TSA-approved bags and wrapping lenses in protective sleeves can be a lifesaver. Look for bags with dedicated laptop and camera compartments to minimize movement and risk of damage. Some scanners are also safe for certain types of equipment, so it’s worth checking with the manufacturer beforehand.
How can I efficiently pack my camera gear to avoid excess baggage fees?
For me, it’s all about minimalism and clever packing. I swear by a single, sturdy backpack that fits all my essentials. Roll your clothes to save space, and use packing cubes to keep gear organized. I also prioritize multi-use items, like a lens cleaning cloth that doubles as a phone wipe.
Are there any specific airline regulations or restrictions I should be aware of when packing camera equipment for a flight?
When flying with camera gear, it’s crucial to check with your airline for their specific policies on carrying electronics and lithium batteries. Some airlines have restrictions on battery size and type, so it’s best to confirm beforehand to avoid any issues at check-in.