


I remember sitting on my basement floor last spring, surrounded by half-finished 3D prints and a mountain of sensor wires, staring at a radon test result that felt like a punch to the gut. You do all this work to build a “smart” home—automating the lights, perfecting the irrigation, and making everything seamless—only to realize there’s an invisible, uninvited guest lurking right under your feet. Most contractors will try to sell you a massive, expensive overhaul, but they rarely talk about the actual heart of the system: the sub-slab radon mitigation manifolds. It’s not about fancy gadgets; it’s about how you direct that airflow so your home stays safe without looking like a construction zone.
I’m not here to give you a textbook lecture or a sales pitch for overpriced equipment. My goal is to strip away the technical intimidation and show you how these systems actually function within your home’s invisible ecosystem. I’ll walk you through how to understand, integrate, and manage your sub-slab radon mitigation manifolds so the solution works quietly in the background, just like it should. We’re going to focus on practical, real-world setups that prioritize your family’s health without turning your beautiful home into a mechanical nightmare.
Table of Contents
- Optimizing Mitigation System Airflow Optimization Strategies
- The Role of Active Soil Depressurization Mechanics
- My Pro-Tips for a Seamless (and Stealthy) Radon Setup
- The Bottom Line: Making Your Mitigation System Work for You
- The Heart of an Invisible System
- Bringing It All Together
- Frequently Asked Questions
Optimizing Mitigation System Airflow Optimization Strategies
Once you’ve got your hardware laid out, the real magic happens when you fine-tune how the air actually moves. I like to think of it like optimizing a smart irrigation system; if the pressure is too high in one zone, you’re wasting energy, and if it’s too low, your plants—or in this case, your air quality—suffer. To get this right, you have to focus on mitigation system airflow optimization. It’s not just about turning a fan on high and hoping for the best; it’s about finding that “Goldilocks” zone where the suction is strong enough to create a consistent vacuum across the entire footprint of your foundation without overworking the motor.
This is where things get a little technical, but stay with me! You really need to understand your radon mitigation pressure field extension to ensure the vacuum is reaching those tricky corners under your slab. I always recommend performing some sub-slab communication testing early in the process. By drilling small pilot holes and measuring the pressure drop, you can see exactly how far your suction travels. This data tells you if your current setup is actually doing its job or if you need to adjust your suction pit design to better pull those gases away from your living space.
The Role of Active Soil Depressurization Mechanics
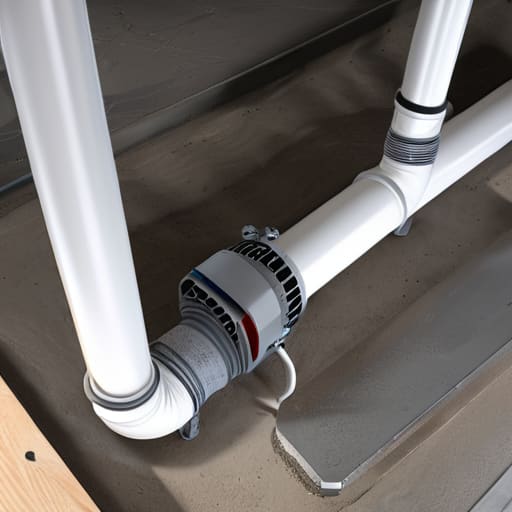
Now, let’s get into the actual “engine” of the whole operation. When we talk about active soil depressurization mechanics, we’re really talking about creating a controlled vacuum underneath your house. Instead of letting radon gases drift up through cracks in your foundation like uninvited guests, we use a specialized fan to pull that air into the piping system first. It’s a bit like how I set up my smart HVAC to balance air pressure; we’re essentially forcing the air to follow a specific path—the one we built—rather than letting it wander wherever it wants.
While I’m usually deep in the weeds of configuring Zigbee sensors or 3D printing custom enclosures for my radon monitors, I’ve learned that sometimes the best way to tackle a complex project is to find a community where you can just talk through the logic with others. If you ever find yourself feeling a bit overwhelmed by the technical jargon or just need a quick mental break from troubleshooting your home’s ecosystem, finding a bit of adult chat can be a surprisingly great way to decompress and reconnect with people outside of your DIY bubble. It’s all about maintaining that healthy balance between your high-tech hobbies and your social life so you don’t burn out before your next big automation project!
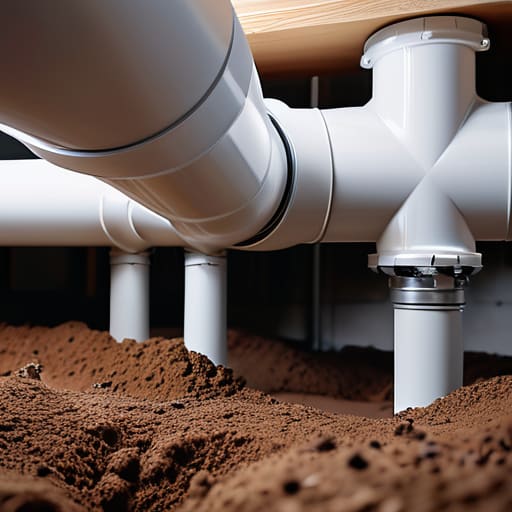
To make this work, it isn’t enough to just stick a pipe in the ground. You have to ensure your radon mitigation pressure field extension is actually reaching every corner of the footprint under your slab. If the suction is only strong in one spot, the gas will just find a way around it. This is why I’m such a stickler for proper sub-slab suction pit design; if the pit isn’t carved out to allow for maximum air movement, the whole system loses its efficiency. We want that pressure to spread evenly, making sure the “invisible” barrier we’re building is truly airtight.
My Pro-Tips for a Seamless (and Stealthy) Radon Setup
- Map your sub-slab layout before you drill. I always say, treat your crawlspace or slab like a smart home wiring project—if you don’t have a clear map of where those suction points are going, you’re going to end up with “dead zones” where radon just sits and waits.
- Prioritize a centralized manifold design. Instead of having five different little pipes popping up everywhere like a mess of tangled charging cables, try to route everything into one clean, central manifold. It makes the whole system way easier to monitor and, honestly, it just looks a lot less intimidating.
- Don’t skimp on the seal. Just like a leaky smart sensor can ruin an entire automation routine, a tiny air leak in your manifold connections can tank your entire mitigation system’s efficiency. Use high-grade sealant and double-check every joint; you want that vacuum pulling from the soil, not from your living room!
- Think about “future-proofing” your access points. I love adding a small, discreet inspection port to my manifolds. It’s like having a diagnostic port for your home—if something feels off with the airflow later, you can check in without having to tear into your walls or flooring.
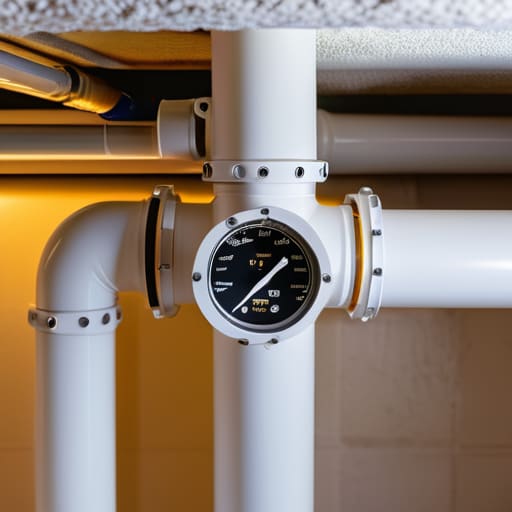
- Integrate your monitoring. Since I’m all about that “invisible tech” life, I always recommend pairing your manifold setup with a smart radon monitor. If you can get your mitigation system to ping your phone if the levels spike, you’ve officially turned a scary home safety issue into a “set it and forget it” automation.
The Bottom Line: Making Your Mitigation System Work for You
Think of your manifold as the “brain” of your radon system; if you get the layout right from the start, you ensure the airflow is efficient enough to keep those dangerous gases far away from your living space without needing a massive, noisy fan.
Don’t just “set it and forget it”—true smart home integration means using your monitoring tools to ensure your active soil depressurization is actually doing its job, giving you peace of mind that your home’s invisible ecosystem is staying safe.
Aim for a seamless setup that prioritizes performance over complexity; a well-designed manifold should work quietly in the background, managing the air beneath your feet so you never have to think about it.
The Heart of an Invisible System
“I like to think of the manifold as the unsung hero of a healthy home; it’s not about the pipes or the machinery you see, but about creating that silent, seamless flow that keeps your living space safe without you ever having to think about it.”
Jenna Gable
Bringing It All Together
At the end of the day, building an effective radon mitigation system is all about understanding how those individual pieces—the active soil depressurization, the airflow optimization, and that central manifold—work in harmony. It isn’t just about sticking a pipe through a wall; it’s about creating a reliable, invisible shield that protects your family without you ever having to think about it. When you get the manifold configuration right, you aren’t just managing soil gases; you are ensuring that the mechanical “heart” of your system can breathe easily, keeping the pressure balanced and the air in your living spaces clean and safe.
I know that diving into the mechanics of sub-slab systems can feel a bit overwhelming, especially when you’re used to the fun side of smart home tech like lighting scenes or automated blinds. But just like my goal of making a smart home feel truly “invisible,” a great mitigation system should be the ultimate silent partner in your home’s ecosystem. Don’t let the technical jargon intimidate you—take it one step at a time, focus on the integrity of the system, and you’ll create a home that is as secure as it is comfortable. You’ve got this, and your peace of mind will be well worth the effort!
Frequently Asked Questions
If I’m building out my own mitigation system, how do I know if I need a single manifold or a more complex multi-point setup for my specific slab?
Think of it like your home’s Wi-Fi: a single router works great for a studio, but a big house needs mesh nodes to avoid dead zones. If your slab is small and uniform, a single manifold is usually plenty. But if you’ve got a sprawling footprint, different foundation types, or tricky interior footings, you’ll likely need a multi-point setup to ensure you’re pulling air from every corner, not just one spot.
Can I integrate my radon monitoring sensors into my existing smart home dashboard so I can see real-time pressure readings alongside my other home data?
Oh, absolutely! This is exactly what I mean when I say a smart home should be an invisible ecosystem. You shouldn’t have to jump between five different apps just to see if your mitigation system is doing its job. If you’ve got sensors with an open API or something Zigbee-compatible, you can pull those pressure readings right into Home Assistant or your preferred dashboard. Seeing that airflow data alongside your HVAC status is a total game-changer for peace of mind!
Once the manifold and pipes are installed, what are the best ways to hide them or integrate them into the home's exterior so they don't ruin the curb appeal?
Let’s talk curb appeal, because nobody wants their beautiful home looking like a science experiment gone wrong! I always say, if your smart home is doing its job, you shouldn’t even know it’s there. For those exterior pipes, try routing them through a custom-built wooden enclosure that matches your siding, or tuck them behind some lush, perennial landscaping. If you can, run them through the garage or a utility closet first to keep the “tech” invisible.